
Gateway KAV60 LT2016U RAM Replacement
예상시간 없음
쉬움
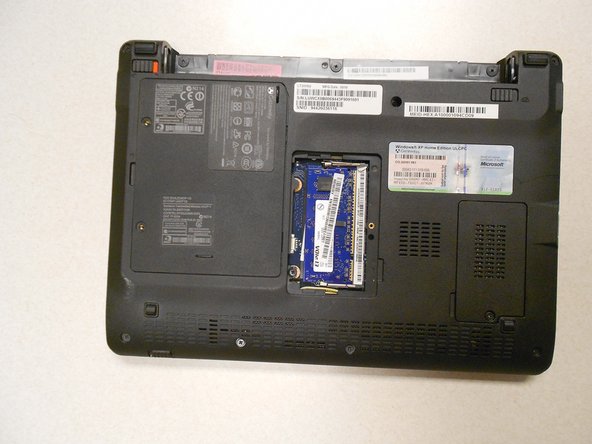
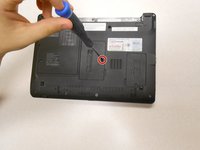
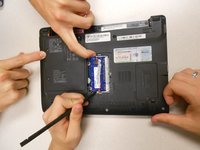
The RAM can be replaced if you have a Phillips #0 screwdriver.


-
-
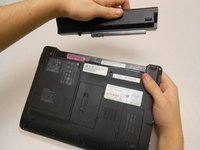
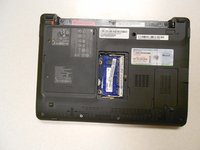
Unlock the tab located in the top left corner of the netbook.
-
The red tab indicated that the battery has been properly unlocked.
-
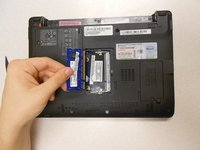
Remove the battery.
-
-


거의 끝나갑니다!
To reassemble your device, follow these instructions in reverse order.
결론
To reassemble your device, follow these instructions in reverse order.
팀

Clemson, Team 14-3, Benson Fall 2013 Clemson, Team 14-3, Benson Fall 2013 회원
CLEM-BENSON-F13S14G3
3 회원들
안내서 22개를 작성함