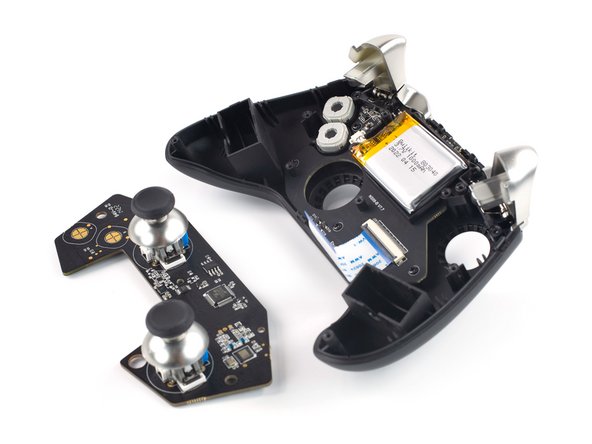
소개
Use this guide to replace all or individual face buttons on your GuliKit KingKong 2 Pro controller.
The disassembly procedure to remove the face buttons is more or less the same for all the different buttons. However, if you only want to remove or replace the thumbsticks, follow this guide instead.
필요한 것
-
-
Use a Phillips #00 screwdriver to remove the four 11 mm-long screws securing the back cover.
-
-
-
Insert an opening pick into the gap between the front assembly and the back cover at the bottom edge of the controller.
-
Tilt your opening pick downwards to widen the gap.
-
-
-
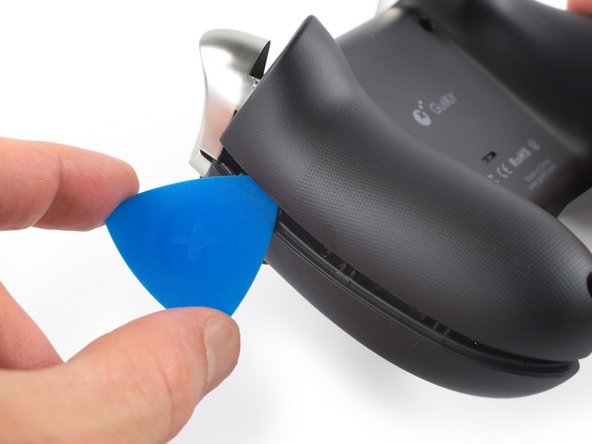
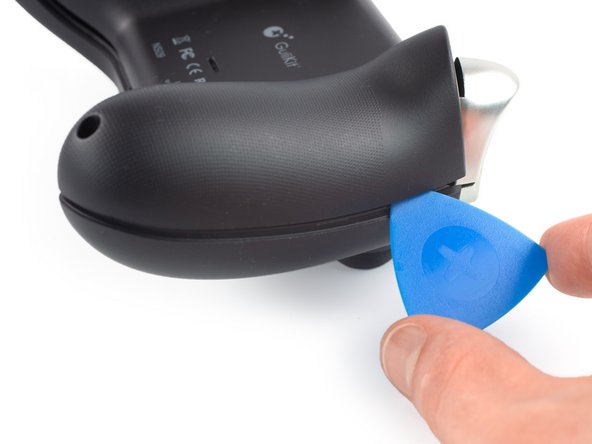
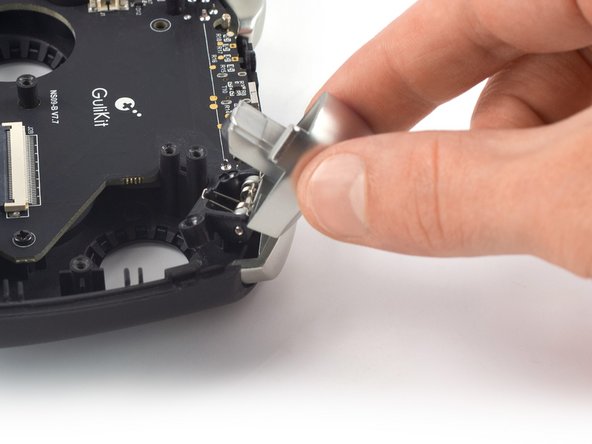
Insert an opening pick into the gap between the front assembly and the back cover at the outside of the right controller handle.
-
Slide the opening pick along the gap to separate the front assembly from the back cover.
-
-
-
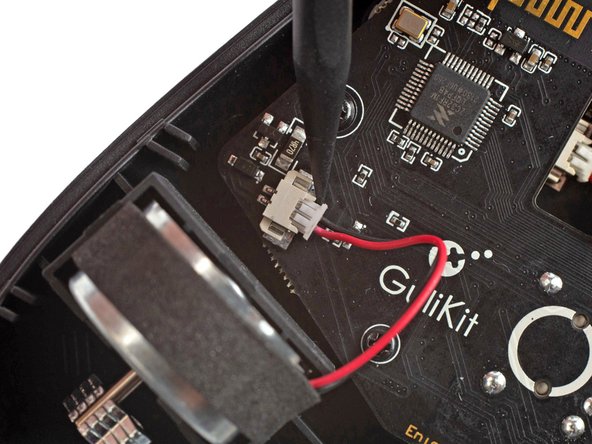
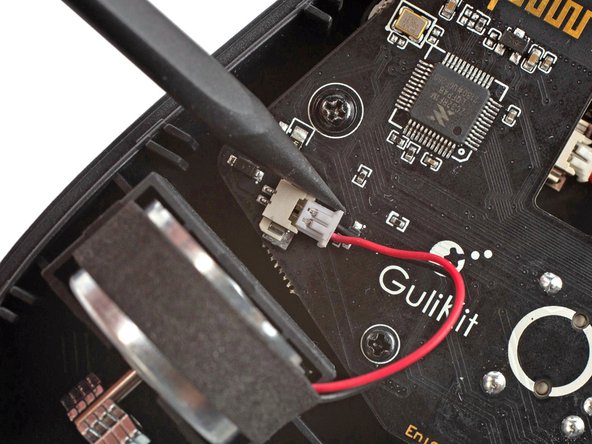
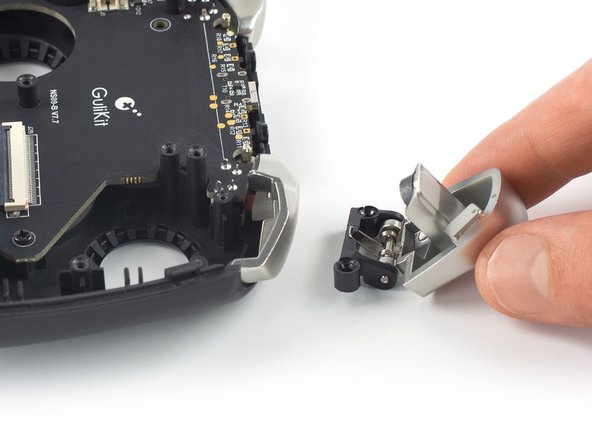
Use the point of a spudger to disconnect the right vibration motor by pushing the connector straight out of its socket.
-
-
-
Use the point of a spudger to disconnect the left vibration motor by pushing the connector straight out of its socket.
-
-
-
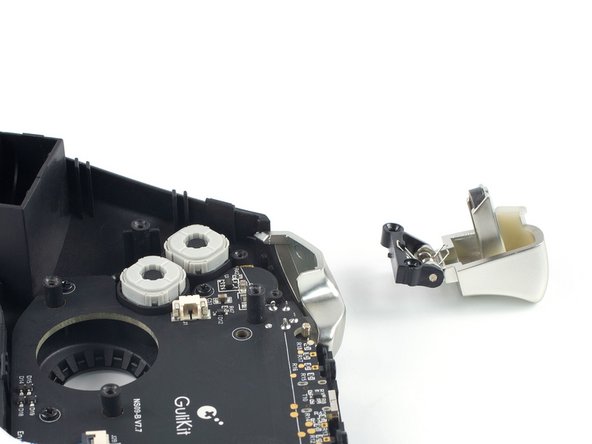
Remove the vibration motors by lifting them out of the controller housing.
-
-
-
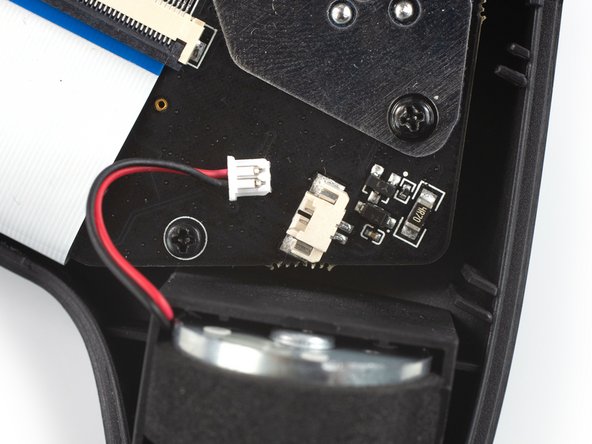
Use a spudger, an opening tool, or your fingernail to flip up the small, hinged locking flap on the interconnect cable's ZIF connector.
-
-
-
-
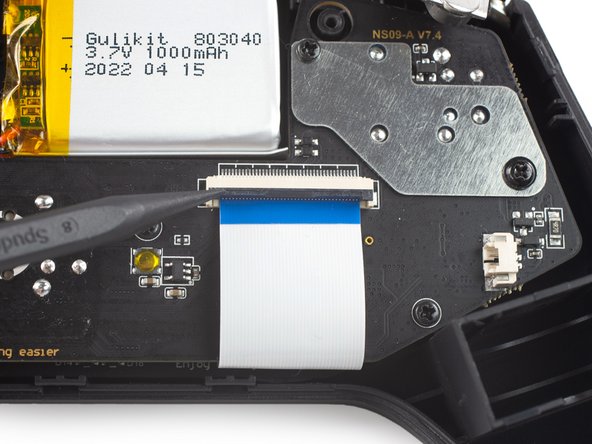
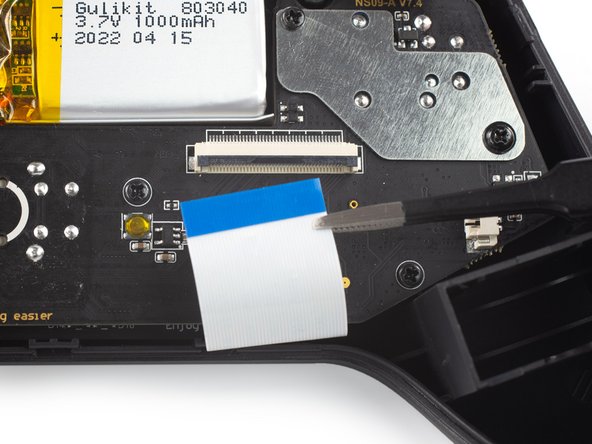
Use a pair of blunt nose tweezers to disconnect the interconnect cable by pulling the cable straight out of the connector.
-
-
-
Use a Phillips #00 screwdriver to remove the screws securing the mainboard assembly:
-
Four 7.8 mm-long screws.
-
Two 11 mm-long screws.
-
-
-
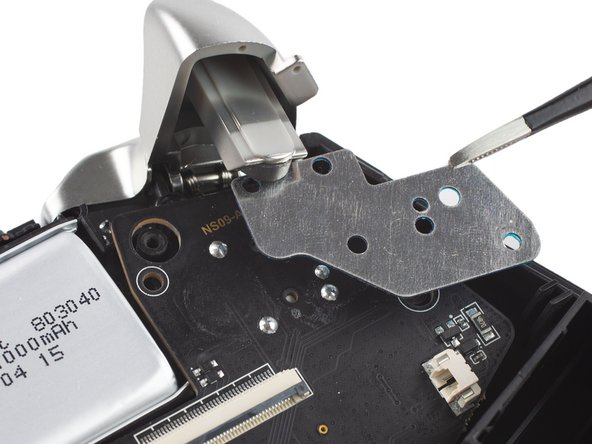
Use a pair of blunt nose tweezers to remove the metal shield from the mainboard assembly.
-
-
-
Remove the mainboard assembly by lifting it out of the controller housing.
-
-
-
Use a Phillips #00 screwdriver to remove the single 7.8 mm-long screw securing the battery frame.
-
-
-
Free the battery frame by lifting it off the plastic pins holding it in place.
-
-
-
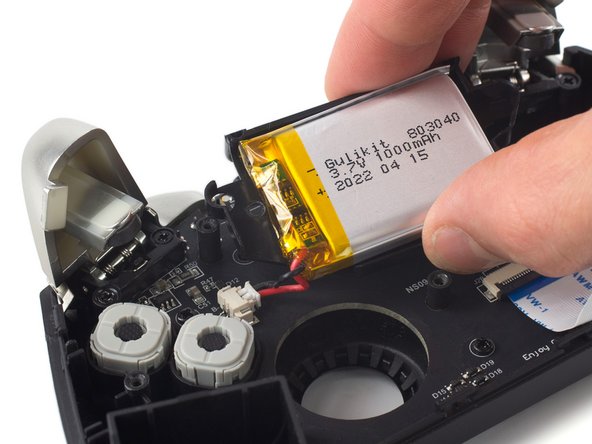
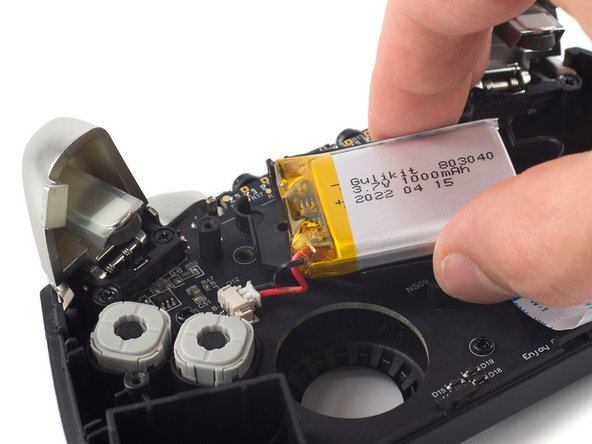
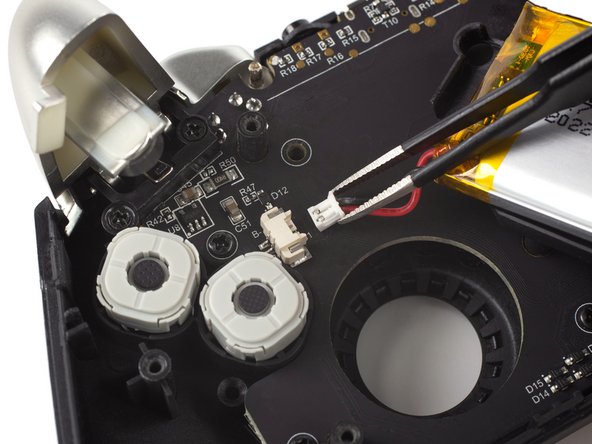
Use a pair of blunt nose tweezers to disconnect the battery connector by pulling it straight out of its socket.
-
Remove the battery and its frame from the controller housing.
-
-
-
Use a Phillips #00 screwdriver to remove the four 7.8 mm-long screws securing the triggers.
-
-
-
Use your fingers to lift the left trigger off its bracket.
-
Remove the left trigger.
-
-
-
Repeat the previous procedure and lift the right trigger off its bracket to remove it.
-
-
-
Use a Phillips #00 screwdriver to remove the four 7.8 mm-long screws securing the daughterboard.
-
-
-
Remove the daughterboard by lifting it out of the controller housing.
-
-
-
Use a pair of blunt nose tweezers to lift the grey rubber padding off the directional pad.
-
-
Use a pair of tweezers to lift the menu or home button out of its recess in the controller housing.
-
-
-
Use a pair of tweezers to lift the directional pad out of its recess in the controller housing.
-
-
-
Use your fingers to lift the bumpers off their brackets in the controller housing and remove them.
-
-
-
Use a pair of tweezers to lift the desired mechanical button out of its recess in the controller housing.
-


To reassemble your device, follow these instructions in reverse order.
Take your e-waste to an R2 or e-Stewards certified recycler.
Repair didn’t go as planned? Check out our Answers community for troubleshooting help.
To reassemble your device, follow these instructions in reverse order.
Take your e-waste to an R2 or e-Stewards certified recycler.
Repair didn’t go as planned? Check out our Answers community for troubleshooting help.
다른 4명이 해당 안내서를 완성하였습니다.


댓글 7개
I want to change the A, B, X, Y buttons on my controller to the Xbox controller configuration.
Are each of the buttons different heights?.. Do I need to buy replacement buttons that are specifically the Xbox controller configuration style for the King Kong Pro 2?
Thanks in advance.
Yep, they are all different heights. If you look on GuliKits website it shows them being different heights.
https://www.gulikit.com/productinfo/8519...
They sell replacement keycaps.
This guide is very convoluted and adds about 25 steps to a one-step procedure. Example image from gulikit
One of the features of the King Kong 2 Pro that they advertise with the replacement buttons is that they include a pair of tweezers to take the buttons out of the face of the controller
That's it, it's one step.