
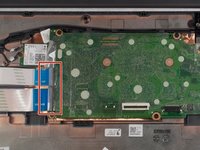
HP Chromebook 14-ca061dx Motherboard Replacement
If you want to replace the RAM or CPU or the storage of the HP Chromebook 14-ca061dx or are in need of replacing those parts, you will need to replace the whole motherboard of the Chromebook since they are all combined to be part of it. You can follow this guide to replace the motherboard.


-
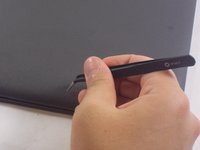
이 단계에 사용된 도구:Tweezers$3.99
-
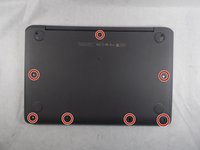
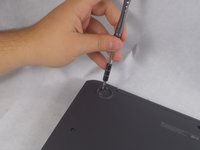
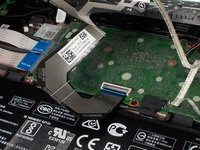
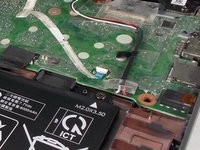
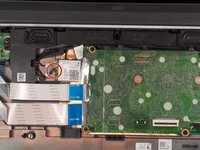
Flip the Chromebook to the underside with the hinge at the top.
-
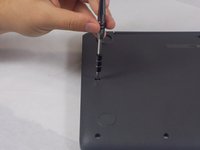
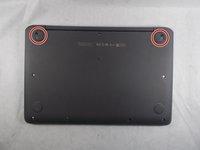
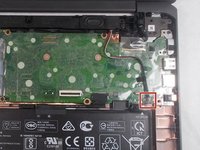
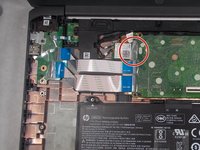
Remove the seven, small rubber stoppers using angled tweezers.
-
-
-
이 단계에 사용된 도구:Tweezers$4.99
-
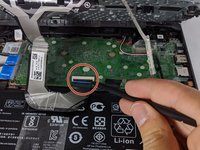
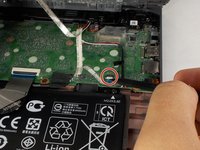
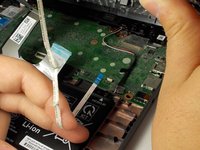
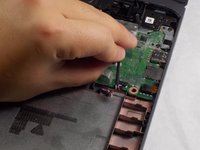
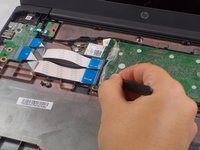
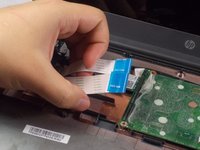
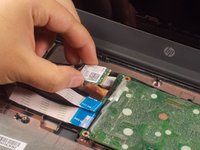
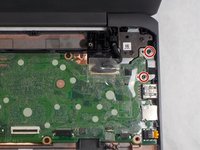
Peel back the black electrical tape from the wires connecting the battery to the motherboard using tweezers.
-
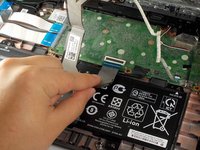
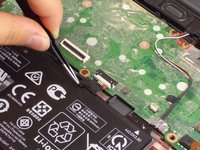
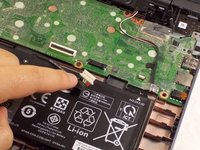
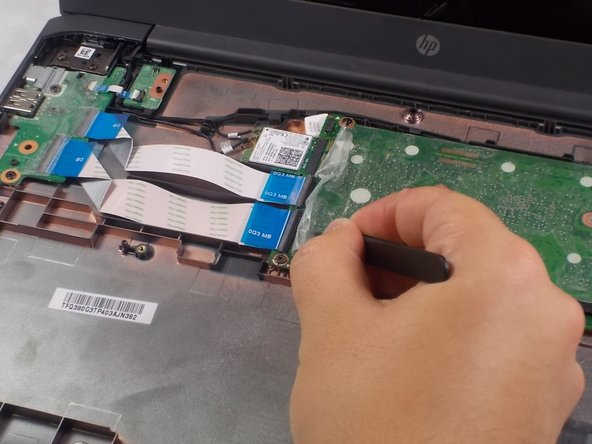
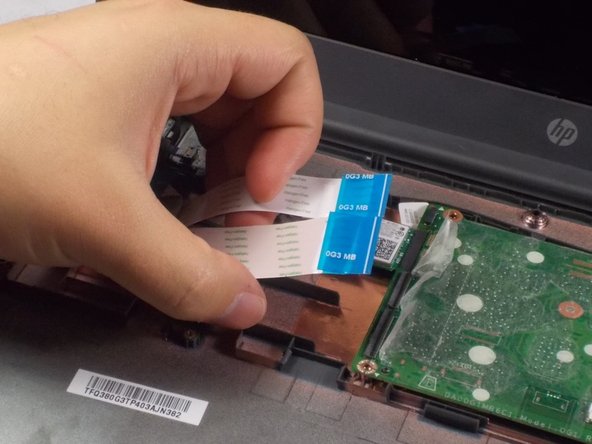
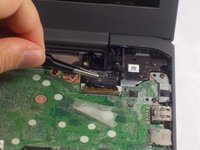
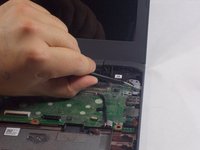
Pull the white plastic piece toward you using your finger to disconnect the wires.
-


To reassemble your device, follow these instructions in reverse order.
To reassemble your device, follow these instructions in reverse order.
팀

UMass Dartmouth, Team S2-G5, Barthe Fall 2019 UMass Dartmouth, Team S2-G5, Barthe Fall 2019 회원
UMASSD-BARTHE-F19S2G5
3 회원들
안내서 6개를 작성함