
HP Pavilion zv5000 Screen Replacement

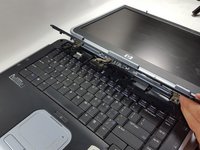
Are you having trouble seeing anything on your screen? Is your screen perpetually black, even when plugged in and charged? If so, replacing your screen may bring visuals back to your life.


-
-
Make sure that your device is properly shut down and unplugged from any outlet.
-
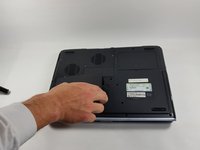
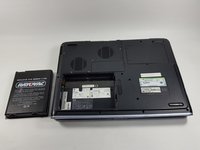
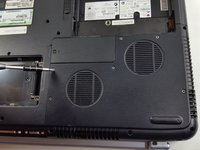
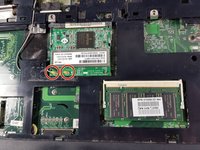
Flip Pavilion over so that the bottom faces up and locate the battery in the bottom left corner.
-
-
-
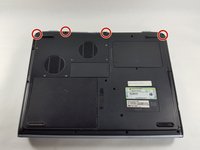
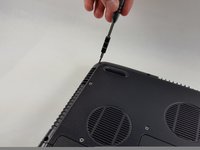
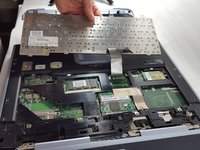
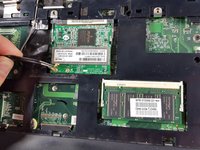
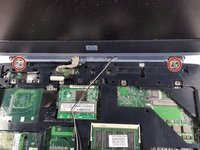
Using a Phillips #0 screwdriver, unscrew all four Phillips PM 2.5X13.0mm screws and place in a secure area until the end of the project.
-
-


To reassemble your device, follow these instructions in reverse order.
To reassemble your device, follow these instructions in reverse order.
다른 2명이 해당 안내서를 완성하였습니다.

팀

UMass Dartmouth, Team 4-6, Catania Fall 2016 UMass Dartmouth, Team 4-6, Catania Fall 2016 회원
UMASSD-CATANIA-F16S4G6
3 회원들
안내서 5개를 작성함