
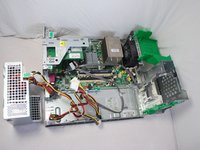
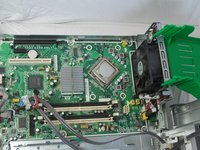
HP rp5700 Repair Motherboard Replacement
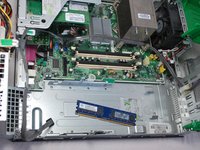
The motherboard is the component that connects all the parts of the computer together either through wire connections or direct integration on the the board itself.

-
-
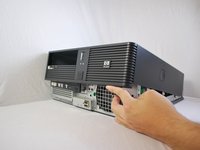
Make sure the computer is unplugged.
-
Make sure all auxiliary cords are disconnected from the desktop. If not, remove them using your hands.
-
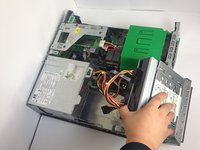
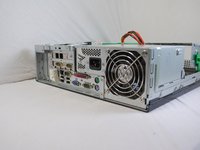
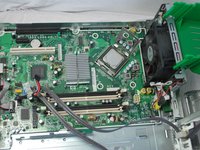
Set the desktop down horizontally with the front side facing you.
-
-
-
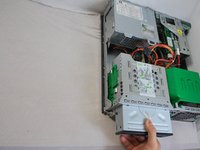
Using your hand, grip the Optical Drive and lift it up into a 45 degree angle.
-
-
-
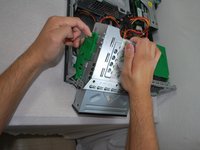
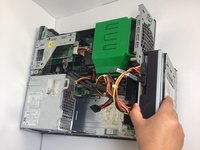
Using your right hand, grip the CD drive and lift it up to a 90 degree position.
-
-
-
-
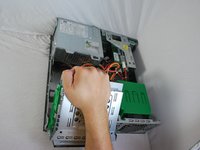
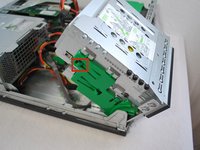
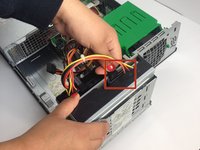
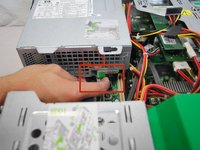
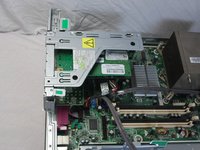
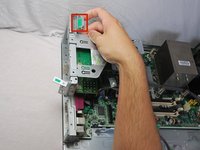
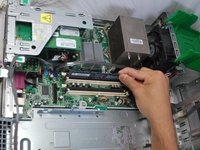
Using your right index finger, press the tab with the green sticker located underneath the power supply.
-
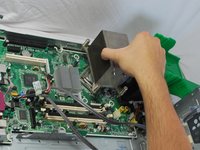
While pressing the tab, lift up the power supply the same way you lifted up the optical drive.
-
-
-
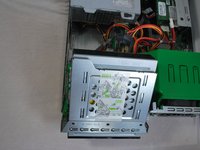
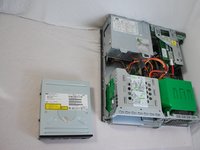
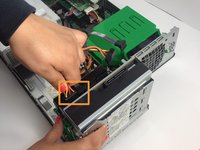
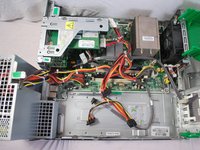
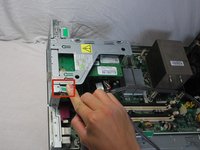
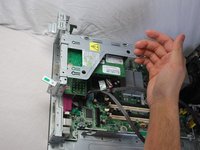
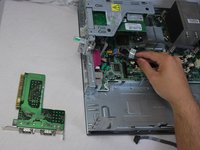
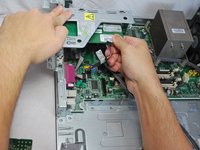
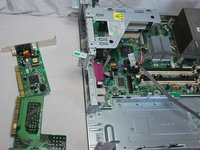
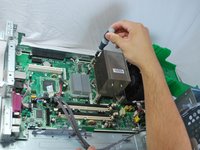
Remove the two cables on the motherboard by grasping the cables with your hand and pulling the cables up and out.
-
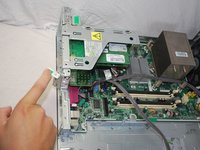
Repeat the same process to remove the internal card power cable.
-
This is the same process as preformed when you previously removed the power cables from the optical drive and the hard drive.
-
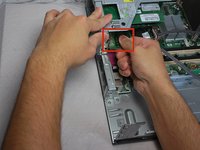
Some cables may have small clips securing them in place. If so, be sure to press these clips inward using your fingers before pulling them out.
-
-
-
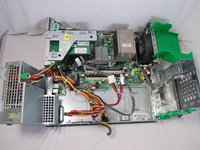
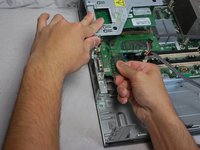
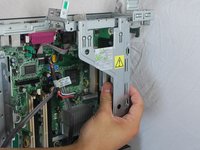
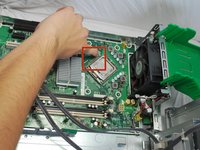
Using a Torx-Security T-15 screw driver, loosen the screws a little at a time evenly on each screw (process described below):
-
This process is done by slightly unscrewing a screw at one corner and moving to the screw at the diagonal corner next to unscrew slightly.
-
Then move to the opposite corners and repeat the process.
-
Continue until all of the screw are completely removed.
-
-
-
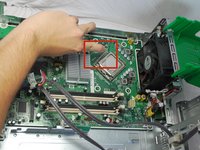
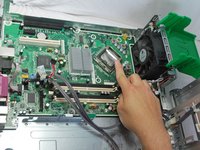
Remove the 7 screws surrounding the edges of the motherboard using a Torx-Security T-15 screw driver to unscrew each screw counterclockwise.
-


To reassemble your device, follow these instructions in reverse order.
To reassemble your device, follow these instructions in reverse order.
다른 6명이 해당 안내서를 완성하였습니다.
팀

Cal Poly, Team 6-23, Maness Winter 2014 Cal Poly, Team 6-23, Maness Winter 2014 회원
CPSU-MANESS-W14S6G23
4 회원들
안내서 9개를 작성함