
How to Reattach the Cap on an iFixit Precision Bit Driver

Follow this guide to reattach the blue cap on an iFixit Precision Bit Driver. You may need to do this repair if the cap has fallen out of the bit driver.
You can always contact our customer service team if you would like to replace your broken Precision Bit Driver.
필요한 것
도구


더보기...
-
-
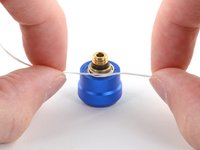
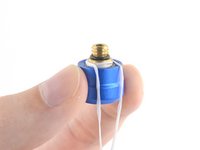
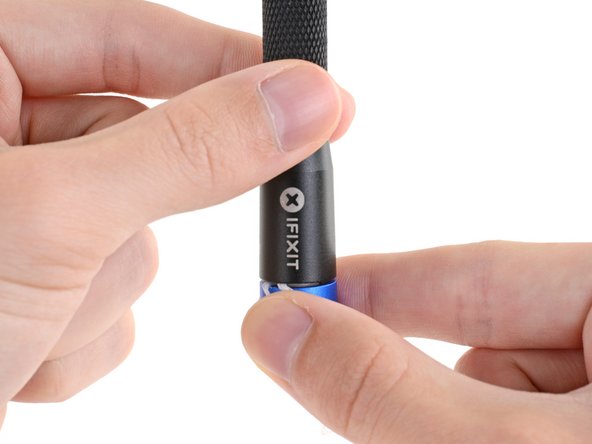
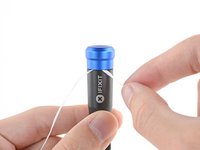
Hold one end of the floss against the side of the cap.
-
Wrap the middle of the floss twice around the widest part of the post (below the rubber o-ring).
-
-
-
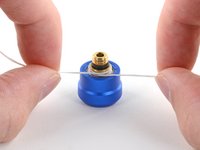
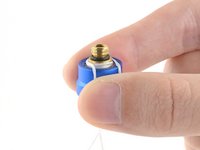
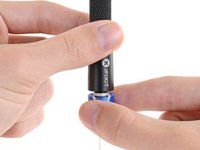
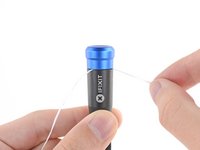
Pull the two ends of the floss tight to create a secure hold on the post.
-
-
-
-
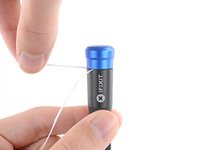
Arrange the ends of the floss so that they hang down over the edge of the cap on the opposite side that they crossed on the post.
-
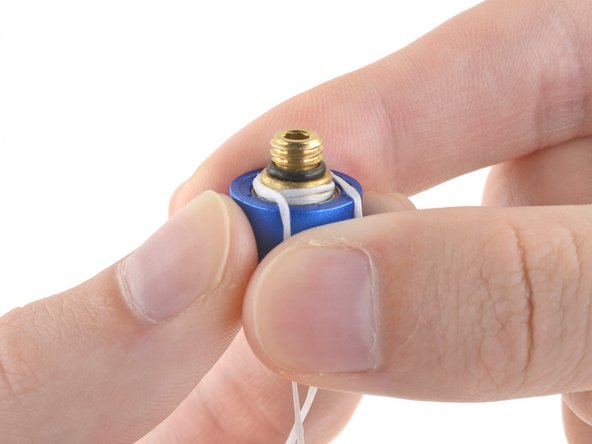
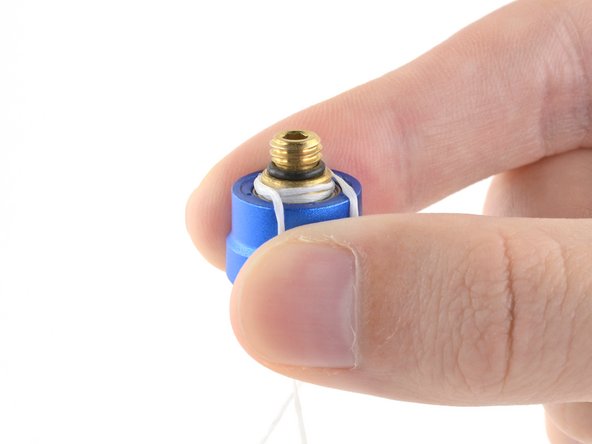
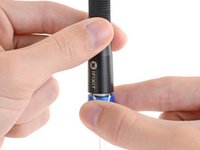
Press the ends of the floss against the side of the cap to prevent the post from spinning.
-
-
-
Clean the threaded post and the upper body's screw hole with a lint-free cloth.
-
Apply one to two drops of threadlocker to the threaded post.
-
After screwing the upper body on to the threaded post, wait for the recommended cure time before using the bit driver.
-
-
-
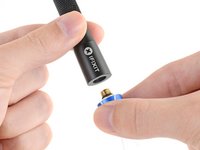
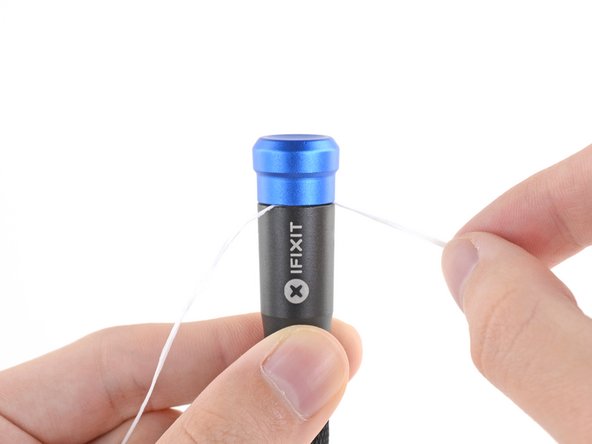
Insert the threaded post into the upper body's screw hole.
-
-
-
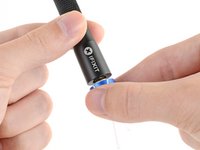
Pull and rotate one end of the floss around the post twice in the opposite direction that it was wrapped.
-


Repair didn’t go as planned? Ask our iFixit Precision Bit Driver Answers community for help.
Repair didn’t go as planned? Ask our iFixit Precision Bit Driver Answers community for help.
다른 15명이 해당 안내서를 완성하였습니다.

댓글 8개
Thanks for this information. I was worried about this but now I am Happy.
Well that’s interesting. My blue cap popped off the screw. I had to use superglue… :-\
Ok this is an epic repairability and culture standard that is demonstrated with this article - posting instructions on how to repair your own products! I wish this kind of attitude would spread in all tech industries.
I run a small tech startup myself, and this article just inspired me to do the same for the products we develop