소개
If the buttons on the device are not responsive, you may need to replace them, and this guide will show you how to do that, but does involve some soldering.
필요한 것
-
-
-
Lift the four adhesive covers on each of the corners on the bottom of the clock using a plastic opening tool or your fingernail.
 FixBot에 문의하기
-
-
-
On the bottom of the clock, use your fingernail to push the battery cover to the right.
-
Lift the battery cover up and to the right to reveal the batteries.
-
-
-
Remove the two AA batteries by pressing the end opposite of the spring towards that spring and lifting up.
-
Once the batteries are removed, close the cover.
-
-
-
-
Use a long Phillips #2 screwdriver to unscrew all six 10mm Phillips screws inside the bottom of the clock.
-
Turn over the device to allow the screws to fall out, being careful to catch them so that you do not lose any.
-
-
-
Turn the clock back over.
-
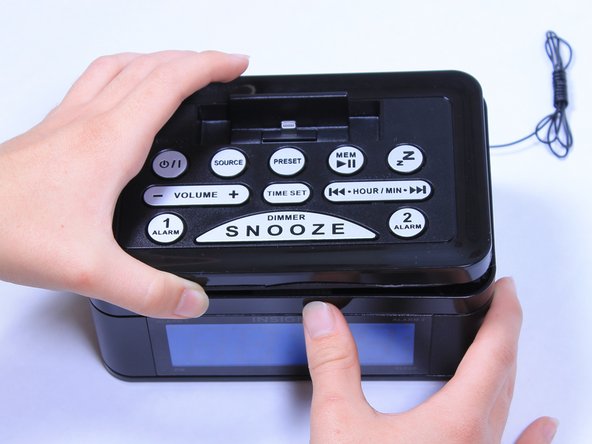
Lift the top off of the clock by gripping the back of the iPhone dock and pulling straight up.
-
-
-
-
-
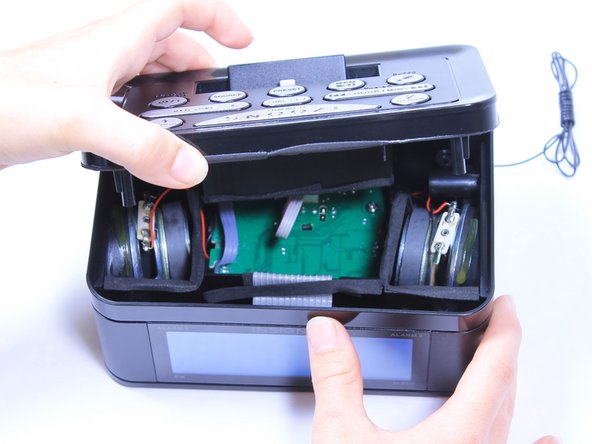
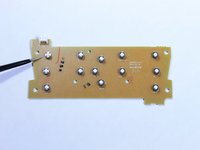
Using the Phillips #2 screwdriver, unscrew the seven 6mm Phillips screws on the circuit board that is attached to the top of the case.
-
-
이 단계에 사용된 도구:Tweezers$4.99
-
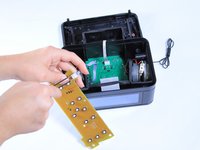
Detach the circuit board from the rest of the clock by gripping the sides of the white ribbon cable connector on the left-hand side of the board and pulling it straight off. You may need to use tweezers to grip the connector.
-
-
-
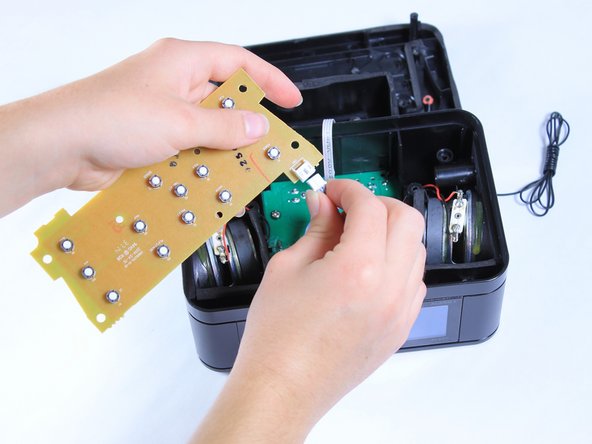
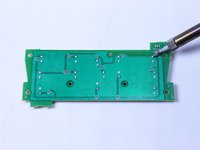
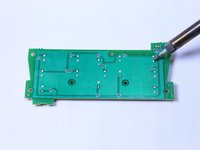
Use this soldering guide to remove and replace any buttons that were not working.
-
-


To reassemble your device, follow these instructions in reverse order.
팀

Baylor, Team 6-9, Williams Fall 2015 Baylor, Team 6-9, Williams Fall 2015 회원
BU-WILLIAMS-F15S6G9
3 회원들
안내서 12개를 작성함