소개
If your clock display is not working, and you've ensured that the clock is turned on with the brightness up, then you may need to replace the screen itself. This guide will help you do so, but you will need to solder some connections.
필요한 것
-
-
Lift the four adhesive covers on each of the corners on the bottom of the clock using a plastic opening tool or your fingernail.
 FixBot에 문의하기
-
-
-
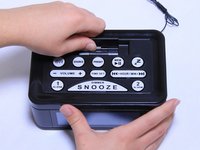
On the bottom of the clock, use your fingernail to push the battery cover to the right.
-
Lift the battery cover up and to the right to reveal the batteries.
-
-
-
Remove the two AA batteries by pressing the end opposite of the spring towards that spring and lifting up.
-
Once the batteries are removed, close the cover.
-
-
-
Use a long Phillips #2 screwdriver to unscrew all six 10mm Phillips screws inside the bottom of the clock.
-
Turn over the device to allow the screws to fall out, being careful to catch them so that you do not lose any.
-
-
-
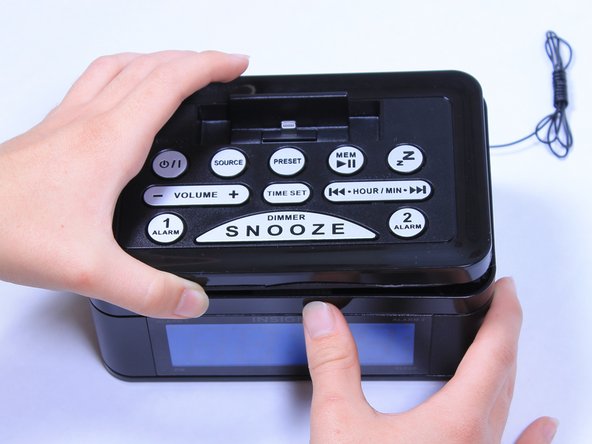
Turn the clock back over.
-
Lift the top off of the clock by gripping the back of the iPhone dock and pulling straight up.
-
-
-
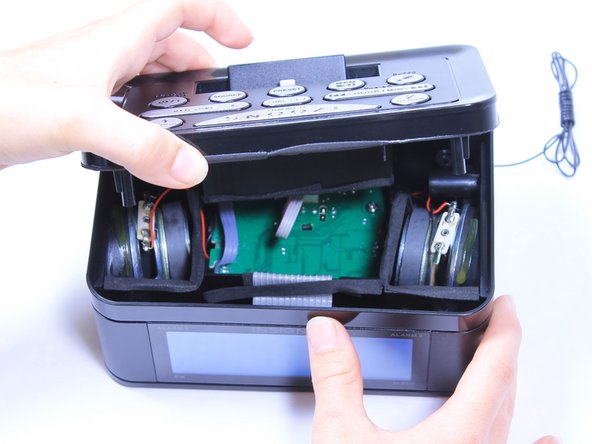
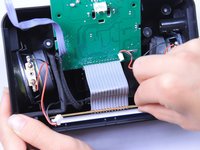
Grip the white ribbon cable connector that attaches the lightning cable to the middle of the central circuit board located in the bottom of the clock. Pinch and pull straight up to detach the cable.
-
-
-
-
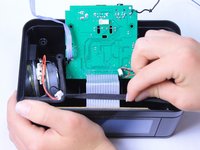
Remove the white ribbon connector that connects the central circuit board to the circuit board attached to the top of the clock by gripping it on both sides and pulling it straight away from the board.
-
-
-
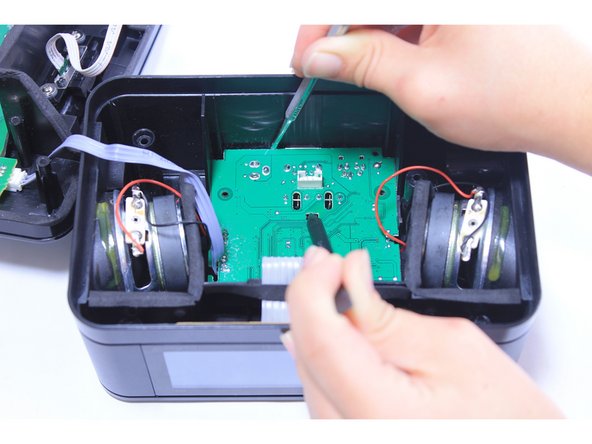
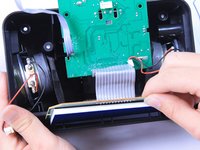
Use the narrow end of a plastic spudger to pull back the clip in the center of the board.
-
At the same time, pry the circuit board up by wedging another spudger into the top left-hand corner of the board and working it along the back, pushing the edge of the board away from the back of the clock.
-
-
이 단계에 사용된 도구:Tweezers$4.99
-
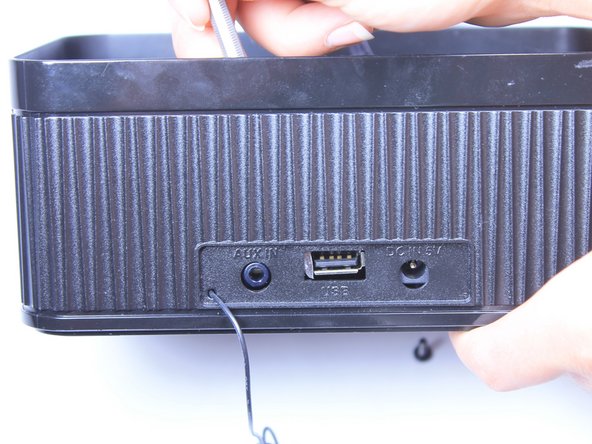
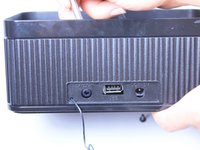
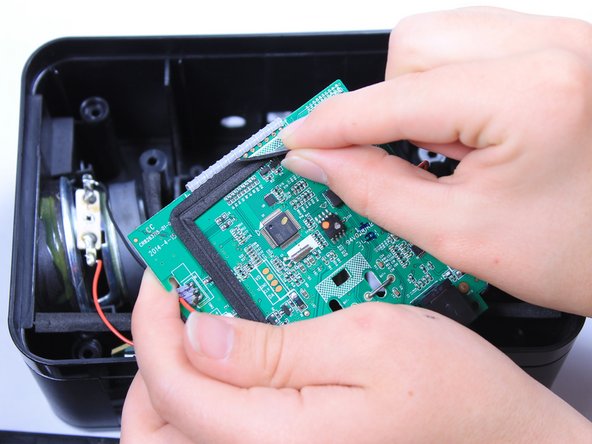
Once the ports on the back of the circuit board are displaced and resting against the back of the clock, use a pair of tweezers to lift the circuit board up off of the bottom of the clock, continuing to feed the radio antenna through the side of the clock as the board lifts up.
-
-
-
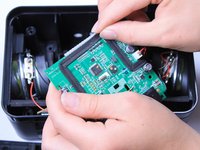
Turn the circuit board over.
-
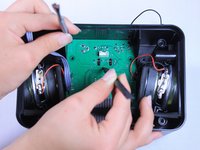
Disconnect the two white connectors on the bottom of the circuit board by gripping the sides of each connector and pulling straight out.
-
-
-
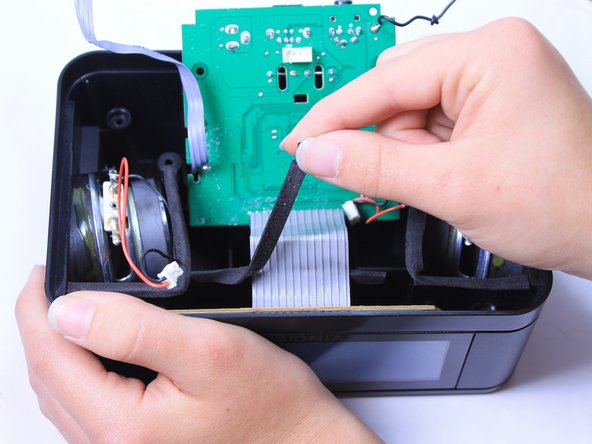
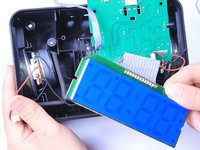
Lift the adhesive strip that holds down the grey ribbon cable which attaches to the circuit board and the LCD screen.
-
-
-
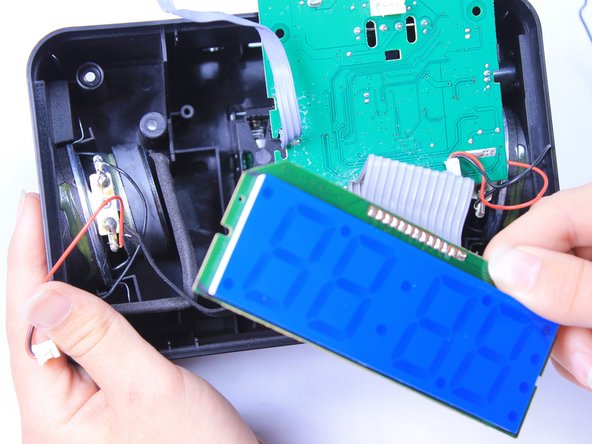
Remove the screen by pushing it toward the middle of the clock and pulling it up out of the clock.
-
-
-
Lift the adhesive strip that covers the connections between the grey ribbon cable and the circuit board by peeling it off of the circuit board.
-


To reassemble your device, follow these instructions in reverse order.
팀

Baylor, Team 6-9, Williams Fall 2015 Baylor, Team 6-9, Williams Fall 2015 회원
BU-WILLIAMS-F15S6G9
3 회원들
안내서 6개를 작성함