주요 콘텐츠로 건너뛰기
Kitchen Gourmet Waffle Maker Release Latch Spring Replacement

Kitchen Gourmet Waffle Maker Release Latch Spring Replacement

Fatima Ruiz Ruiz

Fatima Ruiz Ruiz3 다른 기여자

최종 수정일 May 15, 2024

10 - 15 분
쉬움
추천 학생 안내서

Is your Kitchen Gourmet Electric Waffle Maker not closing?

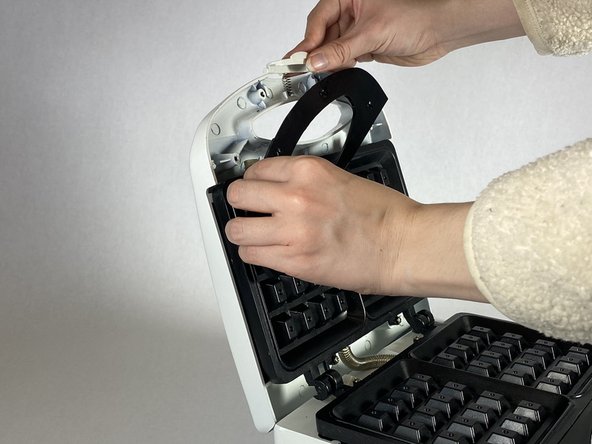
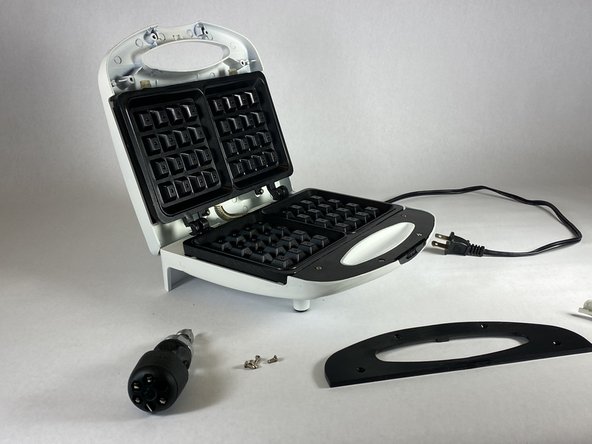
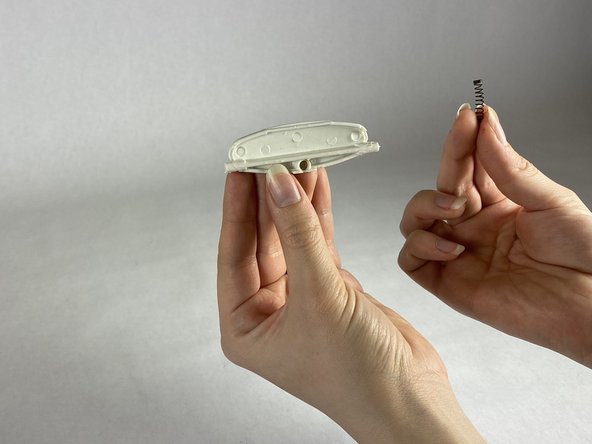
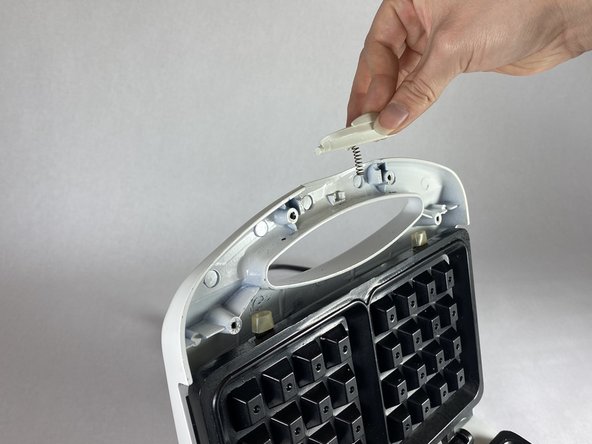
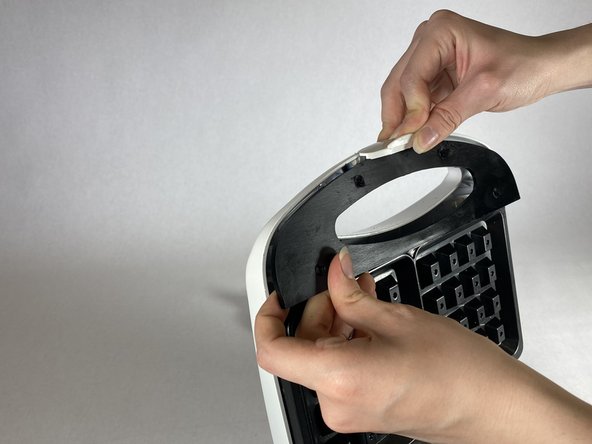
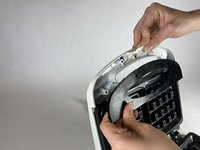
Our guide will help you resolve this issue, taking you step by step through the process of removing the interior waffle cover to uncover the spring that helps close the waffle maker.

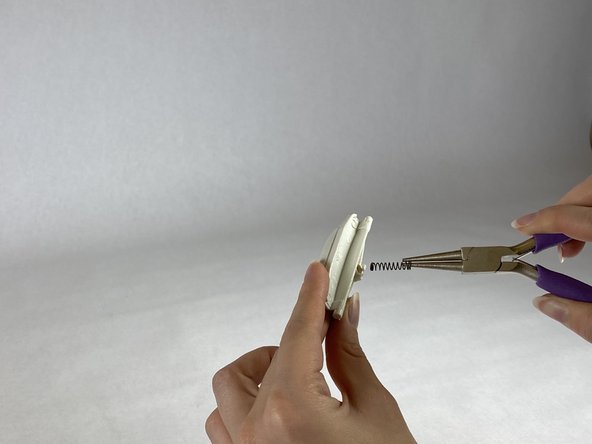
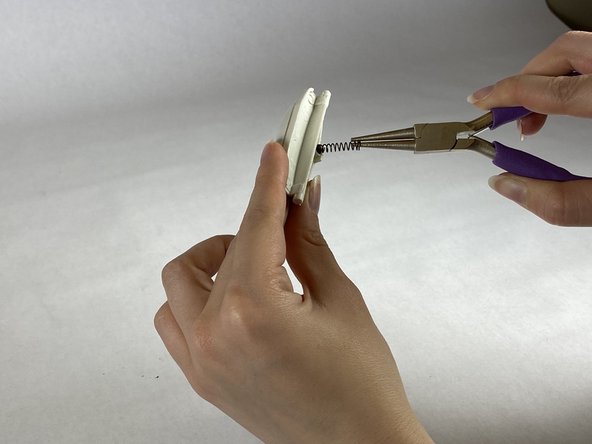
Oftentimes, as the years pass and the making of delicious waffles takes a toll on the release latch, the spring's bounce wears off. This makes it harder for you waffle-lovers to open up the waffle maker at all.

Some signs of a broken latch are: the waffle maker lid does not close, the handle does not bounce back, or the lid opens on its own.

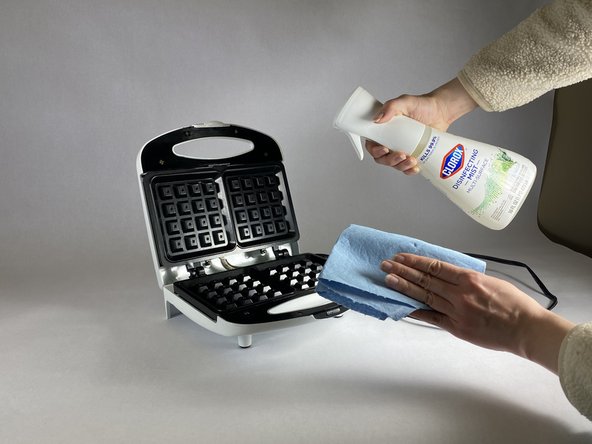
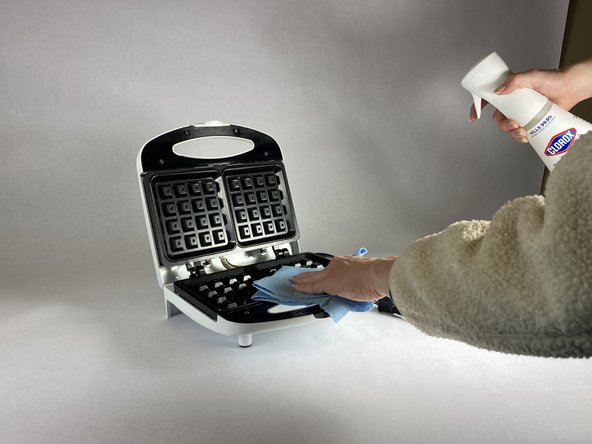
Before using this guide, ensure your Waffle Maker is unplugged and cooled down as its part of the process and makes things a lot easier for you!

Are you ready? Let's go!

필요한 것

부품

도구

더보기...

iFixit은 귀하가 이 링크를 통해 구매할 때 커미션을 받습니다.
  1. Kitchen Gourmet Waffle Maker Release Latch Spring Replacement, Release Latch Spring: 1 단계, 이미지 1개 중 1개
    • Unplug the waffle maker.

  2. Kitchen Gourmet Waffle Maker Release Latch Spring Replacement: 2 단계, 이미지 3개 중 1개 Kitchen Gourmet Waffle Maker Release Latch Spring Replacement: 2 단계, 이미지 3개 중 2개 Kitchen Gourmet Waffle Maker Release Latch Spring Replacement: 2 단계, 이미지 3개 중 3개
    • Open the waffle maker.

    • Make sure the waffle maker's surface is not hot.

  3. Kitchen Gourmet Waffle Maker Release Latch Spring Replacement: 3 단계, 이미지 3개 중 1개 Kitchen Gourmet Waffle Maker Release Latch Spring Replacement: 3 단계, 이미지 3개 중 2개 Kitchen Gourmet Waffle Maker Release Latch Spring Replacement: 3 단계, 이미지 3개 중 3개
    • Spray the interior of the waffle maker with cleaning solution.

    • Clean and wipe down the surface.

  4. Kitchen Gourmet Waffle Maker Release Latch Spring Replacement: 4 단계, 이미지 2개 중 1개 Kitchen Gourmet Waffle Maker Release Latch Spring Replacement: 4 단계, 이미지 2개 중 2개
    • Use a Phillips #1 screwdriver to remove the four screws that secure the plastic handle cover.

    • Spin in counterclockwise direction to loosen.

  5. Kitchen Gourmet Waffle Maker Release Latch Spring Replacement: 5 단계, 이미지 3개 중 1개 Kitchen Gourmet Waffle Maker Release Latch Spring Replacement: 5 단계, 이미지 3개 중 2개 Kitchen Gourmet Waffle Maker Release Latch Spring Replacement: 5 단계, 이미지 3개 중 3개
    • Carefully pull back the plastic cover, and gently remove the release latch.

  6. Kitchen Gourmet Waffle Maker Release Latch Spring Replacement: 6 단계, 이미지 2개 중 1개 Kitchen Gourmet Waffle Maker Release Latch Spring Replacement: 6 단계, 이미지 2개 중 2개
    • Remove the spring from the latch.

  7. Kitchen Gourmet Waffle Maker Release Latch Spring Replacement: 7 단계, 이미지 3개 중 1개 Kitchen Gourmet Waffle Maker Release Latch Spring Replacement: 7 단계, 이미지 3개 중 2개 Kitchen Gourmet Waffle Maker Release Latch Spring Replacement: 7 단계, 이미지 3개 중 3개
    • Carefully replace with the new spring.

    • Pliers are recommended but removal with hands is fine.

    • Be careful not to bend the spring when pushing into the plastic handle.

  8. Kitchen Gourmet Waffle Maker Release Latch Spring Replacement: 8 단계, 이미지 3개 중 1개 Kitchen Gourmet Waffle Maker Release Latch Spring Replacement: 8 단계, 이미지 3개 중 2개 Kitchen Gourmet Waffle Maker Release Latch Spring Replacement: 8 단계, 이미지 3개 중 3개
    • Orient the release latch in the correct direction, and line up the spring.

  9. Kitchen Gourmet Waffle Maker Release Latch Spring Replacement: 9 단계, 이미지 3개 중 1개 Kitchen Gourmet Waffle Maker Release Latch Spring Replacement: 9 단계, 이미지 3개 중 2개 Kitchen Gourmet Waffle Maker Release Latch Spring Replacement: 9 단계, 이미지 3개 중 3개
    • Hold the latch in place.

    • Line up the screw holes on the plastic cover to the waffle maker lid.

  10. Kitchen Gourmet Waffle Maker Release Latch Spring Replacement: 10 단계, 이미지 2개 중 1개 Kitchen Gourmet Waffle Maker Release Latch Spring Replacement: 10 단계, 이미지 2개 중 2개
    • Screw in all four screws tightly.

    • Spin in clockwise direction to tighten.

    • Screw in opposing screws first to keep them in place.

결론

To reassemble your device, follow these instructions in reverse order.

작성자

3다른 기여자 명과 함께

Fatima Ruiz Ruiz

회원 가입일: 02/01/24

193 평판

안내서 1개를 작성함

UC Davis, Team 3-4, Andersen Winter 2024 UC Davis, Team 3-4, Andersen Winter 2024 회원

UCD-ANDERSEN-W24S3G4

3 회원들

안내서 1개 작성

0가이드 댓글

댓글 쓰기

조회 통계:

지난 24시간: 0

지난 7일: 1

지난 30일: 19

전체 시간: 218