소개
The panel is a curved component that is part of the outer covering of a device. A faulty panel can cause your Lasko CD08200 heater to be exposed to outside sources such as water which can lead to unfortunate incidents. In some cases, your heater may not work at all if it has a faulty panel.
Before using this guide, make sure to review the troubleshooting page to be sure if replacing the control panel is the correct action to fix your device.
필요한 것
-
-
-
Turn over the device and place it on its head.
-
Remove the four 14mm screws holding the bottom using a TR15 screwdriver.
 FixBot에 문의하기
-
-
-
Remove both 14mm screws from the power cord casing using a Phillips #2 screwdriver.
-
Remove the power cord casing from the device case.
-
-
-
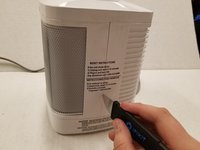
Cut the sticker on the right side of the device using a Jimmy.
-
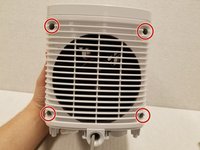
Unscrew the four 14mm screws with a Phillips #2 bit on the back of the device.
-
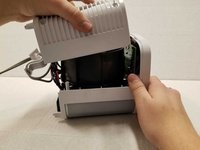
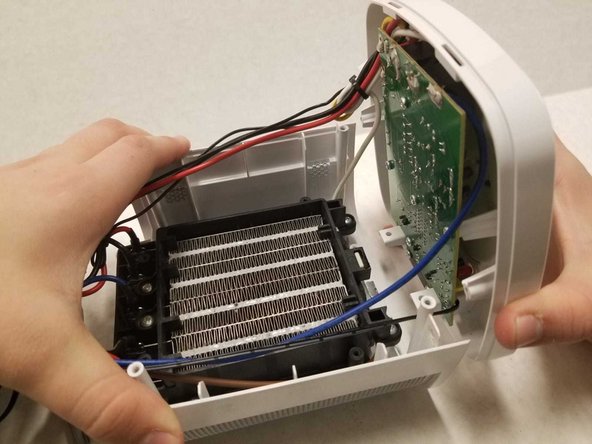
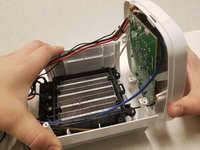
Remove the back casing from the device.
-
-
-
-
Remove the four 14mm screws housing the fan using the Phillips #2 screwdriver.
-
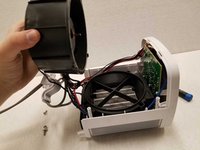
Remove the top of the fan housing with the fan attached and place it on the table.
-
-
-
-
-
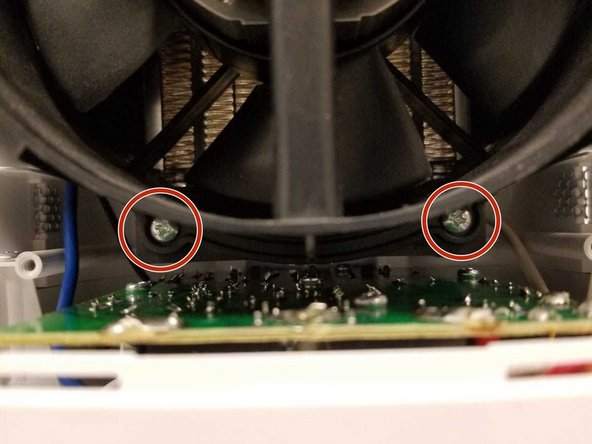
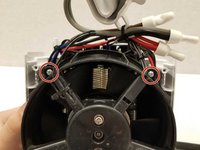
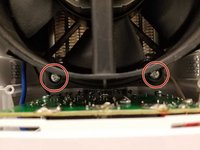
Unscrew the four rings using the Phillips #2.
-
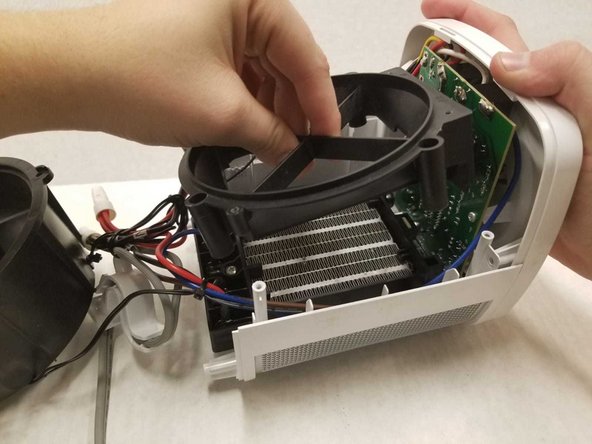
Gently remove the fan base from the device.
-
-
-
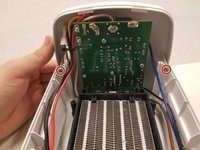
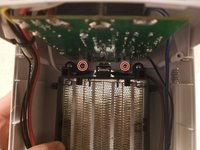
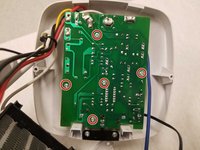
Remove the four 14mm screws using the Phillips #2 screwdriver.
-
Gently detach the control panel from the device.
-
-
-
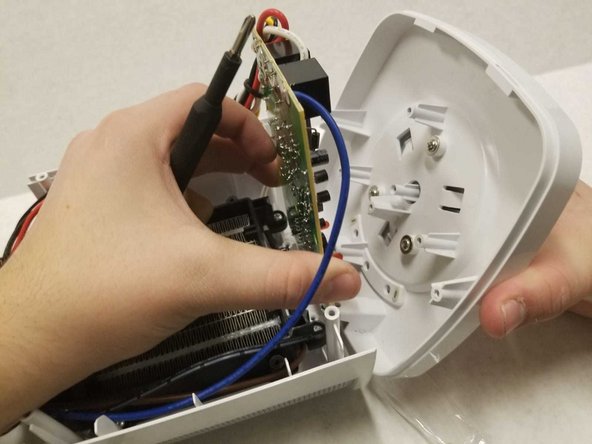
Remove the five 14mm screws using the Phillips #2 screwdriver.
-
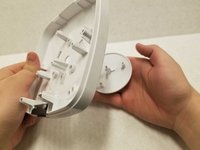
Pull apart the motherboard from the panel.
-
-
-
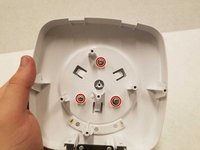
Remove the three 10mm screws using the Phillips #2 screwdriver.
-
Pull the button from the panel’s top.
-
-


To reassemble your device, follow these instructions in reverse order.
다른 한 분이 해당 안내서를 완성하였습니다.
팀

York University, Team S1-G1, Woodhouse Winter 2020 York University, Team S1-G1, Woodhouse Winter 2020 회원
YORK-WOODHOUSE-W20S1G1
3 회원들
안내서 9개를 작성함