
Lenovo Edge 15 Fan Replacement
6 - 10 분
쉬움
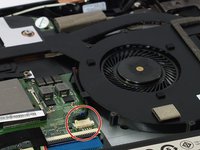
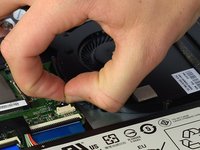
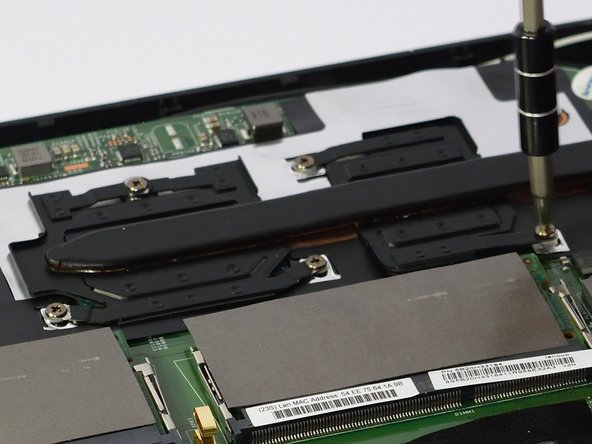
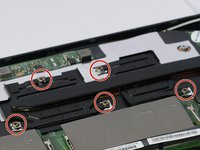
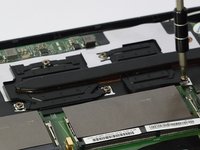
This guide will provide the necessary steps to remove and install the fan in the Lenovo Edge 15. The Edge 15 has the fan and heatsink connected together so the heatsink will be also be replaced in this process.


거의 끝나갑니다!
To reassemble your device, follow these instructions in reverse order.
결론
To reassemble your device, follow these instructions in reverse order.
다른 3명이 해당 안내서를 완성하였습니다.
팀

Cal Poly, Team S8-G1, Banghart Fall 2017 Cal Poly, Team S8-G1, Banghart Fall 2017 회원
CPSU-BANGHART-F17S8G1
5 회원들
안내서 7개를 작성함