주요 콘텐츠로 건너뛰기

Lenovo ThinkPad W540 Hard Drive Replacement

필요한 것

  1. Lenovo ThinkPad W540 Hard Drive Replacement, Hard Drive: 1 단계, 이미지 1/2 Lenovo ThinkPad W540 Hard Drive Replacement, Hard Drive: 1 단계, 이미지 2/2
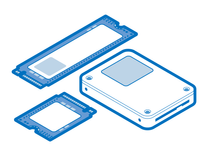
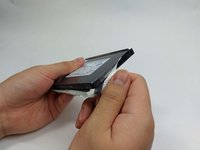
    • Flip the laptop to the bottom so the backplate is shown.

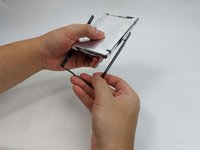
    • Use a Phillips #0 screwdriver to unscrew the 2 captive screws that secure the backplate.

    • These screws should hold on to the backplate even after removal. So, you shouldn't worry about losing them.

  2. Lenovo ThinkPad W540 Hard Drive Replacement: 2 단계, 이미지 1/2 Lenovo ThinkPad W540 Hard Drive Replacement: 2 단계, 이미지 2/2
    • Use a Phillips #00 screwdriver to unscrew the single 3 mm screw that secures the hard drive.

  3. Lenovo ThinkPad W540 Hard Drive Replacement: 3 단계, 이미지 1/1
    • Lift up the bottom half of the hard drive at a 25 degree angle.

    • Simply pull out the hard drive.

  4. Lenovo ThinkPad W540 Hard Drive Replacement: 4 단계, 이미지 1/3 Lenovo ThinkPad W540 Hard Drive Replacement: 4 단계, 이미지 2/3 Lenovo ThinkPad W540 Hard Drive Replacement: 4 단계, 이미지 3/3
    • Safely remove the plastic guard surrounding both the hard drive and ESD shielding.

  5. Lenovo ThinkPad W540 Hard Drive Replacement: 5 단계, 이미지 1/2 Lenovo ThinkPad W540 Hard Drive Replacement: 5 단계, 이미지 2/2
    • Carefully removing the ESD shielding surrounding the hard drive.

    • Do not disregard the ESD shielding unless your new hard drive or SSD comes with its own shielding. Failure to do so will lead to severe damage to your device.

결론

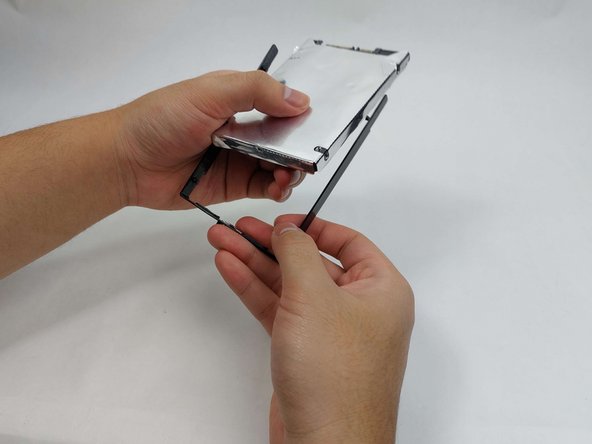
To reassemble your device, follow these instructions in reverse order.

다른 한 분이 해당 안내서를 완성하였습니다.

Kevin Dang

회원 가입일: 10/30/23

333 평판

안내서 2개 작성하였습니다

UMass Dartmouth, Team 3-2, Konn Fall 2023 UMass Dartmouth, Team 3-2, Konn Fall 2023 회원

UMASSD-KONN-F23S3G2

3 회원들

안내서 4개 작성하였습니다

댓글 0개

댓글 쓰기

조회 통계:

24 시간 전: 0

7일 전: 5

30일 전: 20

전체 시간: 115