소개
Impact damage, closing the laptop with excessive force, and scratches on the camera lens can cause the camera to break or develop bad image quality. This guide shows how to replace the camera within the Lenovo V14-IIL laptop. Be sure to remove small parts carefully.
Before using this guide, make sure to review the Lenovo V14-IIL troubleshooting page to review if there may be a solution that does not require component replacement.
Make sure to power off your laptop completely and disconnect from any external power source before beginning the process.
필요한 것
-
-
-
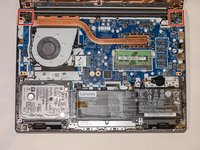
Flip your laptop over and place on a flat surface so you can access the screws on the base cover.
-
Remove the six 7 mm screws from the back panel of the laptop using a Phillips #0 screwdriver.
-
Remove the four 4 mm screws from the bottom edge of the laptop using a Phillips #0 screwdriver.
 FixBot에 문의하기
-
-
-
Use an iFixit opening tool to pry apart the case by sliding it along each side of the laptop.
-
-
-
-
-
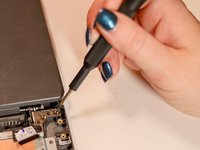
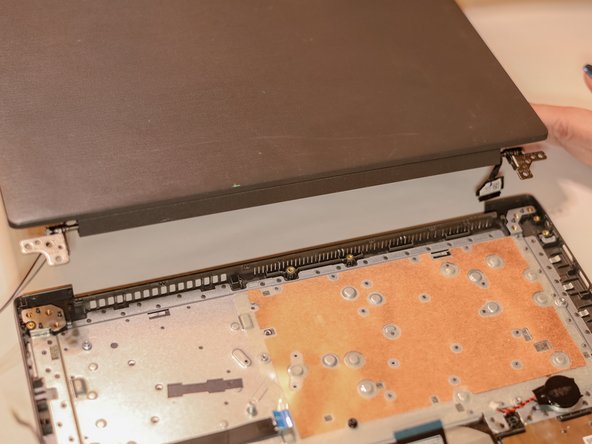
Using a Phillips #0 screwdriver, remove the four 5 mm screws from the hinges of the laptop.
-
-
-
-
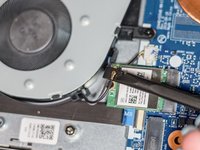
Using the spudger, disconnect the two wireless LAN cables (black and gray) from the wireless LAN card.
-
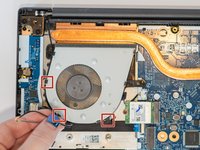
Remove the LAN cables from the three brackets on the fan.
-
-
-
-
-
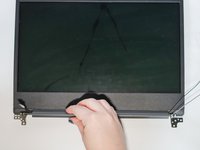
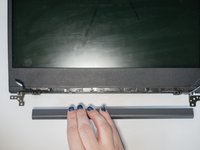
Slide the cable hinge cover to the right.
-
Pull the part away from the screen.
-
-
-
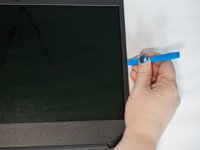
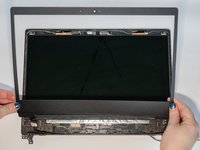
Use the iFixit opening tool to separate the bezel panel.
-
Slide the opening tool all the way around to loosen the bezels on all sides.
-
Lift away the bezel panel.
-
-
-
-
-
Disconnect the wire from the back of the integrated camera and lift the camera away.
-










To reassemble your device, follow these instructions in reverse order.
다른 한 분이 해당 안내서를 완성하였습니다.

팀

Tennessee Tech University, Team 1-2, Pickering Spring 2024 Tennessee Tech University, Team 1-2, Pickering Spring 2024 회원
TNTECH-PICKERING-S24S1G2
3 회원들
안내서 16개를 작성함
