주요 콘텐츠로 건너뛰기
수리 커뮤니티 가입 - 계정 만들기

Linksys EA9200 Power Switch Replacement

필요한 것

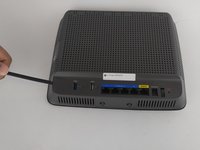
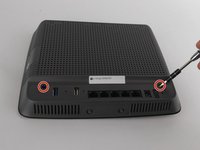
    1. Linksys EA9200 Power Switch Replacement, Linksys EA9200 Disassembly: 1 단계, 이미지 2개 중 1개 Linksys EA9200 Power Switch Replacement, Linksys EA9200 Disassembly: 1 단계, 이미지 2개 중 2개
      • Remove the sticker on the bottom.

      • Remove the two screws holding the bottom plate in place. Use Phillips screwdriver tip #1 , the screw head-size is 5mm.

      댓글 쓰기

    2. Linksys EA9200 Power Switch Replacement: 2 단계, 이미지 2개 중 1개 Linksys EA9200 Power Switch Replacement: 2 단계, 이미지 2개 중 2개
      • Remove the back sticker that has all the labels.

      • There are two screws to remove. They are 6mm in diameter, use phillips screw tip #1.

      댓글 쓰기

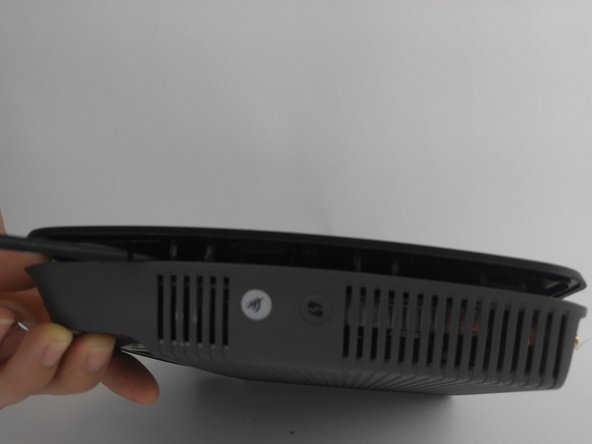
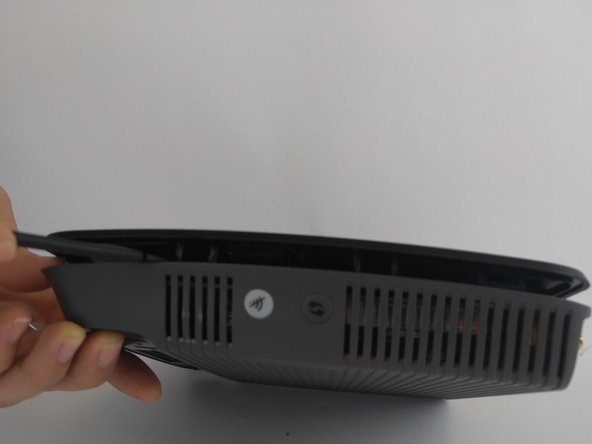
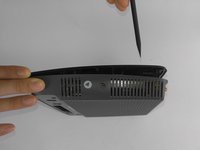
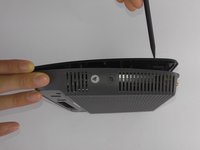
    3. Linksys EA9200 Power Switch Replacement: 3 단계, 이미지 3개 중 1개 Linksys EA9200 Power Switch Replacement: 3 단계, 이미지 3개 중 2개 Linksys EA9200 Power Switch Replacement: 3 단계, 이미지 3개 중 3개
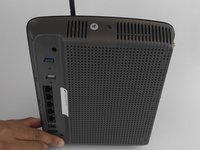
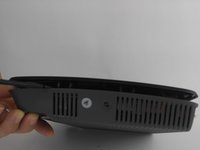
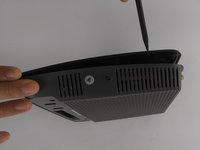
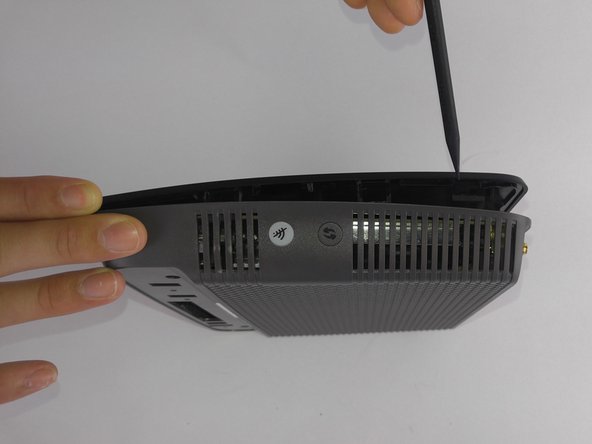
      • Depress the 12 clips along the edge into the router. Use the nylon spudger as using a metal object could cause damage.

      댓글 쓰기

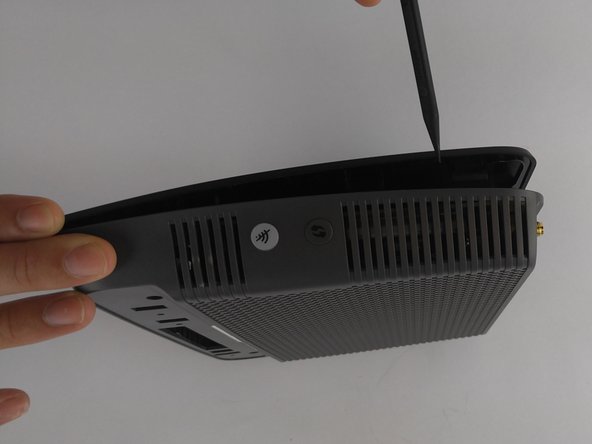
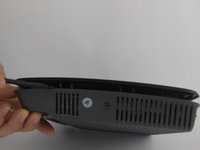
    4. Linksys EA9200 Power Switch Replacement: 4 단계, 이미지 3개 중 1개 Linksys EA9200 Power Switch Replacement: 4 단계, 이미지 3개 중 2개 Linksys EA9200 Power Switch Replacement: 4 단계, 이미지 3개 중 3개
      • Once you have one side open, keep a spudger wedged between both sides. This will help keep it open in case it tries to snap back together.

      • These clips are tough and may need some additional force.

      댓글 쓰기

    5. Linksys EA9200 Power Switch Replacement: 5 단계, 이미지 3개 중 1개 Linksys EA9200 Power Switch Replacement: 5 단계, 이미지 3개 중 2개 Linksys EA9200 Power Switch Replacement: 5 단계, 이미지 3개 중 3개
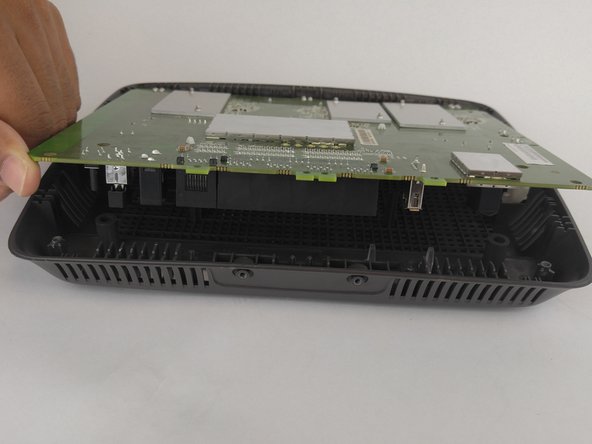
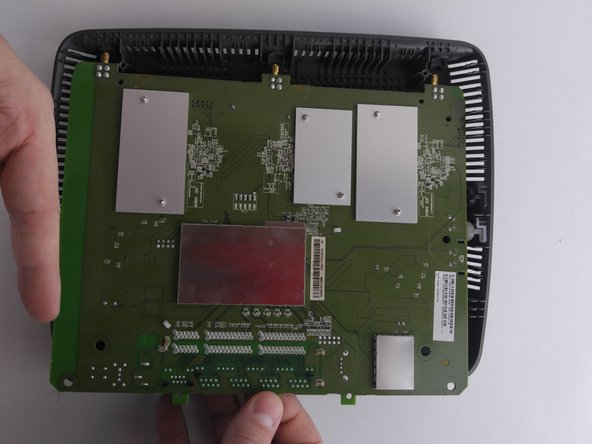
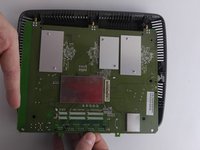
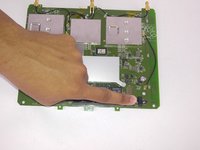
      • Lift the board and pull down, away from the antennas.

      댓글 쓰기

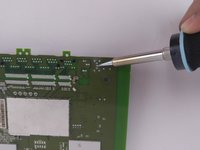
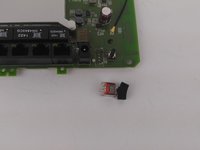
    1. Linksys EA9200 Power Switch Replacement, Power Switch: 6 단계, 이미지 3개 중 1개 Linksys EA9200 Power Switch Replacement, Power Switch: 6 단계, 이미지 3개 중 2개 Linksys EA9200 Power Switch Replacement, Power Switch: 6 단계, 이미지 3개 중 3개
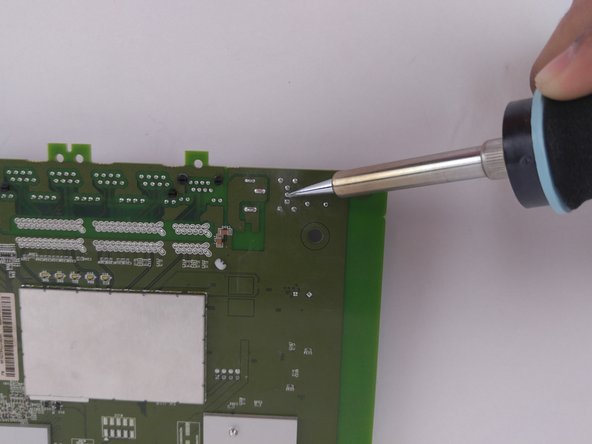
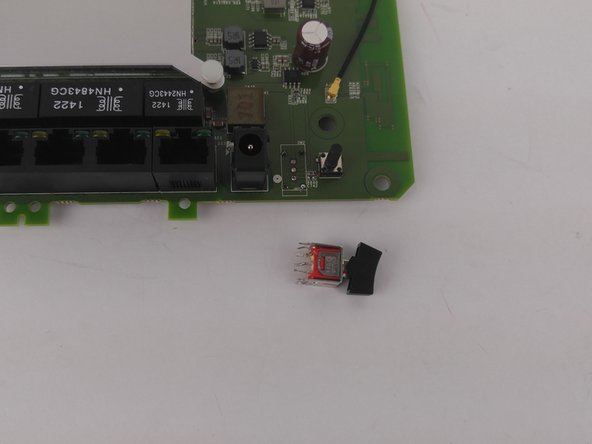
      • Desolder the 7 pins for the power switch from the backside of the circuit board.

      • In order to remove this part you will need a soldering iron that is capable of reaching temperatures greater than 300 degrees Fahrenheit.

      • 연결부 납땜 및 납제거 방법 is iFixit's official guide on how to use a soldering iron.

      댓글 쓰기

결론

To reassemble your device, follow these instructions in reverse order.

취소: 해당 안내서를 완성하지 않았습니다.

작성자

3다른 기여자 명과 함께

Shane Davis

회원 가입일: 10/05/16

374 평판

안내서 3개를 작성함

USF Tampa, Team 9-1, Lacy Fall 2016 USF Tampa, Team 9-1, Lacy Fall 2016 회원

USFT-LACY-F16S9G1

4 회원들

안내서 10개를 작성함

0가이드 댓글

댓글 쓰기

조회 통계:

지난 24시간: 0

지난 7일: 11

지난 30일: 24

전체 시간: 786