소개
Use this guide to safely remove and replace the battery in a Logitech Craft wireless keyboard.
Note: If your battery looks puffy or swollen, take extra precautions.
필요한 것
-
-
Before you begin, flip the keyboard's power switch into the OFF position.
-
-
-
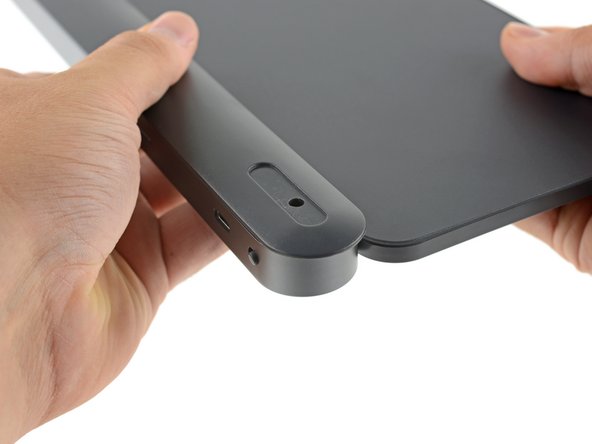
Flip the keyboard over, laying the it key-side down onto a clean work surface.
-
Heat an iOpener and lay it on the left rear plastic foot for about two minutes.
-
-
-
Insert the pointed end of a spudger at the edge of the foot.
-
Push the spudger underneath the foot and pry up to release its adhesive.
-
Once you can grip the foot with your fingers, peel it up and away from the keyboard to remove it.
-
-
-
Use a Phillips screwdriver to remove the 4.7 mm screw securing the bottom cover.
-
-
-
Hold the keyboard upside down.
-
Grip the bottom cover and slide it towards the ON/OFF switch to unlock it from the rest of the device.
-
-
-
-
Lay the keyboard back down onto your work surface.
-
Lightly push down on the bottom cover and slide it towards the ON/OFF switch.
-
Remove the bottom cover.
-
-
-
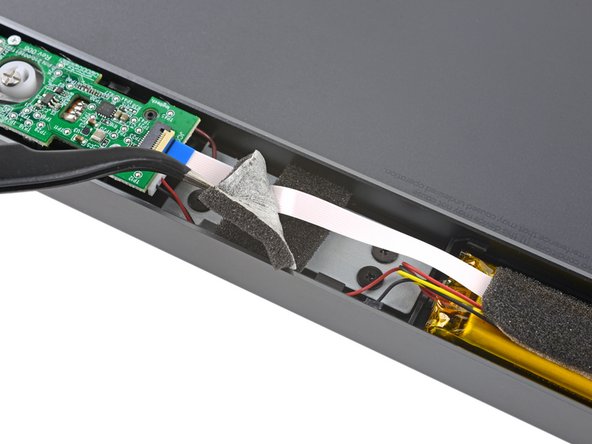
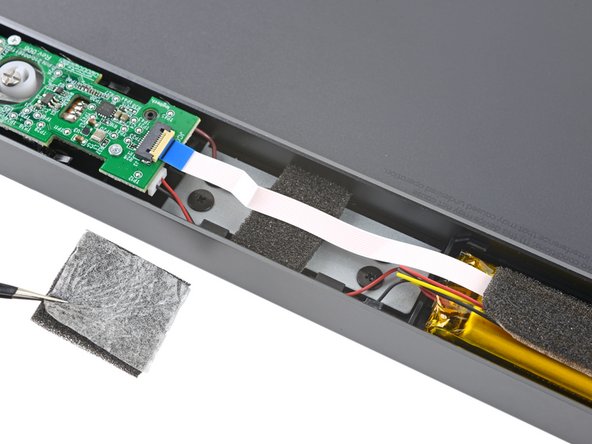
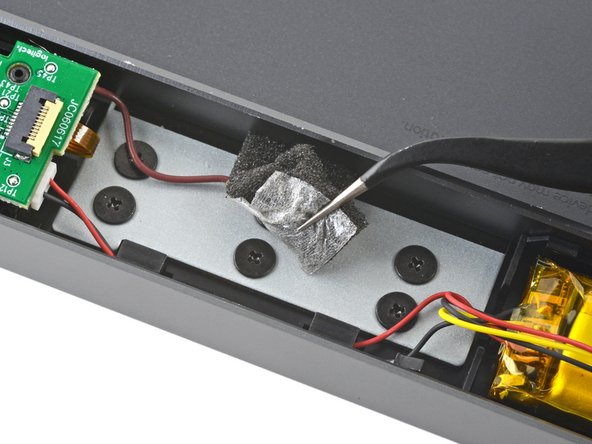
Use a pair of tweezers to peel up and remove the first piece of foam covering the interconnect cable.
-
-
-
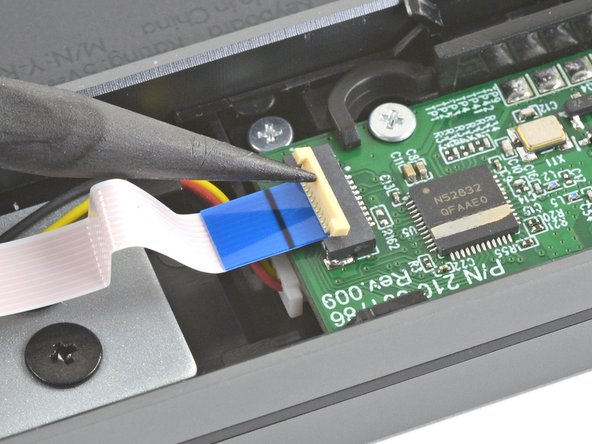
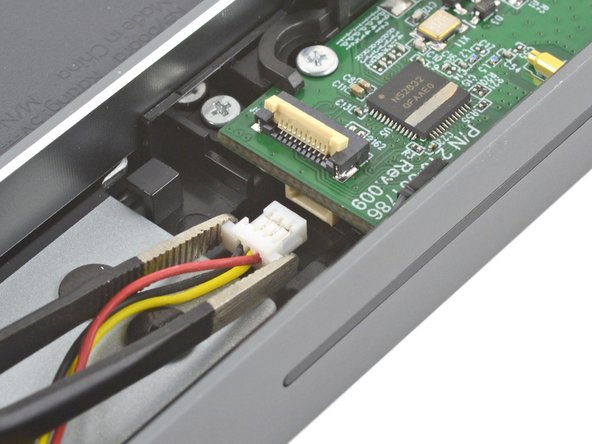
Use the pointed end of a spudger to lift up the small locking flap on the interconnect cable's ZIF connector.
-
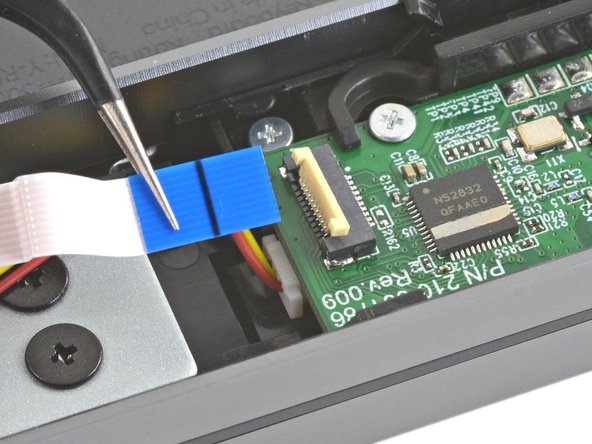
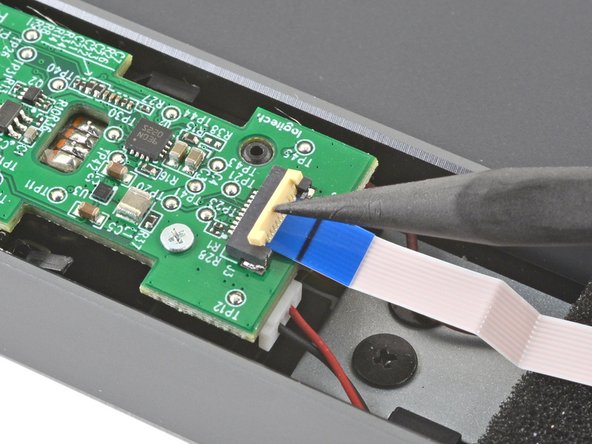
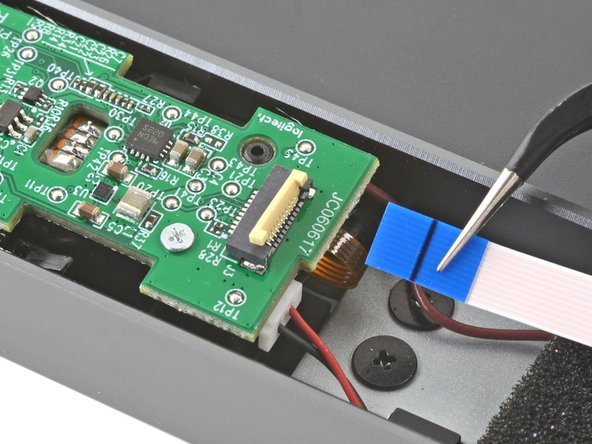
Use a pair of tweezers to slide the interconnect cable out of its connector.
-
-
-
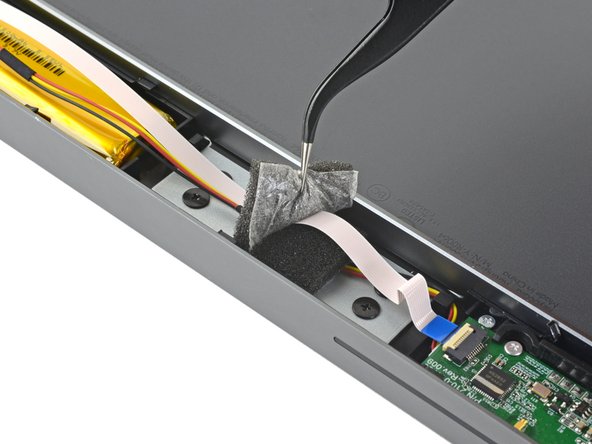
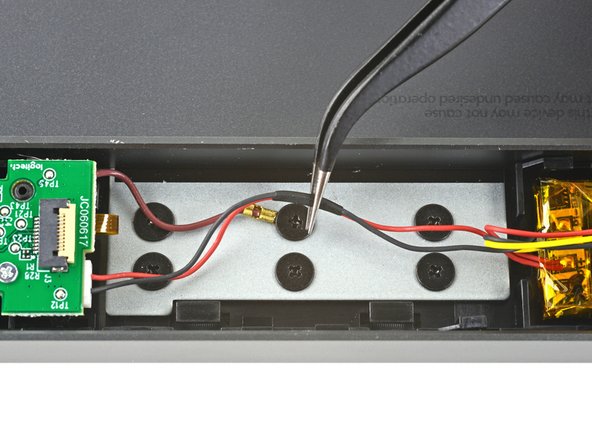
Use a pair of tweezers to remove the two remaining pieces of foam securing the battery wires.
-
-
-
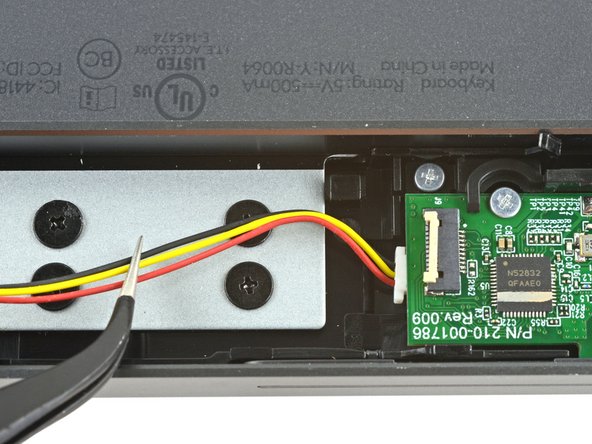
Use a pair of tweezers to slide the battery wires out from underneath their plastic cable routing clips, on either side of the battery.
-
-
-
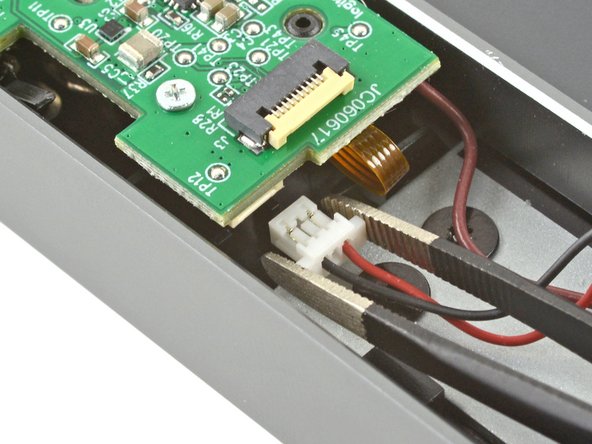
Use a pair of blunt tweezers to grip the edges of the left battery cable connector.
-
Pull the connector away from the left daughterboard to disconnect it.
-
-
-
Insert the flat edge of a spudger underneath one short edge of the battery.
-
Push the spudger underneath the battery, separating it from the adhesive holding it to the keyboard.
-
Remove the battery.
-
Remove any leftover adhesive from the battery well.
-
Apply double sided tape or pre-cut adhesive to secure the new battery.
-


To reassemble your device, follow the above steps in reverse order.
Take your e-waste to an R2 or e-Stewards certified recycler.
Repair didn’t go as planned? Check out our Answers community for troubleshooting help.
To reassemble your device, follow the above steps in reverse order.
Take your e-waste to an R2 or e-Stewards certified recycler.
Repair didn’t go as planned? Check out our Answers community for troubleshooting help.
다른 8명이 해당 안내서를 완성하였습니다.

