소개
The sensor ribbon connects the microphone, UV sensor, and buttons to the device
Warning: The following guide is likely to ruin the water resistance of the device.
필요한 것
-
-
Heat the iOpener. Instructions on how to do this can be found here: iOpener Instructions
-
Firmly press the frame of the band against the iOpener, and hold it in place for about 90 seconds.
 FixBot에 문의하기
-
-
-
Using a spudger, lightly press upwards against one corner of the frame, then the other along the corner of the short edge.
-
Alternating between the same two corners, continue pressing until there's about a 1-2 mm gap between that end of the frame and the body.
-
-
-
Insert the spudger into the gap under the frame, and lightly slide it about 3/4 of the way down one of the long edges, then repeat with the other.
-
If the frame doesn't simply pop off, try sliding the spudger the rest of the way down the long edges, and lightly lift the frame with your fingers.
-
-
-
-
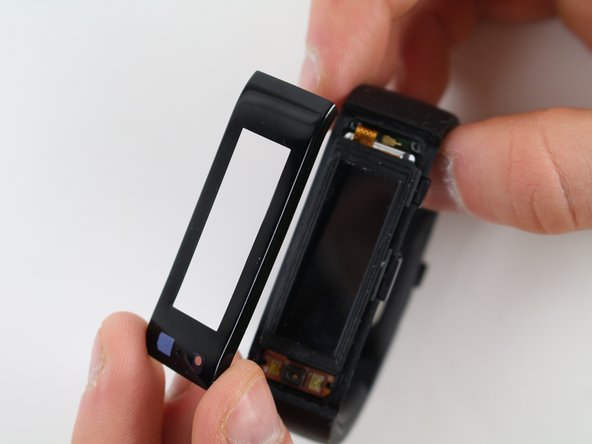
Gently lift the LCD screen from the components using your fingertips.
-
-
-
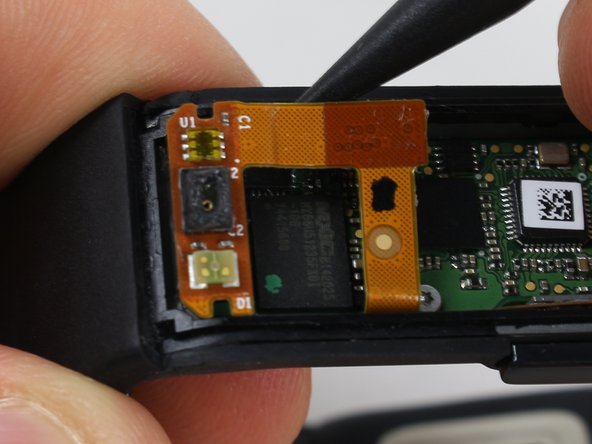
Lightly pry up the black connector from the motherboard using a spudger.
-
Pull the entire LCD screen gently upward to detach the yellow ribbon cable.
-
-
-
Using the spudger or the plastic opening tool, gently unhook the golden ribbon from the corner on the opposite side of the buttons. The part of the ribbon with the three boxes should then easily be detached from the band.
-
-
이 단계에 사용된 도구:Tweezers$4.99
-
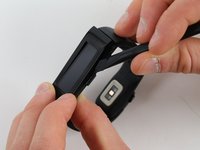
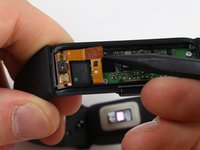
Using your fingers or tweezers, gently pull the band from away from the motherboard to detach the strip from the buttons.
-


To reassemble your device, follow these instructions in reverse order.
다른 한 분이 해당 안내서를 완성하였습니다.
팀

Cal Poly, Team 17-34, Amido Winter 2015 Cal Poly, Team 17-34, Amido Winter 2015 회원
CPSU-AMIDO-W15S17G34
4 회원들
안내서 6개를 작성함