주요 콘텐츠로 건너뛰기
수리 커뮤니티 가입 - 계정 만들기

Nabi Jr Motherboard Replacement

필요한 것

    1. Nabi Jr Motherboard Replacement, Rear Case: 1 단계, 이미지 1개 중 1개
      • Remove the red rubber case from the device. This should come off with ease.

      댓글 쓰기

    2. Nabi Jr Motherboard Replacement: 2 단계, 이미지 1개 중 1개
      • Turn the device so the screen is facing away from you.

      • Using a philips head, size #00, screwdriver, remove the screws in each corner of the plastic casing.(total of 4 screws)

      댓글 쓰기

    3. Nabi Jr Motherboard Replacement: 3 단계, 이미지 1개 중 1개
      • Remove the device casing using a small plastic pry bar.

      • This might take a little bit of force to accomplish, don't be afraid to go at it with a little gusto.

      댓글 쓰기

    4. Nabi Jr Motherboard Replacement: 4 단계, 이미지 1개 중 1개
      • After loosening the back cover, remove it from the device so you can get at the innards.

      댓글 쓰기

    1. Nabi Jr Motherboard Replacement, Motherboard: 5 단계, 이미지 1개 중 1개
      • Use the Philips #00 screwdriver to remove the 5 screws from the motherboard

      댓글 쓰기

    2. Nabi Jr Motherboard Replacement: 6 단계, 이미지 1개 중 1개
      • De-solder the grey wire from motherboard

      댓글 쓰기

    3. Nabi Jr Motherboard Replacement: 7 단계, 이미지 1개 중 1개
      이 단계에 사용된 도구:
      Tweezers
      $4.99
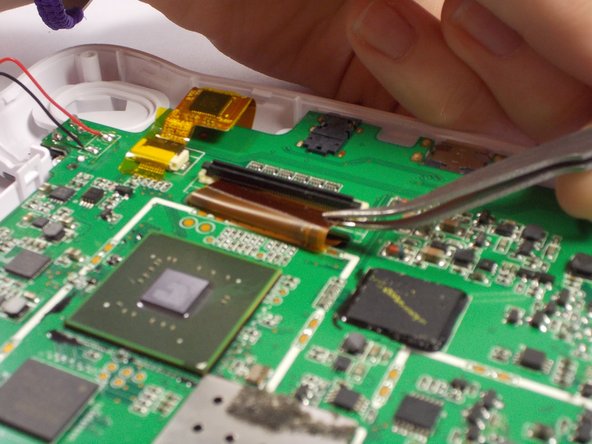
      • Use tweezers to peel off all yellow tape from the motherboard

      • Yellow tape is used in all locations where there is ribbon cable present.

      댓글 쓰기

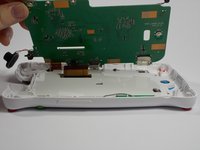
    4. Nabi Jr Motherboard Replacement: 8 단계, 이미지 2개 중 1개 Nabi Jr Motherboard Replacement: 8 단계, 이미지 2개 중 2개
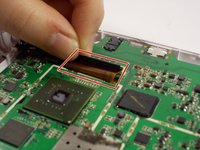
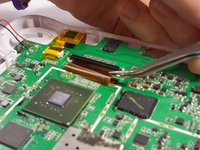
      • Remove all three ribbon cables from the motherboard by lifting up the locking tabs.

      • Pull black locking tabs up in opposite direction of ribbon cable to remove.

      • Use tweezers to pull the ribbon cable out of the locking tab's slot

      댓글 쓰기

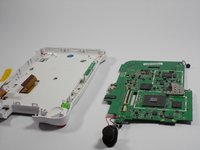
    5. Nabi Jr Motherboard Replacement: 9 단계, 이미지 2개 중 1개 Nabi Jr Motherboard Replacement: 9 단계, 이미지 2개 중 2개
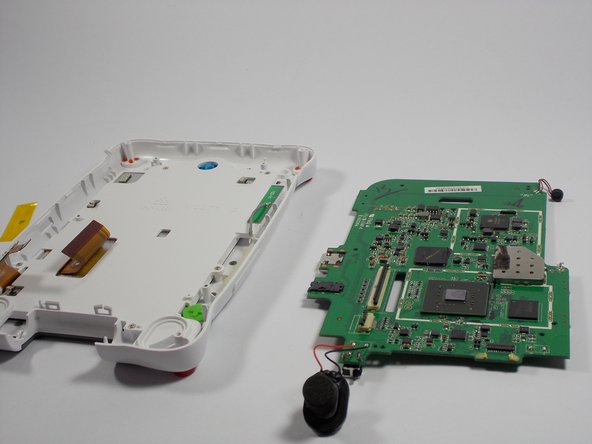
      • Lift motherboard to separate it the from the case shell.

      댓글 쓰기

결론

To reassemble your device, follow these instructions in reverse order.

취소: 해당 안내서를 완성하지 않았습니다.

작성자

4다른 기여자 명과 함께

Kaila Joy

회원 가입일: 03/24/15

86 평판

안내서 2개를 작성함

UMass Dartmouth, Team 4-3, Vijaybhaskar Spring 2015 UMass Dartmouth, Team 4-3, Vijaybhaskar Spring 2015 회원

UMASSD-VIJAYBHASKAR-S15S4G3

3 회원들

안내서 12개를 작성함

0가이드 댓글

댓글 쓰기

조회 통계:

지난 24시간: 1

지난 7일: 3

지난 30일: 17

전체 시간: 1,443