
I bought a kit to fix this component. The kit contained the headphone jack itself, a Phillips #00 Screwdriver and an Opening Tool.
I made do with just the above tools, but my instructions use the ideal tools should you have them.
I also replaced the rear camera at the same time, by following the excellent guide for that component.
필요한 것
부품


도구


더보기...
-
-
Insert a SIM card eject tool or a paper clip into the hole next to the SIM card slot, which is located just under the power button. Do not force the paper clip if it is too thick; instead use the head of a sewing needle.
-
Push the tool into the hole until you see the card pop out.
-
-
-
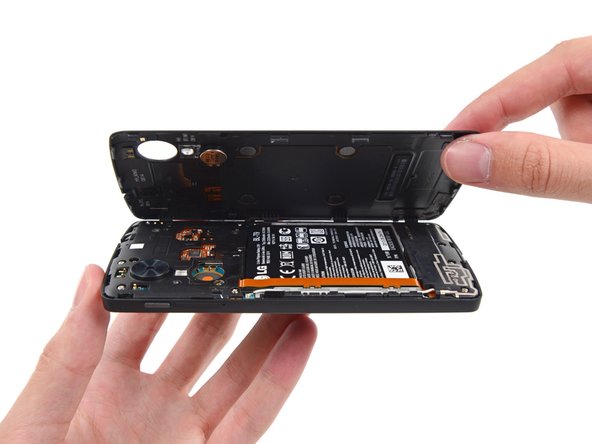
Use a plastic opening tool to free the clips on the top and each side of the back cover.
-
-
-
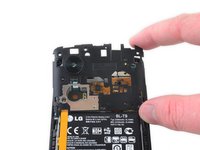
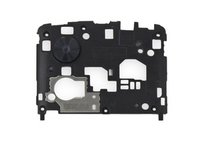
Remove the six 4.0 mm Phillips #00 screws that secure the midframe to the phone.
-
To replace the LCD screen and digitizer, remove the additional four 4.0mm daughterboard cover screws with the same screwdriver. You may have to pierce through clear adhesive material to remove them.
-
-
-
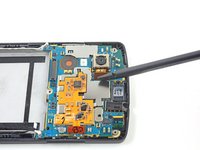
이 단계에 사용된 도구:Spudger$2.99
-
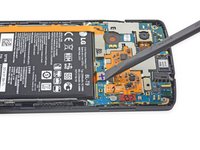
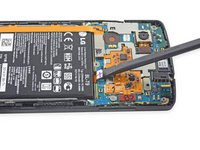
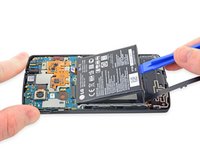
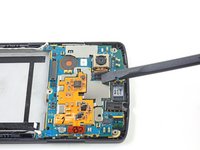
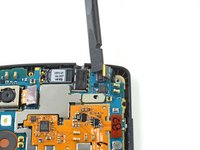
Use the flat end of a nylon spudger to disconnect the battery connector.
-
-
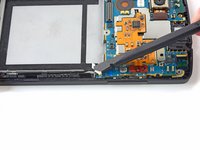
이 단계에 사용된 도구:Tweezers$4.99
-
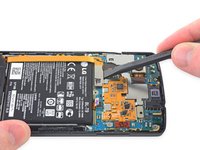
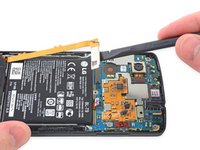
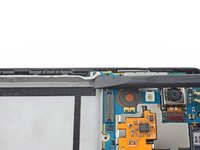
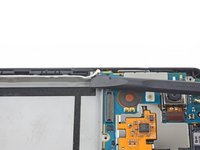
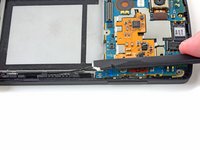
Use a spudger or tweezers to pull the headphone jack upward and out of the phone.
-
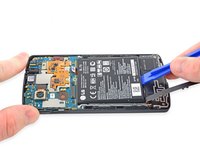
Place the new headphone jack by orienting it like the old one and pressing it gently down into the phone.
-


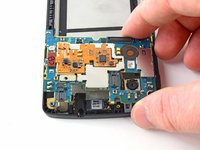


To reassemble your device, follow these instructions in reverse order.
To reassemble your device, follow these instructions in reverse order.
다른 6명이 해당 안내서를 완성하였습니다.