
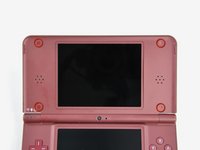
Nintendo DSi XL Rear Bezel Replacement

예상시간 없음
조정
Be the envy of onlooking gamers with a shiny new rear bezel on your DSi XL.
필요한 것


iFixit은 귀하가 이 링크를 통해 구매할 때 커미션을 받습니다.


거의 끝나갑니다!
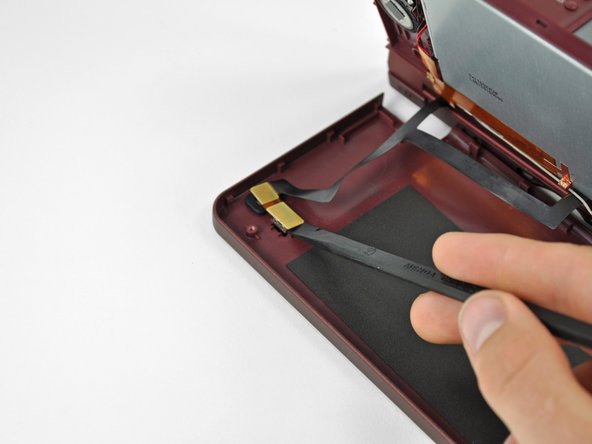
To reassemble your device, follow these instructions in reverse order.
결론
To reassemble your device, follow these instructions in reverse order.
다른 3명이 해당 안내서를 완성하였습니다.
