소개
Follow this guide to replace the LCD screen on your Nintendo Game Boy Advance SP.
You may need to replace your Game Boy screen if it's dead, unresponsive, discolored, has dead pixels or lines, or no longer displays an image.
If you think your screen is cracked, double-check that it’s not the plastic screen lens. If it's just the lens that's cracked, follow this guide to replace it.
The Game Boy Advance SP uses JIS screws. If you use a non-iFixit Phillips driver in JIS screws, you'll risk stripping them. iFixit's Phillips bits are designed to be compatible with JIS screws.
Note: This guide only covers replacing the screen with an original LCD one, not an IPS upgrade. Some IPS upgrades require soldering, modifications, or using a new shell. If you're upgrading the screen, you may still find this guide helpful to get you to the point of soldering or modifications. From there, you can reference any instructions included with your upgraded screen, or find more help on the website you purchased from.
필요한 것
-
-
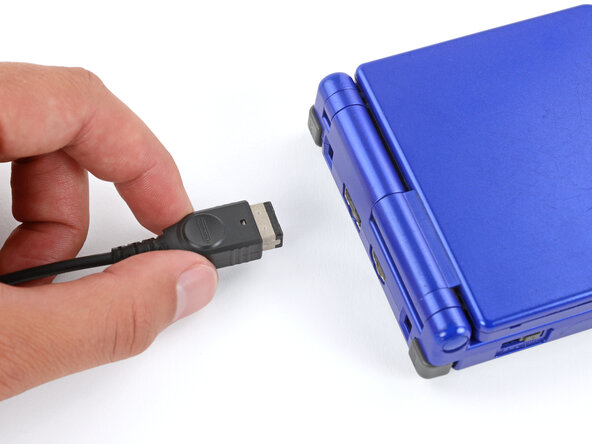
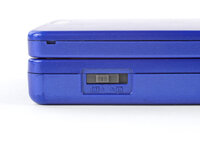
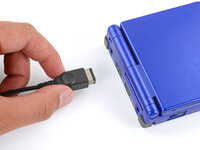
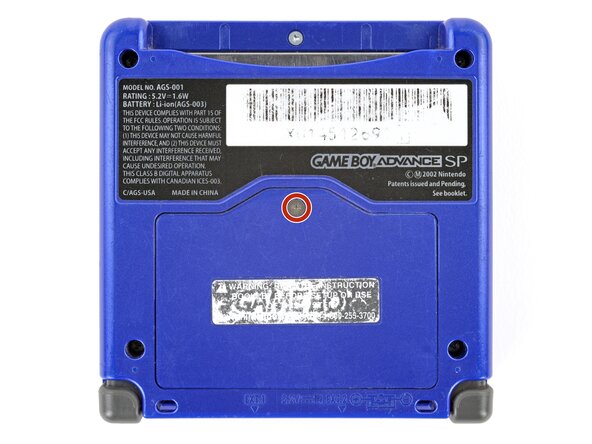
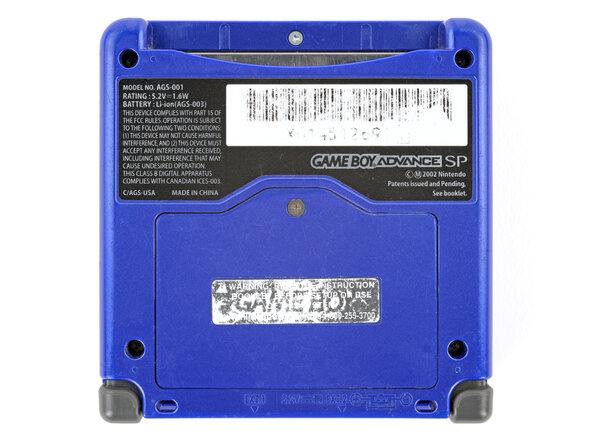
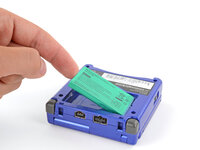
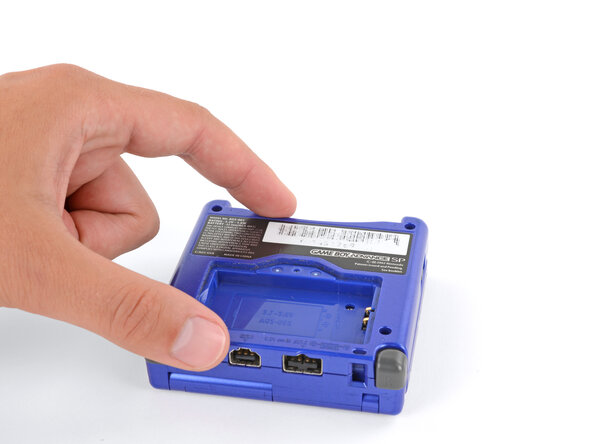
Slide the power switch to the OFF position and unplug any cables.
-
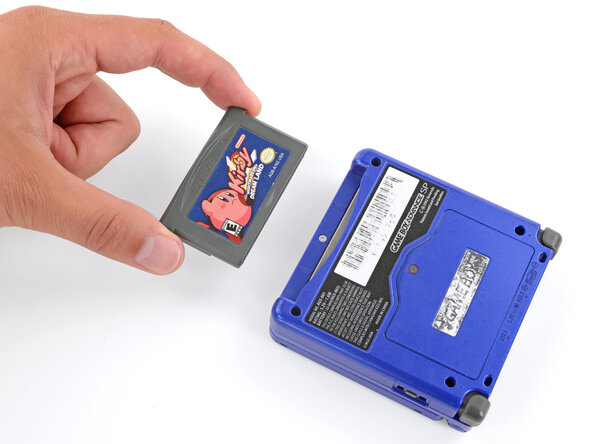
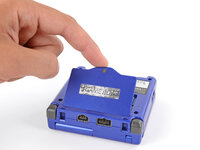
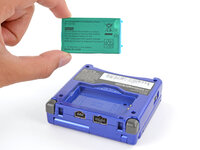
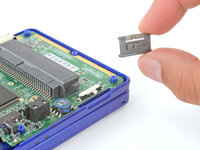
If you have a game cartridge in, remove it.
 FixBot에 문의하기
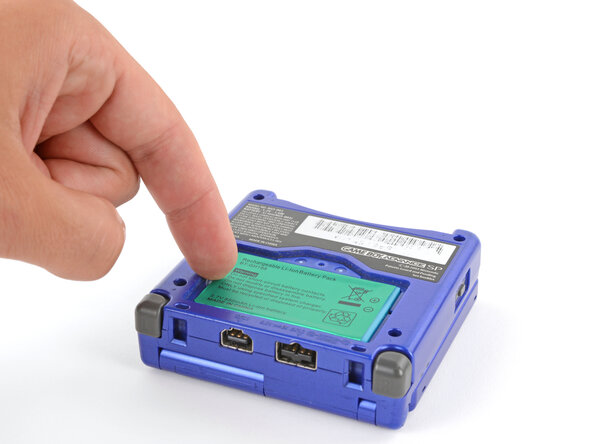
-
-
-
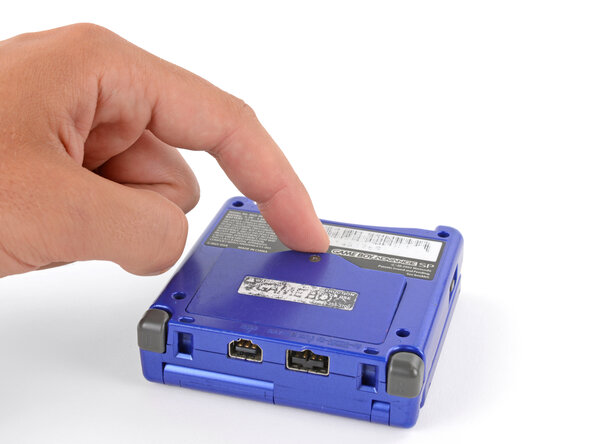
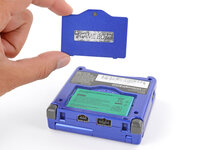
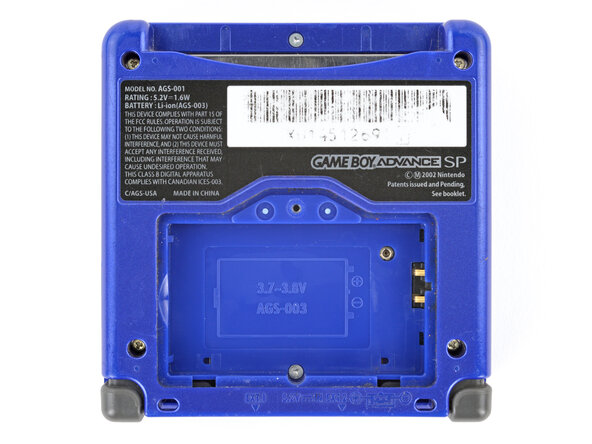
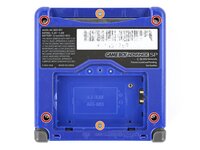
Use a JIS 00 screwdriver to loosen the captive screw securing the battery cover.
-
-
-
-
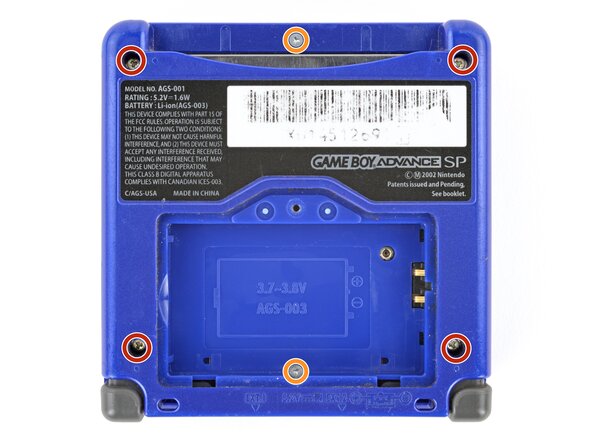
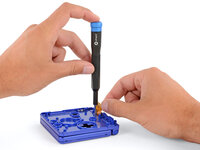
Use a tri‑point Y0 screwdriver to remove the six screws securing the bottom shell:
-
Four 6.3 mm‑long recessed screws
-
Two 4.6 mm‑long screws
-
-
-
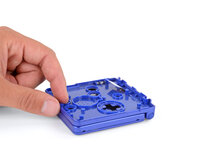
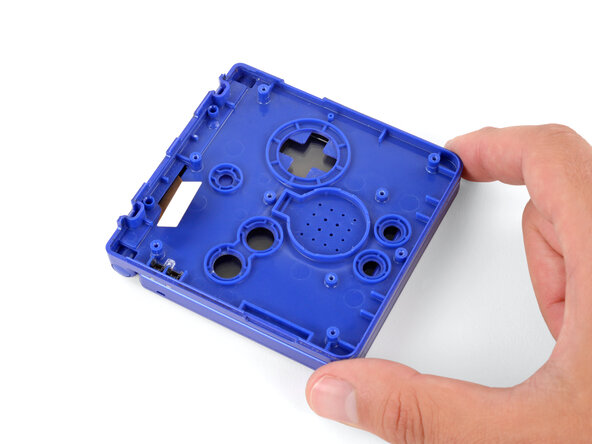
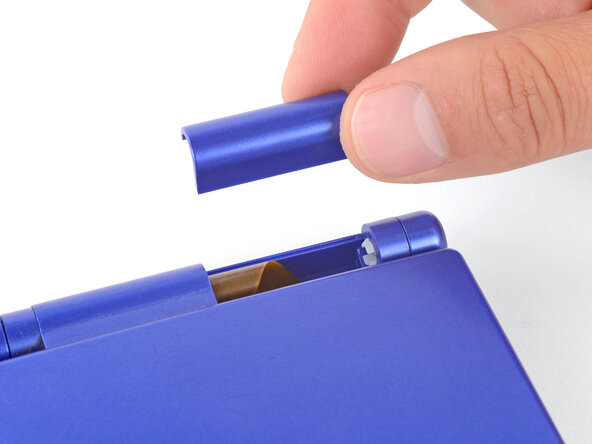
Use your fingers to lift and remove the power switch cover.
-
Use your fingers to put the power switch cover (notched side up) into place so the cutout goes around the actual switch.
-
Gently slide the cover back and forth to make sure it's positioned properly and moving the switch.
-
-
-
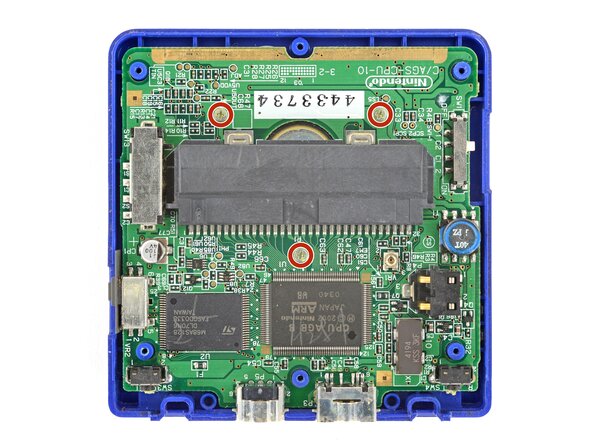
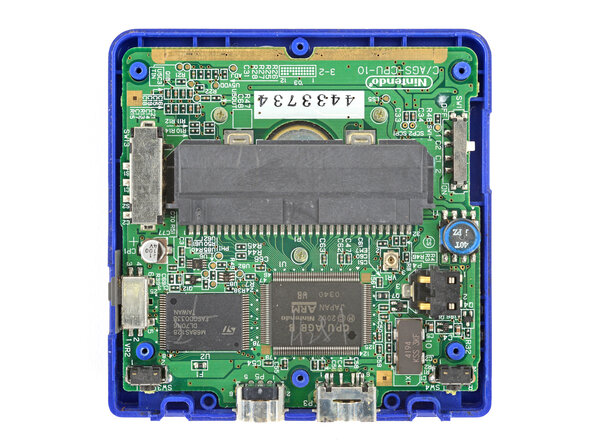
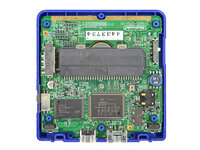
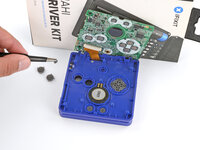
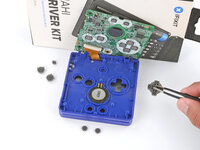
Use a JIS 00 screwdriver to remove the three 4.1 mm‑long screws securing the motherboard.
-
-
-
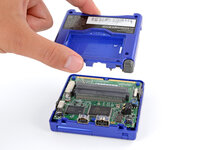
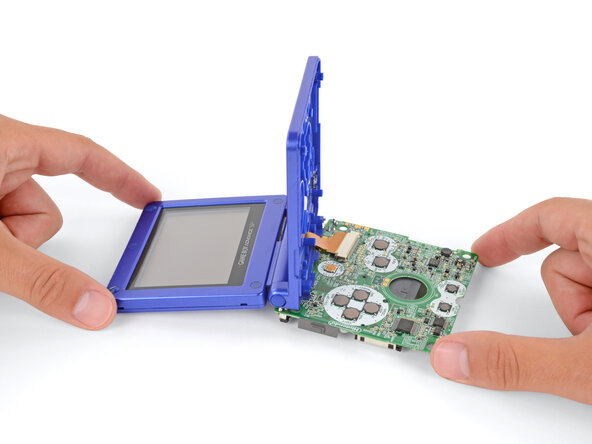
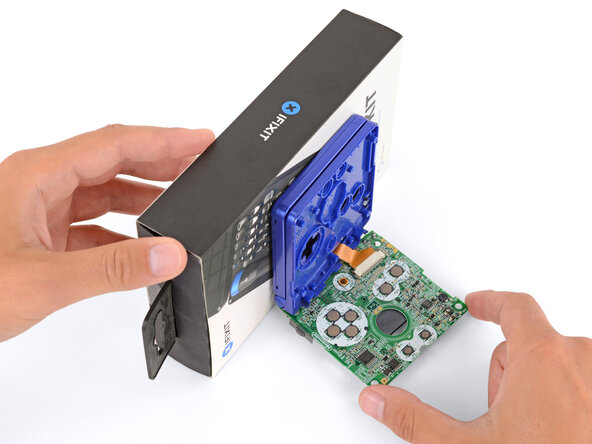
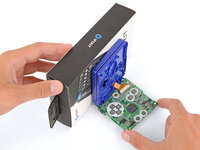
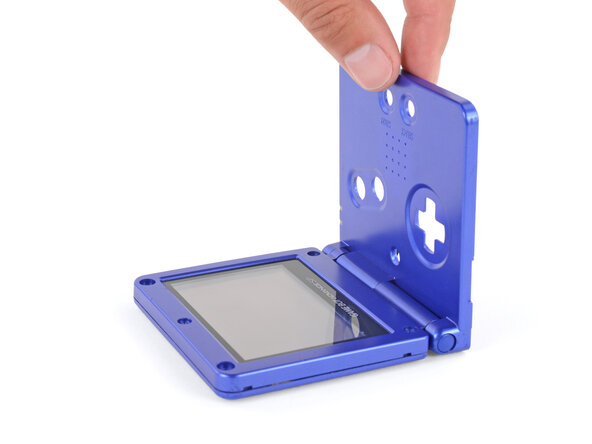
Place a sturdy object such as a stack of books or tool case along the edge of your Game Boy with the hinges.
-
Use your fingers to gently flip the motherboard over the hinges and prop it up.
-
-
-
-
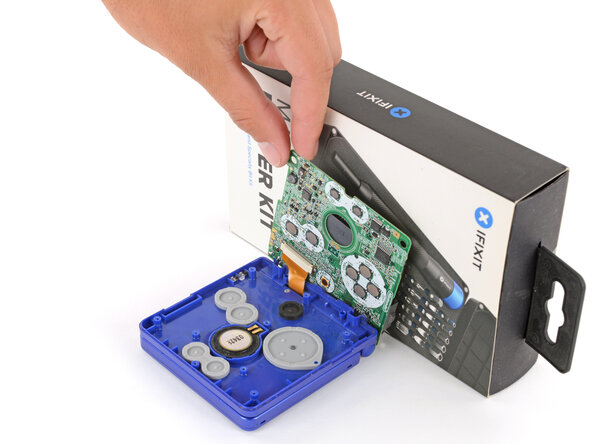
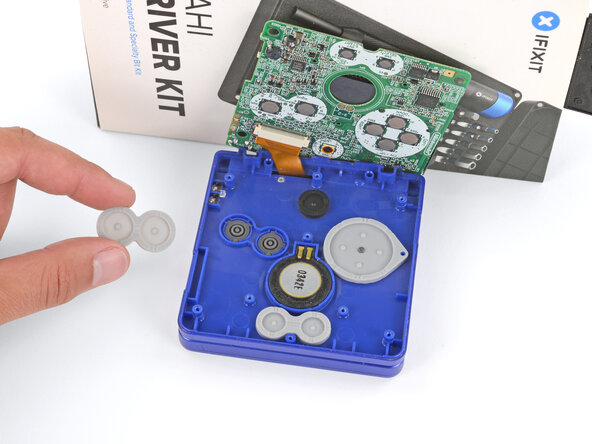
Use tweezers or your fingers to remove the four silicone pads covering the buttons (A and B, D‑pad, brightness, and Start/Select).
-
-
-
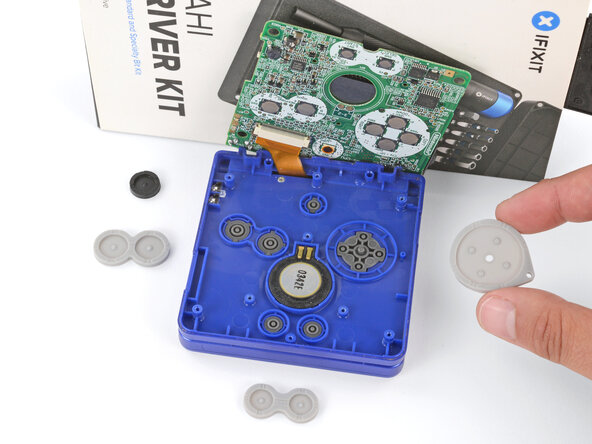
Use tweezers or your fingers to remove the buttons (A and B, D‑pad, brightness, and Start/Select).
-
-
-
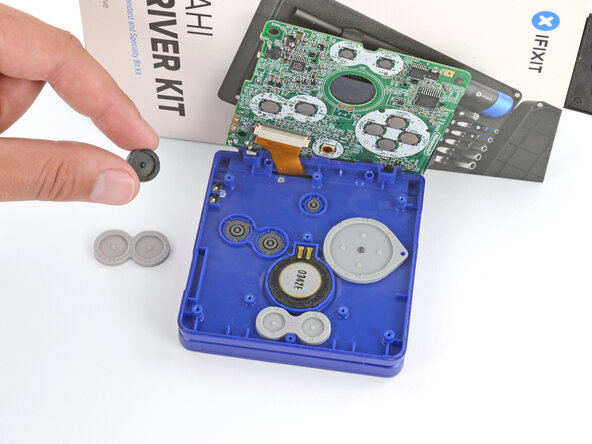
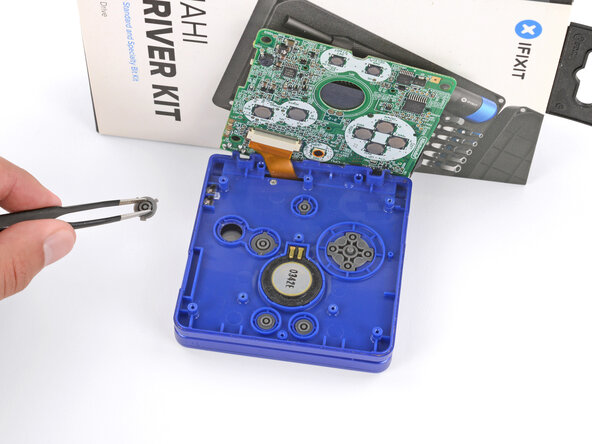
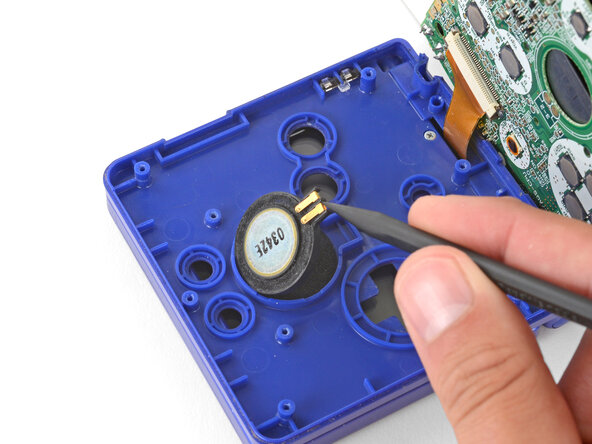
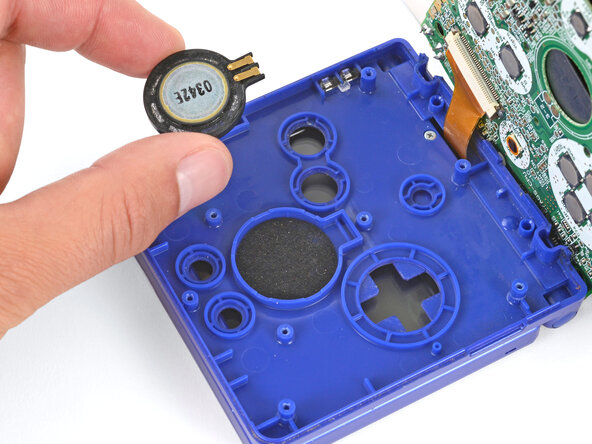
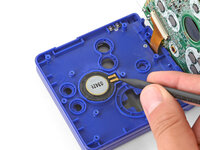
Use the point of a spudger or a clean fingernail to lift the speaker until you can grip it with your fingers.
-
Remove the speaker.
-
-
-
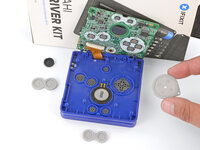
Remove the circular mesh from the speaker recess and set it aside—the piece can easily fall out and get lost when working.
-
-
-
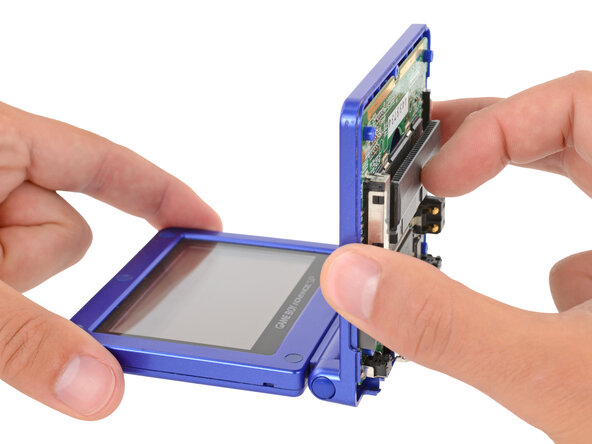
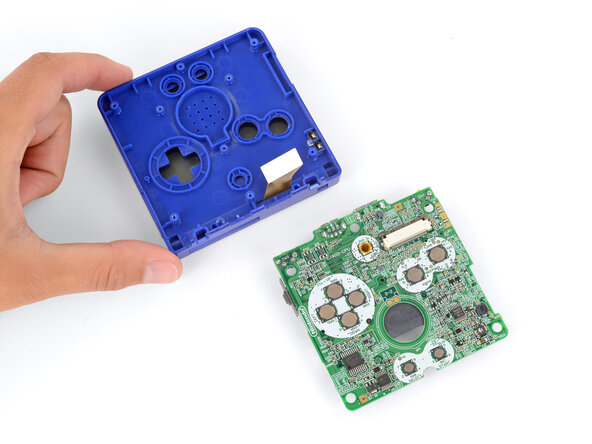
Option 1: Open the main body of your Game Boy to a 90‑degree angle and gently lay the motherboard down. Make sure the main body is resting on top of the motherboard to give the cable slack.
-
Option 2: Keep the main body closed and prop it up on the edge of the logic board, using a sturdy object to hold it up.
-
-
-
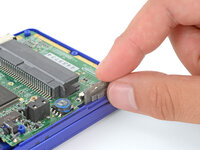
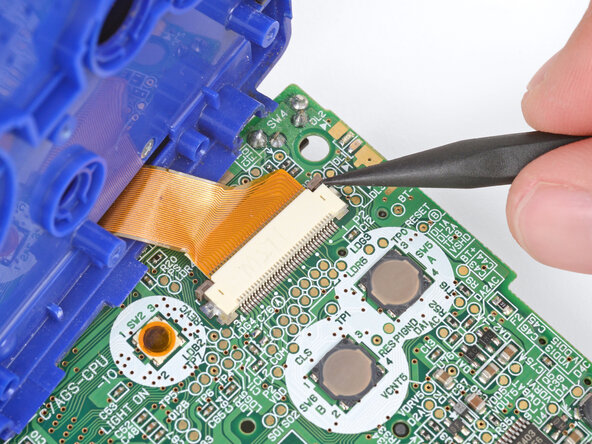
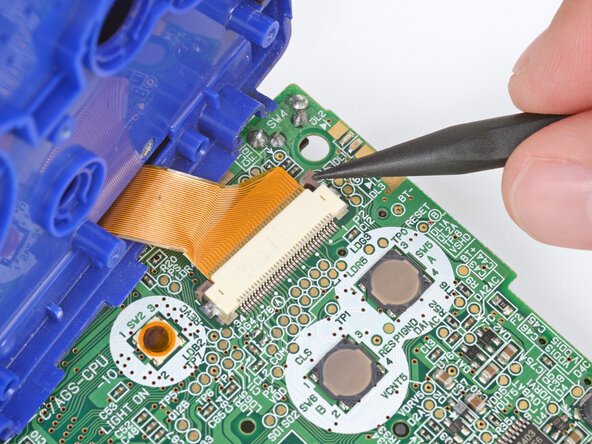
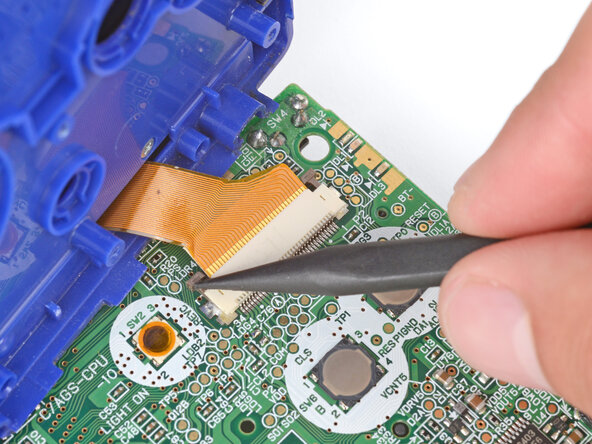
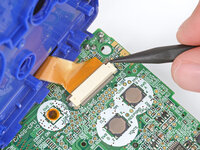
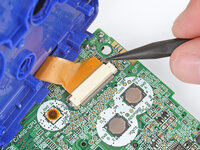
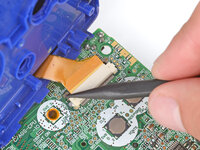
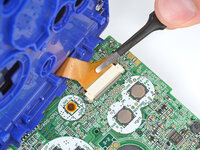
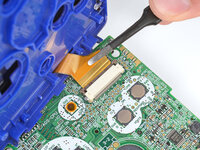
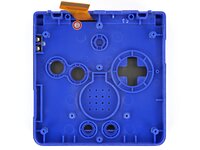
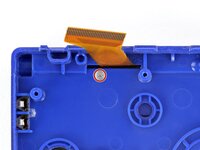
Use the point of a spudger to push the two tabs on either side of the screen cable connector into the unlocked position.
-
-
-
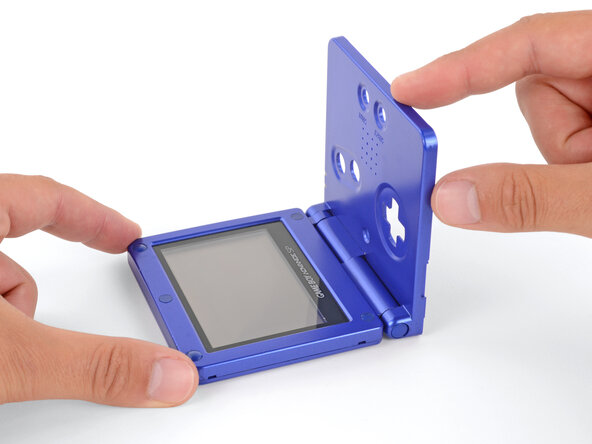
Open your Game Boy to a 90‑degree angle and set it down so the screen is facing up.
-
-
-
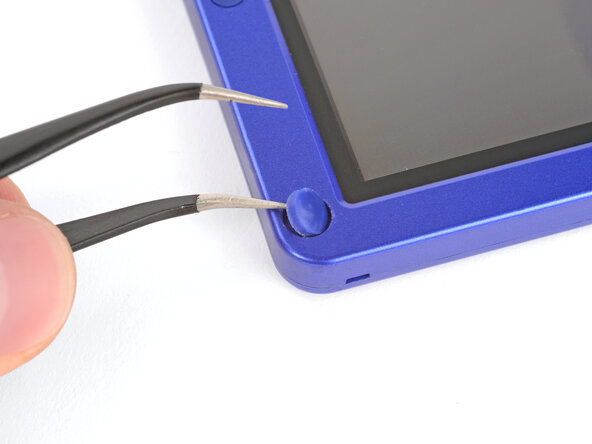
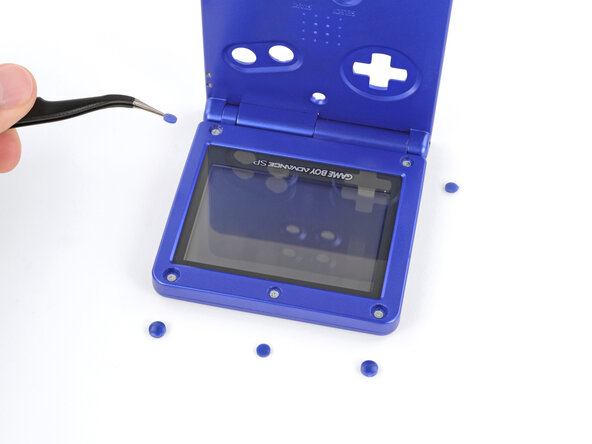
Use a pair of angled tweezers to pry up and remove all five rubber screw covers.
-
-
-
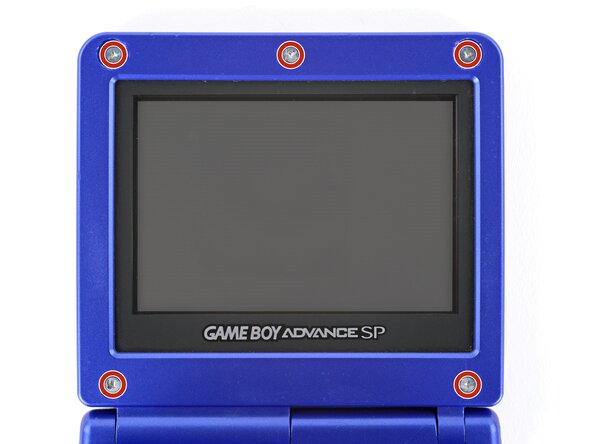
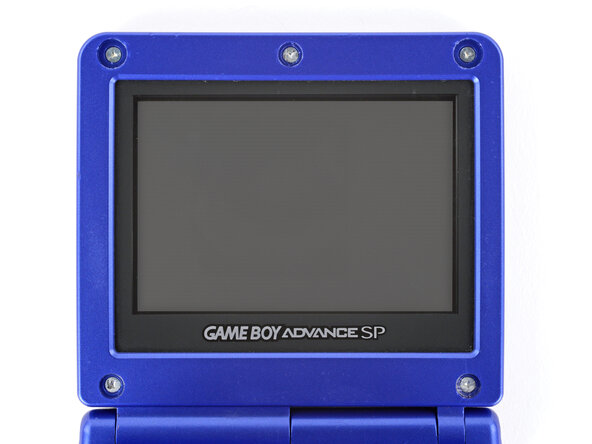
Use a tri‑point Y0 screwdriver to remove the five 4.7 mm‑long screws securing screen shells together.
-
-
-
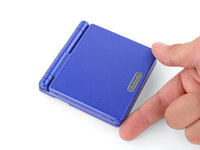
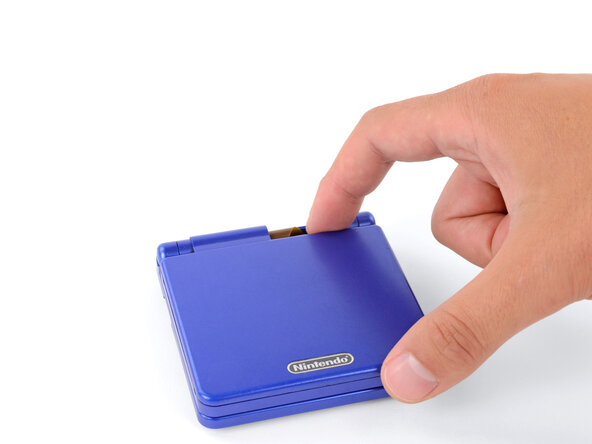
Fully close your Game Boy (the button cutouts should be on top).
-
-
-
Use a JIS 00 screwdriver to remove the 6.3 mm‑long screw securing the hinge cover.
-
-
-
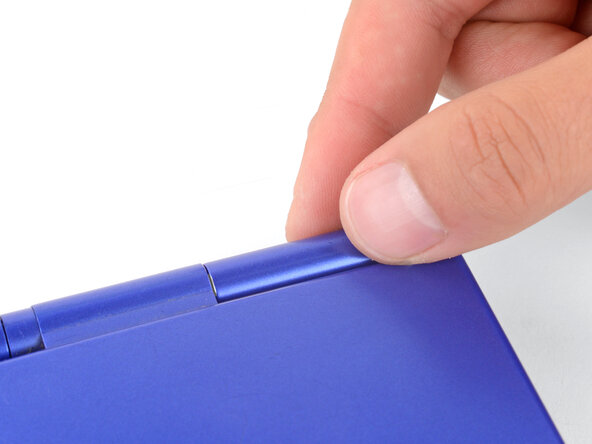
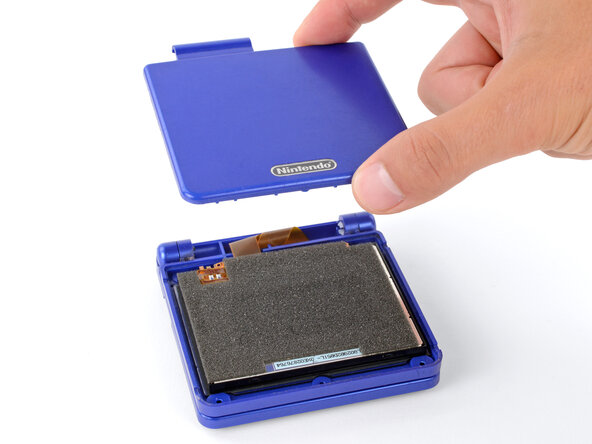
Use your fingers to lift and remove the outer screen shell.
-
-
-
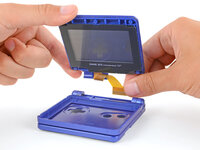
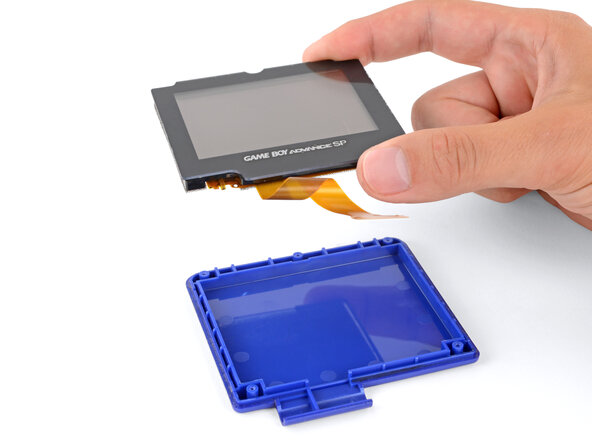
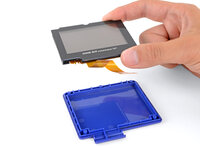
Use your fingers to lift and remove the screen, threading the cable through its cutout.
-
Place the screen foam-side up into its recess, so the cable is near the hinges.
-
Make one loop in the screen cable and then slide it through the cutout.
-
-
-
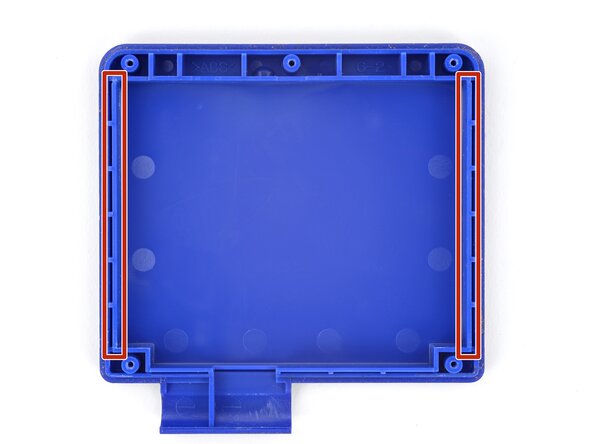
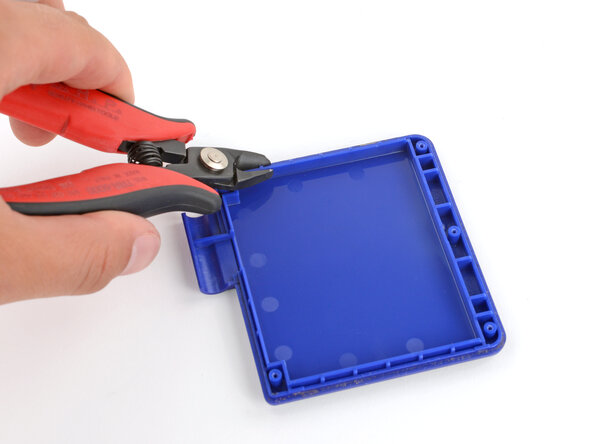
Some IPS screens are bigger than the original. You may need to use flush cutters to trim one of the side rails to make room for your replacement screen.
-
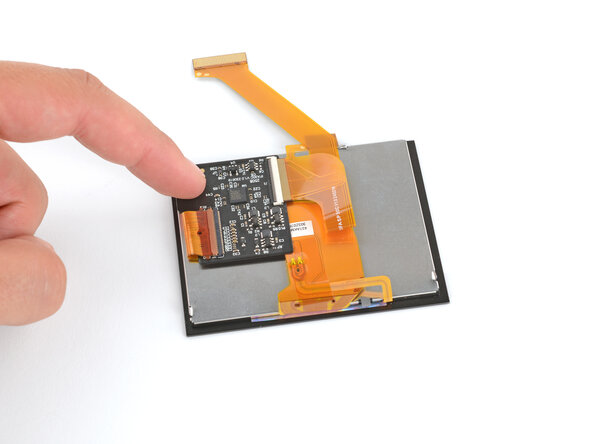
Your replacement screen may come with a small board and ribbon cable(s). The board will likely need to be adhered to the back of the screen, and the ribbon cable will connect to the board. Check the board and any cables for adhesive backings.
-


To reassemble your device, follow these instructions in reverse order.
Take your e-waste to an R2 or e-Stewards certified recycler.
Repair didn’t go as planned? Try some basic troubleshooting, or ask our Answers Community for troubleshooting help.
다른 38명이 해당 안내서를 완성하였습니다.

7가이드 댓글
hello can i ask something? can you take apart the lcd? because my lcd has fungus
I am pretty sure, as the actual screen can be separated from the plastic cover (the thing that says game boy advance). I’ve never seen fungus in a screen though. That’s interesting.
Hello friend! One question: in the replace screen there is retroillumination? or i have to do something? Thx for your answer!
The light is built in on all GBA SPs.
there is a model with a better backlit display instead of a front lit display, but both have a light.
Heya! I was wondering if it’s possible to use an ag101 screen with an ag 001 motherboard? I’d prefer the better lit screen but ag101 models aren’t common in the uk