이 번역은 원본 안내서의 최신 업데이트를 반영하지 않을 수 있습니다. 번역 업데이트를 돕거나 아니면 원본 안내서 보기를 참조하세요.
소개
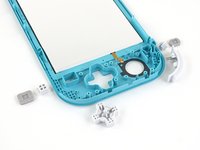
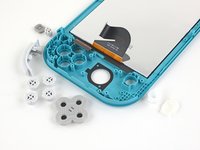
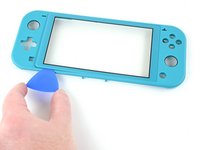
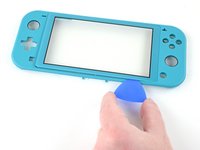
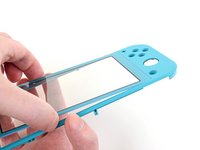
이 안내서를 따라서 Nintendo Switch Lite에서 깨졌거나 고장난 디지타이저를 교체하세요. 조이스틱 또는 버튼을 분리할 필요는 없지만 분리하면 수리가 훨씬 수월합니다.
참고: 이 절차는 실드 플레이트와 방열판을 분리해야 합니다. 실드 플레이트와 방열판을 다시 설치하기 전에—CPU뿐 아니라—두 부품에서 열 페이스트를 닦아 내고 다시 발라야 합니다.
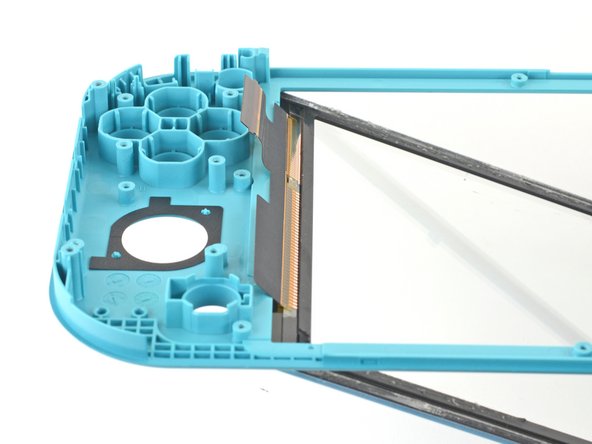
참고: 스크린이 작동하지 않으면, 디지타이저가 아니라 LCD 스크린을 교체해야 할 수도 있습니다.
필요한 것
-
이 단계에 사용된 도구:Magnetic Project Mat$16.96
-
Y00 스크루드라이버를 사용하여 후면 패널을 고정하는 6.3mm-길이 나사 네 개를 풀어주세요.
-
-
-
JIS 000 드라이버 또는 공식 iFixit PH 000 드라이버를 사용하여, 후면 패널을 고정하고 있는 다음 나사들을 풀어주세요:
-
기기 상단의 3.6mm-길이 나사 두 개
-
기기 하단의 3.6mm-길이 나사 두 개
-
-
-
JIS 000 또는 공식 iFixit PH 000 드라이버를 사용하여 다음 나사 네 개를 풀어주세요:
-
3.1mm 나사 세 개
-
4.5mm 나사 한 개
-
-
-
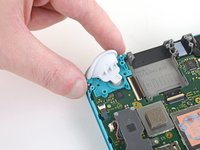
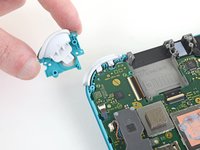
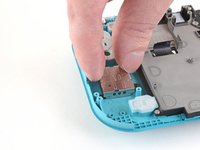
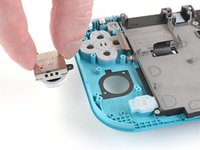
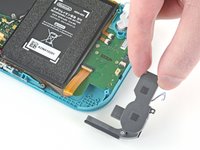
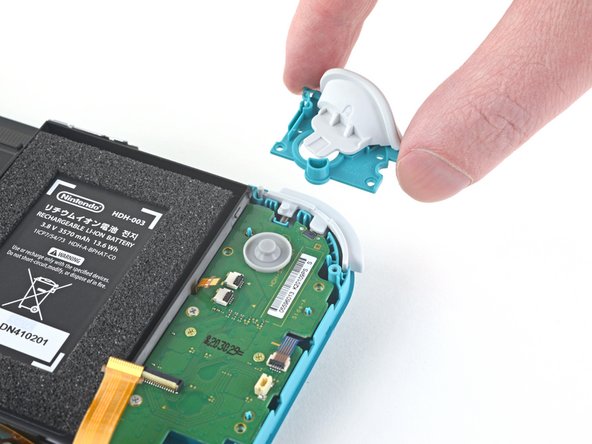
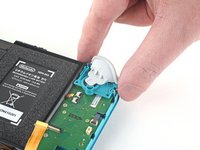
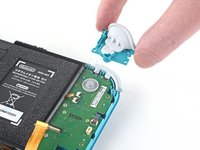
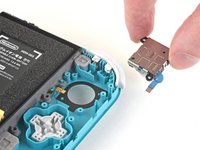
Phillips/십자 스크루드라이버를 사용하여 오른편 트리거 버튼 어셈블리를 마더보드에 고정하는 4.5mm 나사 두 개를 풀어주세요.
-
-
-
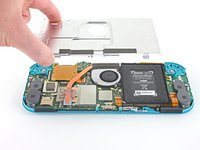
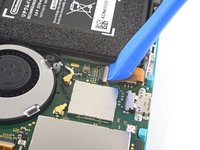
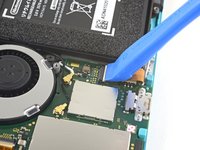
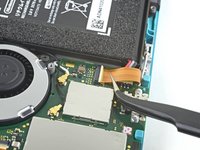
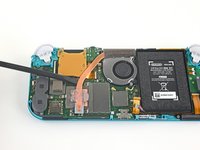
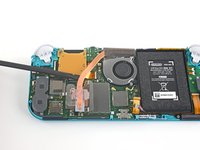
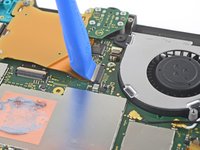
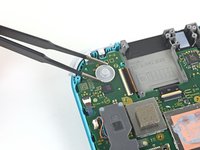
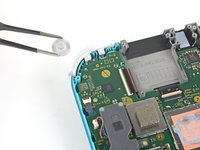
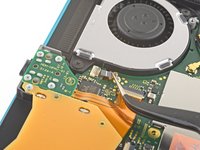
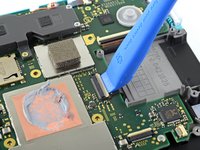
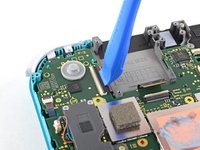
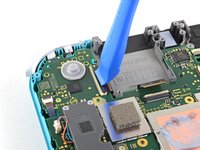
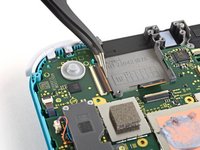
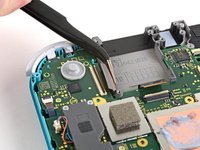
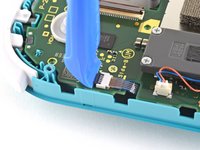
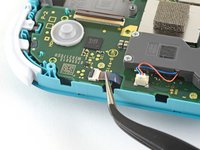
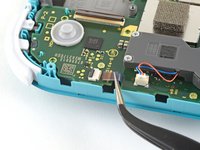
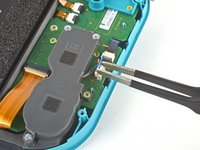
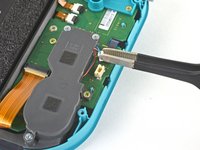
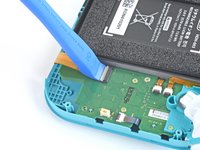
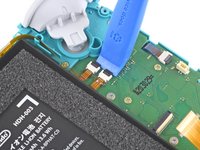
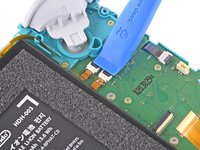
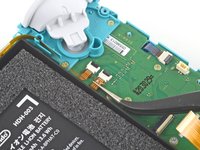
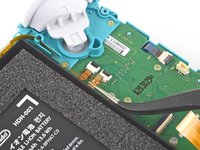
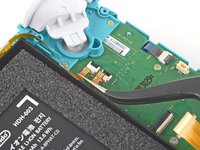
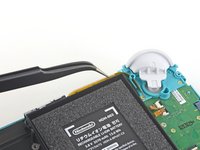
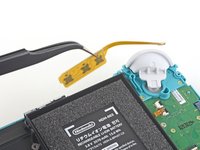
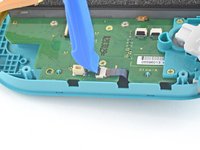
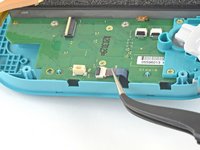
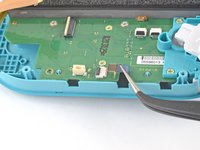
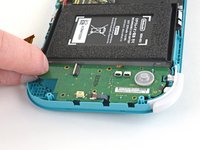
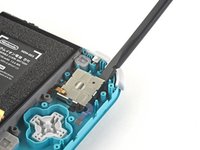
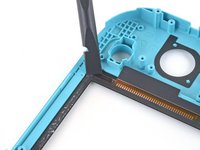
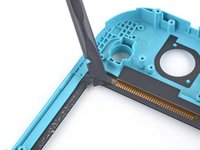
Spudger/스퍼저 끝을 사용하여 검정색 안테나 케이블을 마더보드 소켓에서 똑바로 들어 올리세요.
-
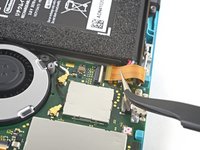
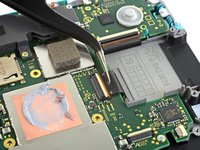
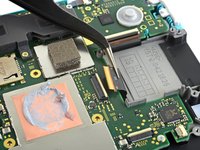
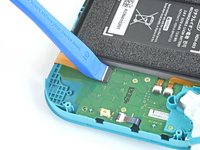
흰색 안테나 케이블에 동일한 과정을 반복하세요.
-
-
-
-
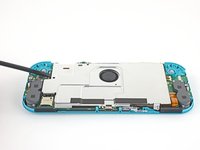
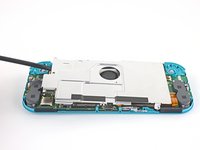
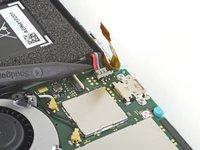
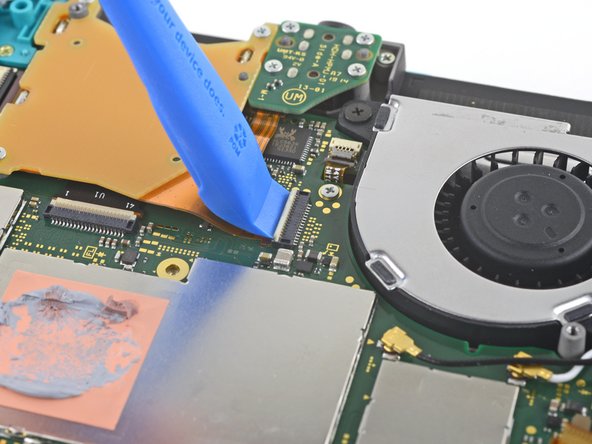
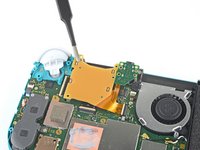
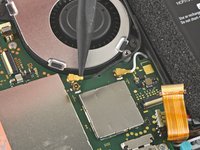
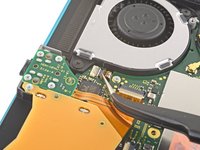
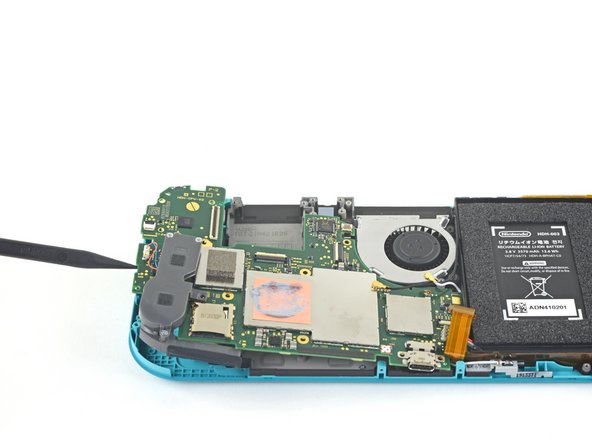
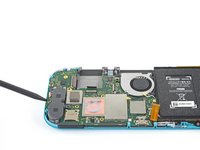
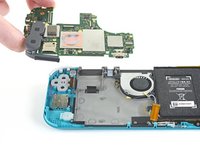
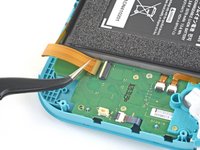
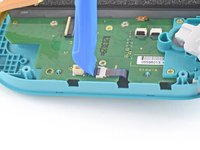
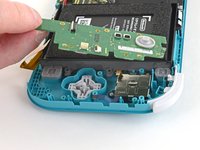
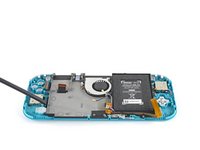
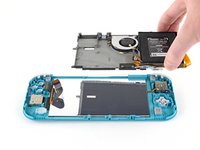
Phillips/십자 스크루드라이버를 사용하여 마더보드를 고정하는 다음 나사를 여섯 개를 풀어주세요:
-
3.1mm 나사 세 개
-
4.5mm 나사 세 개
-


기기를 재조립하려면, 이 지침들을 역순으로 따르세요.
전자 폐기물을 R2 또는 e-Stewards 인증 재활용 센터로 가져가세요.
수리가 계획대로 진행되지 않았습니까? 자사의 기본 문제 해결 또는 Nintendo Switch Lite 답변 커뮤니티에서 확인하세요.
다른 20명이 해당 안내서를 완성하였습니다.
다음 번역가들에게 특별히 감사 드립니다:
70%

Christian Kim님은 저희가 세상을 수리하는데 동참하신 분입니다! 기여하시겠습니까?
번역 시작하기 ›

4가이드 댓글
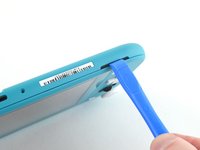
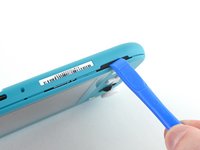
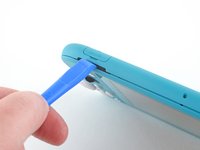
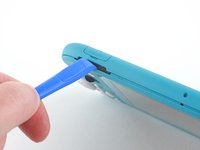
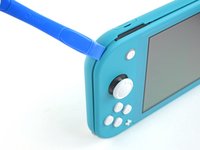
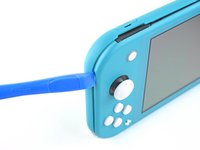
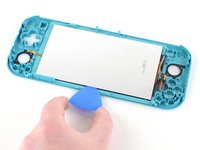
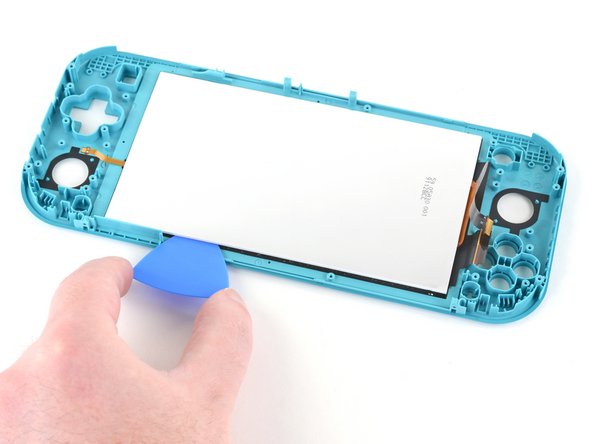
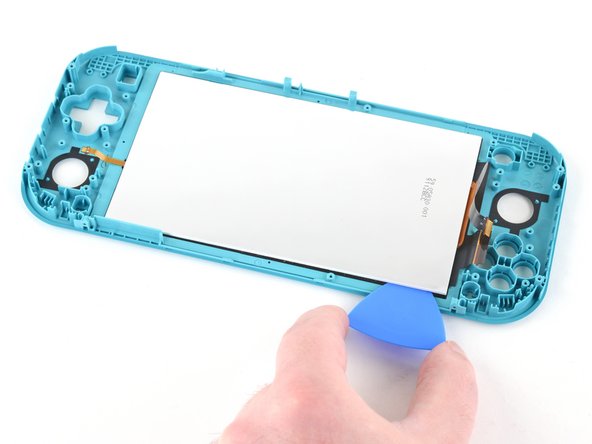
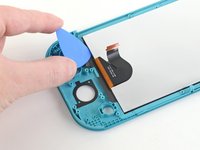
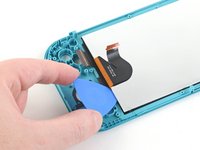
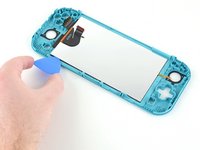
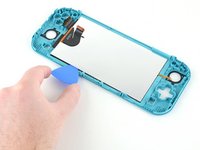
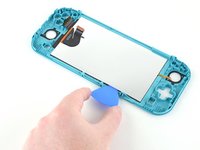
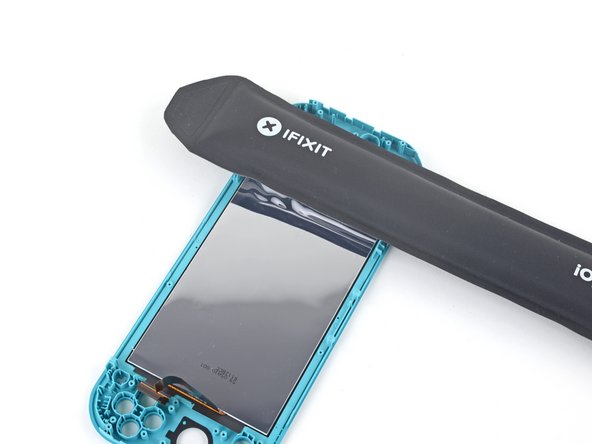
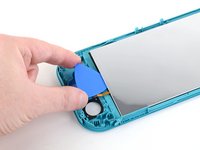
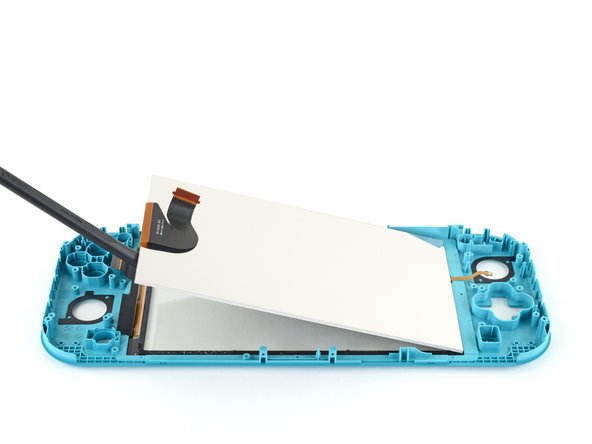
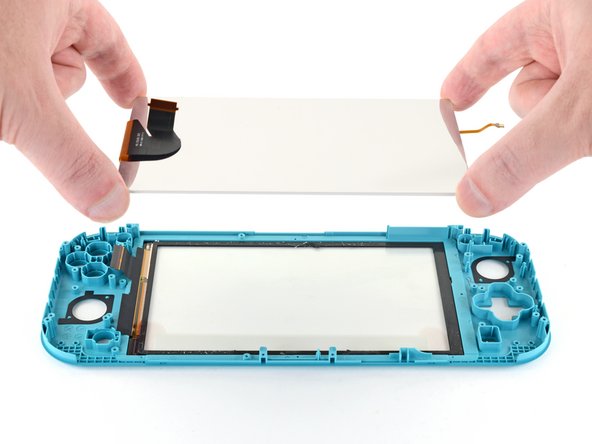
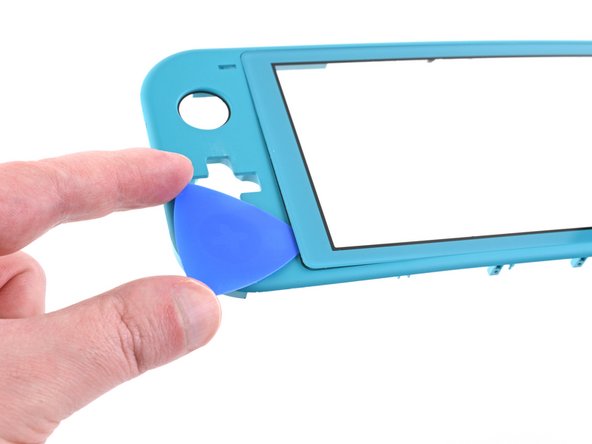
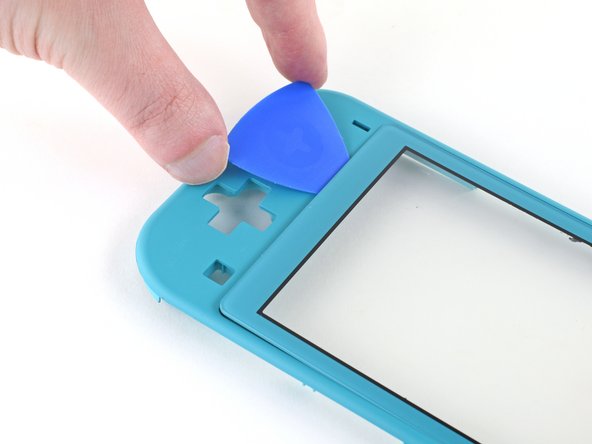
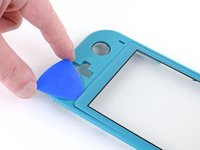
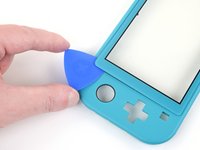
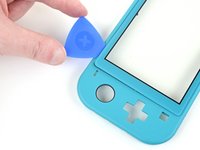
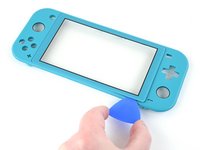
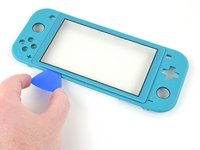
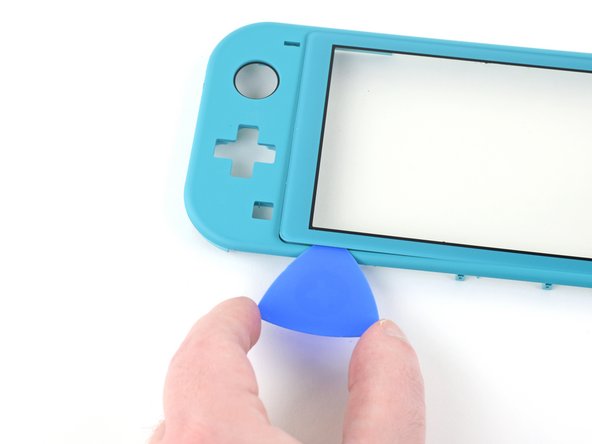
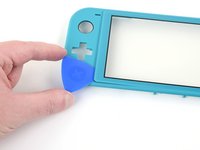
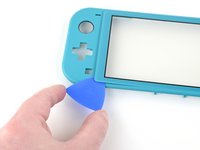
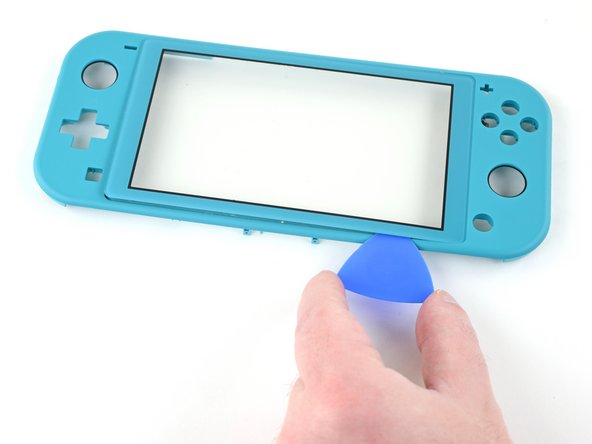
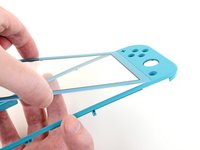
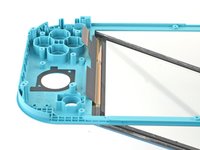
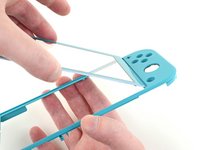
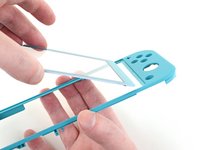
Great guide, but quick tip when removing the screen. There are two pieces of the screen sandwiched together and when I took mine apart, these two pieces came unstuck and ruined the screen itself. The digitizer was fine, but the LCD came apart. So make sure the opening pick gets under both of these parts rather than just the reflective back.
I bought this Switch Lite with a broken LCD to repair and sell, so the screen was already blown out, but I had the same issue. The LCD was still connected to the digitizer and it actually peeled the LCD apart. As I said earlier, the LCD was already broke so it wasn’t a big issue, but I would of been fairly angry if it hadn’t of been.
it looks like it might be possible to do steps 1 - 10, then step 28, then steps 66 onwards, and reverse to reassemble, the guide isn’t clear why it would be required to do a full tear down, is there something that would make this method not work or more likely to cause further damage, if I’m just switching out the digitizer, pun intended.. :) ?
Were I to guess, I would say that the full teardown guide is meant to apply to any, and all, scenarios, regardless of any unmentioned issues that a user may have.
Another possibility is that if a user has a damaged digitizer from a drop, or other type of impact(s); then by performing a full teardown, they may discover other elements in need of repair.