이 번역은 원본 안내서의 최신 업데이트를 반영하지 않을 수 있습니다. 번역 업데이트를 돕거나 아니면 원본 안내서 보기를 참조하세요.
소개
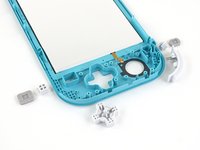
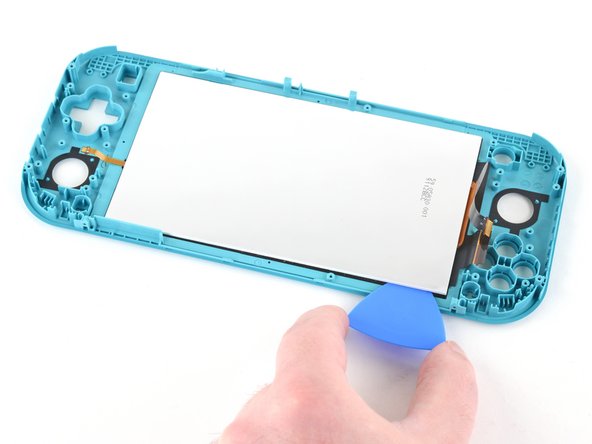
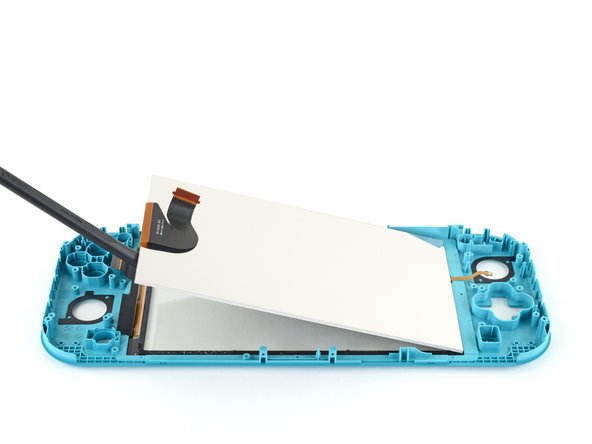
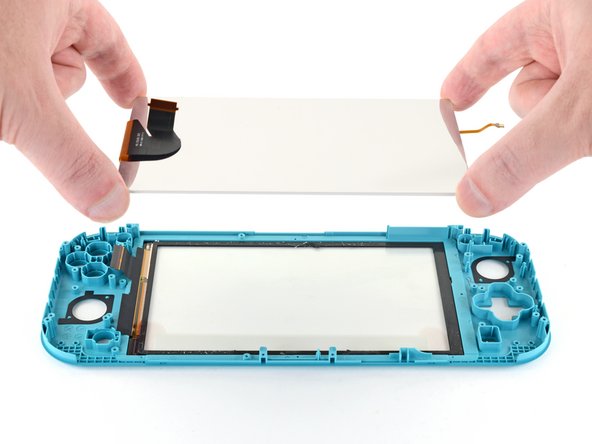
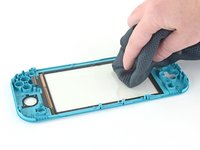
이 안내서를 따라서 Nintendo Switch Lite에서 결함있는 또는 손상된 스크린을 교체하세요.
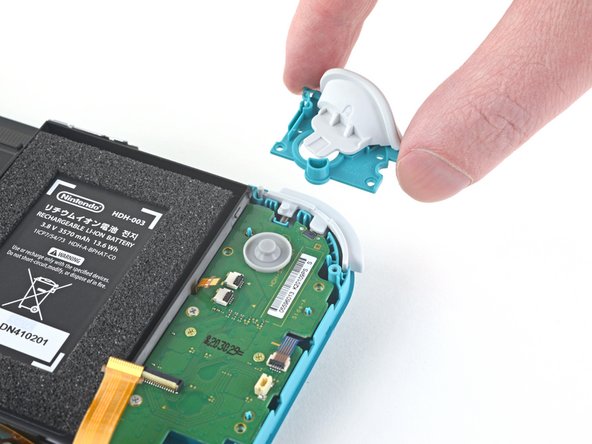
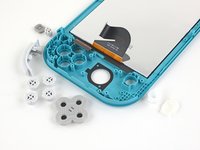
참고: 조이스틱과 버튼을 분리할 필요는 없지만 분리하면 수리가 훨씬 수월합니다.
참고: 디스플레이 유리에 금이 가거나 산산조각이 났지만 스크린이 여전히 작동하는 경우, 스크린 대신에 디지타이저를 교체해야 합니다.
참고: 이 절차는 실드 플레이트와 방열판을 분리해야 합니다. 실드 플레이트와 방열판을 다시 설치하기 전에—CPU뿐 아니라—두 부품에서 열 페이스트를 닦아 내고 다시 발라야 합니다.
필요한 것
-
이 단계에 사용된 도구:Magnetic Project Mat$19.95
-
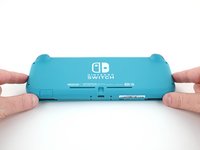
Y00 스크루드라이버를 사용하여 후면 패널을 고정하는 6.3mm-길이 나사 네 개를 풀어주세요.
-
-
-
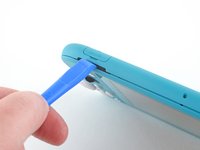
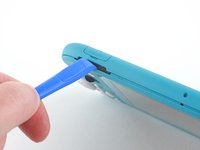
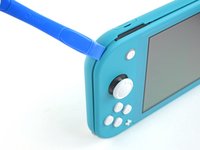
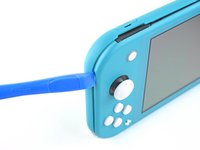
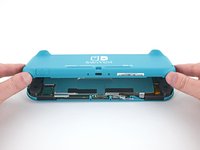
JIS 000 드라이버 또는 공식 iFixit PH 000 드라이버를 사용하여, 후면 패널을 고정하고 있는 다음 나사들을 풀어주세요:
-
기기 상단의 3.6mm-길이 나사 두 개
-
기기 하단의 3.6mm-길이 나사 두 개
-
-
-
JIS 000 또는 공식 iFixit PH 000 드라이버를 사용하여 다음 나사 네 개를 풀어주세요:
-
3.1mm 나사 세 개
-
4.5mm 나사 한 개
-
-
-
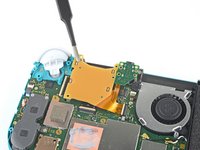
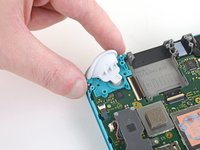
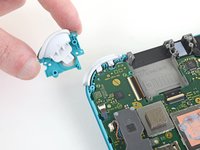
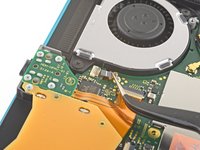
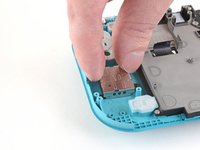
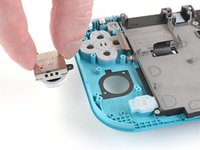
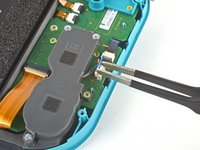
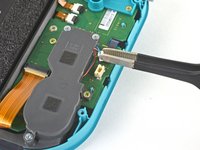
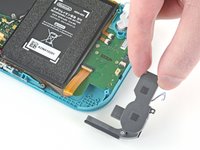
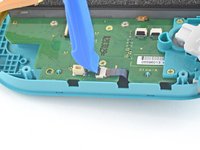
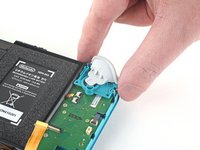
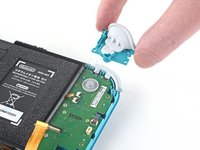
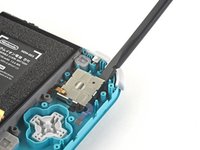
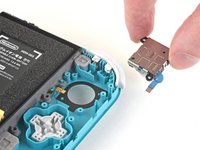
Phillips/십자 스크루드라이버를 사용하여 오른편 트리거 버튼 어셈블리를 마더보드에 고정하는 4.5mm 나사 두 개를 풀어주세요.
-
-
-
-
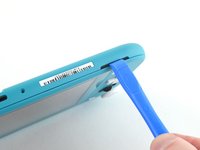
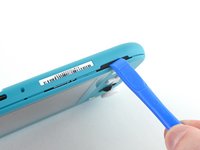
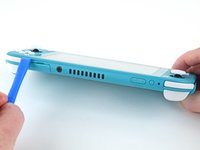
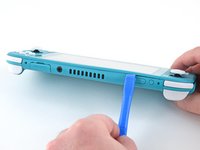
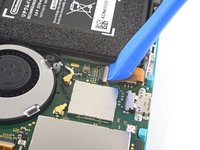
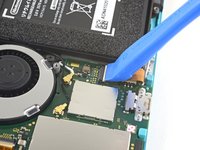
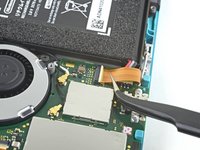
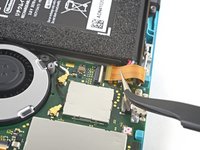
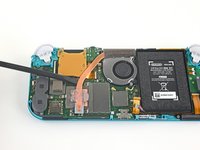
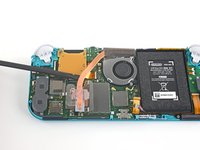
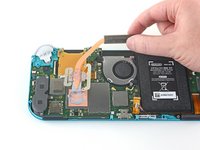
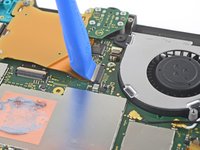
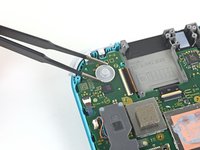
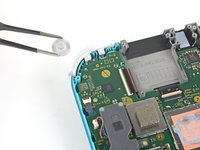
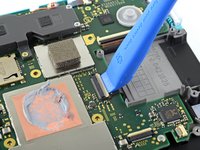
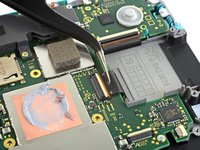
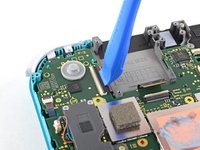
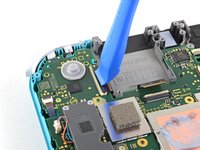
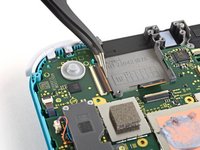
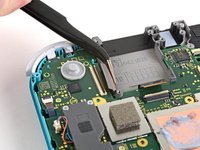
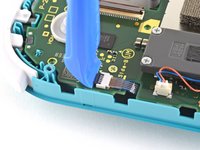
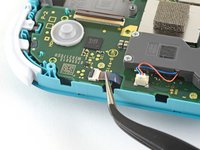
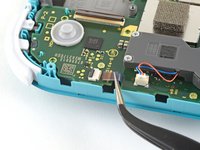
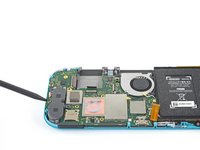
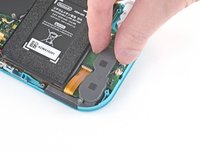
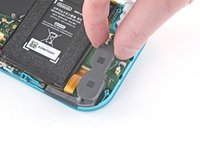
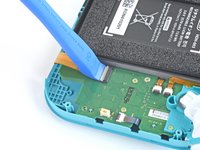
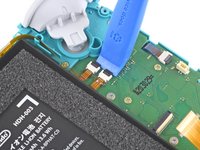
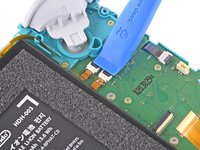
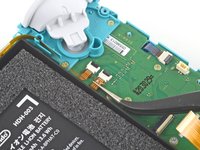
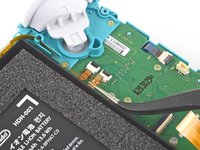
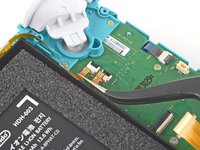
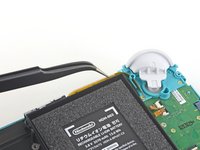
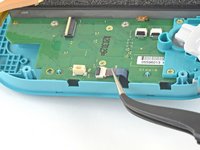
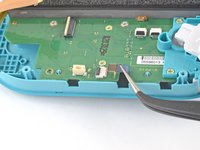
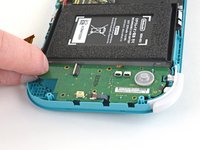
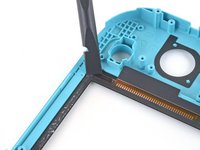
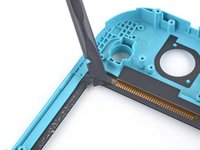
Spudger/스퍼저 끝을 사용하여 검정색 안테나 케이블을 마더보드 소켓에서 똑바로 들어 올리세요.
-
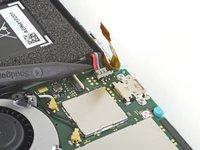
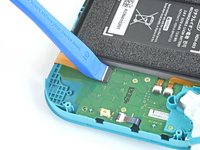
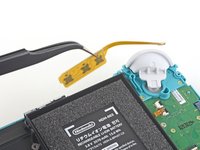
흰색 안테나 케이블에 동일한 과정을 반복하세요.
-
-
-
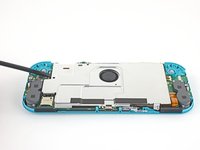
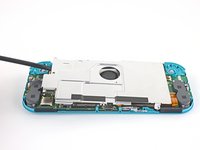
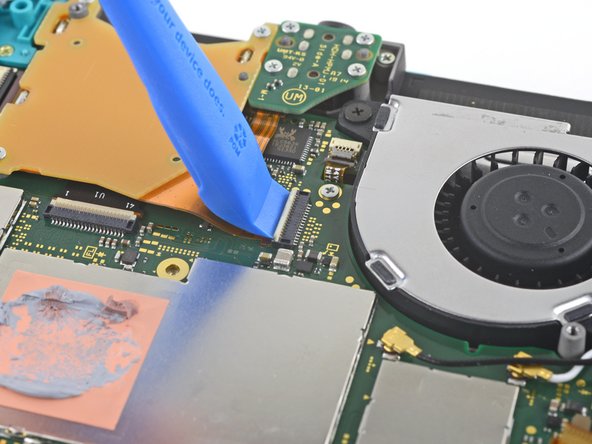
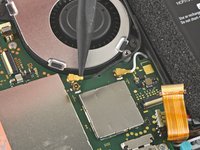
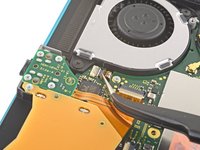
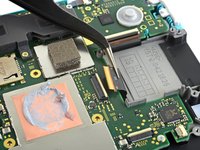
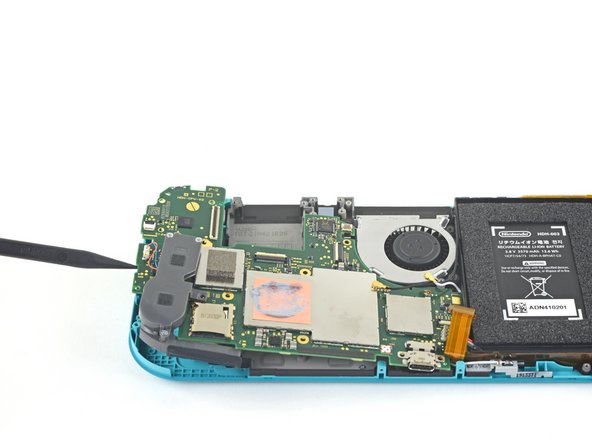
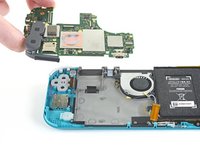
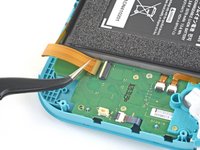
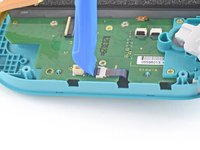
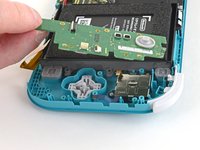
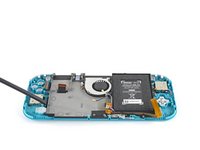
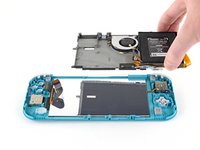
Phillips/십자 스크루드라이버를 사용하여 마더보드를 고정하는 다음 나사를 여섯 개를 풀어주세요:
-
3.1mm 나사 세 개
-
4.5mm 나사 세 개
-


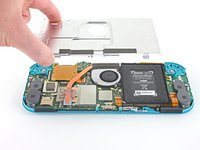


기기를 재조립하려면, 이 지침들을 역순으로 따르세요.
전자 폐기물을 R2 또는 e-Stewards 인증 재활용 센터로 가져가세요.
수리가 계획대로 진행되지 않았습니까? 자사의 기본 문제 해결 또는 Nintendo Switch Lite 답변 커뮤니티에서 확인하세요.
다른 55명이 해당 안내서를 완성하였습니다.
다음 번역가들에게 특별히 감사 드립니다:
57%


이 번역인들은 저희가 세상을 수리하는 데 도움을 주고 있어요! 기여하시겠습니까?
번역 시작하기 ›

21가이드 댓글
Followed the guide to replaced a cracked screen on a Switch Lite, all good, guide was easy to follow and refitting wasn't too hard either, just a reversal of the disassembly
Fantastic guide, exactly what I was looking for! Unfortunately I managed to make the tape unusable and I need tape to connect the lcd to the digitizer and the digitizer to the case. I will likely use 2-3mm tape for the lcd to digitizer but I'm unsure what to use to connect the digitizer to the case. Any suggestions?
Thanks for taking the time to type this up. Really appreciate the effort that went in to this guide.
Great guide, I wish it would mention some of the procedures to tape the screen back in. After that, reversing the process was easy.
For gluing the screen and digitizer back in, I would strongly recommend liquid glue, like Zhanlida T-8000 for example. You can apply it very precisely and you can also correct/remove it if needed pretty easily. I used this stuff to repair around 200 phones and tablets in the last couple of years and were never disappointed.
Also I would remove the digitizer AND the screen together, before removing the screen first from the digitizer… This will make the process of removing the screen from the digitizer a lot easier and safer.
I have ordered a crystal replacement case and a used lite with a scratched digitizer.. Have glued in the replacement digitizer so far, the console should arrive tomorrow.
Gluing in the digitizer was a breeze, just applied some glue all around (be careful not to use too much) and then just pressed down the digitizer all around and put a book on the top… Let the glue harden for around 24 hours and you are good to go.
Will leave some feedback how the screen removal went tomorrow. ;)