주요 콘텐츠로 건너뛰기
Packard Bell EasyNote TJ65-CU-030GE hdd Replacement

Packard Bell EasyNote TJ65-CU-030GE hdd Replacement

Harfas

Harfas2 다른 기여자

최종 수정일 August 5, 2024

10 - 45 분
조정
문법 검토
커뮤니티-기여 안내서
더 나은 소개글

greetings! we`ll embark on a journey to fix or rather revive the budget Packard Bell DOT_SE; so let us begin!


(#trustmeimengeneer)

  1. Packard Bell EasyNote TJ65-CU-030GE hdd Replacement, battery and keyboard: 1 단계, 이미지 3개 중 1개 Packard Bell EasyNote TJ65-CU-030GE hdd Replacement, battery and keyboard: 1 단계, 이미지 3개 중 2개 Packard Bell EasyNote TJ65-CU-030GE hdd Replacement, battery and keyboard: 1 단계, 이미지 3개 중 3개
    • first remove battery

    • secondly with a flat thin screwdriver clip keyboard

  2. Packard Bell EasyNote TJ65-CU-030GE hdd Replacement, disconnecting/unplugging the keyboard cable: 2 단계, 이미지 3개 중 1개 Packard Bell EasyNote TJ65-CU-030GE hdd Replacement, disconnecting/unplugging the keyboard cable: 2 단계, 이미지 3개 중 2개 Packard Bell EasyNote TJ65-CU-030GE hdd Replacement, disconnecting/unplugging the keyboard cable: 2 단계, 이미지 3개 중 3개
    • carefully flip keyboard

    • lift the black bracket that holds the keyboard

    • look for the screws that have DOOR written near them
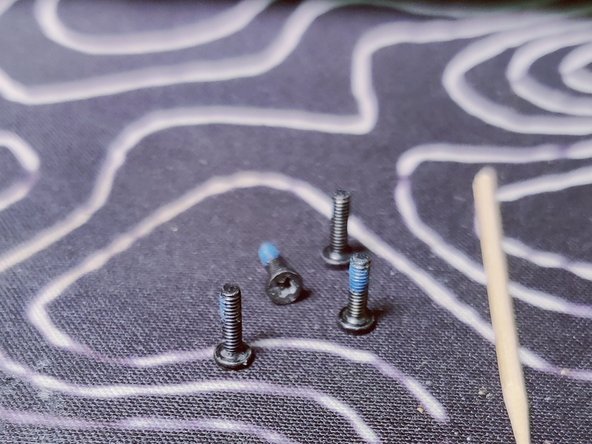
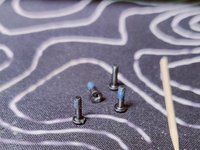
  3. Packard Bell EasyNote TJ65-CU-030GE hdd Replacement, opening the back cover: 3 단계, 이미지 3개 중 1개 Packard Bell EasyNote TJ65-CU-030GE hdd Replacement, opening the back cover: 3 단계, 이미지 3개 중 2개 Packard Bell EasyNote TJ65-CU-030GE hdd Replacement, opening the back cover: 3 단계, 이미지 3개 중 3개
    • start unscrewing

    • there should be 4 of them

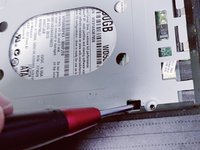
    • next press the plastic near the DOOR RELEASE text while making sure there`s nothing preventing the rear door from opening

  4. Packard Bell EasyNote TJ65-CU-030GE hdd Replacement, removing HDD cable and inserting the new one: 4 단계, 이미지 2개 중 1개 Packard Bell EasyNote TJ65-CU-030GE hdd Replacement, removing HDD cable and inserting the new one: 4 단계, 이미지 2개 중 2개
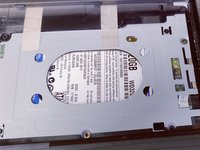
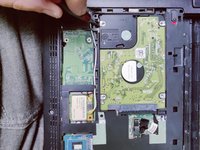
    • lift hdd with any screwdriver

    • remove the cable

    • add the new HDD/SSD

    • and now follow the steps backwards to reassemble

결론

To reassemble your device, follow these instructions in reverse order.

다른 한 분이 해당 안내서를 완성하였습니다.

작성자

2다른 기여자 명과 함께

Harfas

회원 가입일: 08/25/21

109 평판

안내서 1개를 작성함

댓글 0개

댓글 쓰기

조회 통계:

지난 24시간: 1

지난 7일: 17

지난 30일: 37

전체 시간: 564