
Philips Norelco BeardTrimmer 3100 Handle Replacement
6 분
쉬움
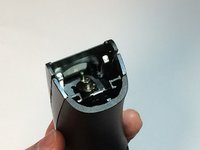
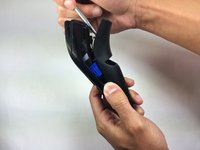
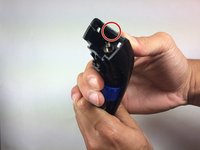
The following steps are a brief guide on how to replace the handle of the Philips Norelco beard trimmer 3100.


거의 끝나갑니다!
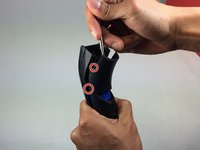
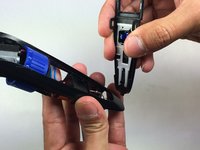
To reassemble your device, follow these instructions in reverse order.
결론
To reassemble your device, follow these instructions in reverse order.
다른 2명이 해당 안내서를 완성하였습니다.
팀

USF Tampa, Team 15-2, Blackwell Fall 2015 USF Tampa, Team 15-2, Blackwell Fall 2015 회원
USFT-BLACKWELL-F15S15G2
4 회원들
안내서 14개를 작성함