
PlayStation 3 Super Slim Wi-Fi Antennas Replacement
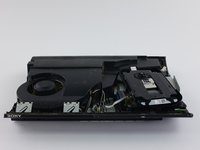
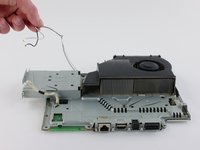
This guide will show the users how to remove the Wi-Fi antennas of the PlayStation 3 Super Slim. The step will show users how to remove the mounted antennas. After, the guide will go into the removal of the antennas' wires from the sockets on the motherboard.


-
-
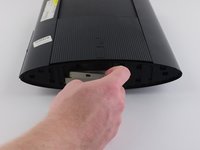
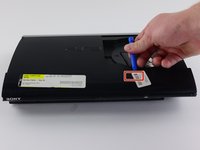
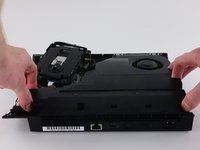
Remove the side HDD bay cover by sliding the panel towards the back of the device.
-
-
-
-
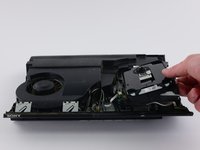
Remove the front white flex-ribbon cable by pulling upward from its base.
-
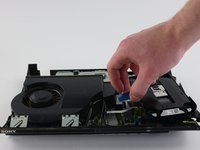
Remove the black and blue flex-ribbon cable behind it by pulling upward on the black tab, then pulling out the cable.
-
-
-
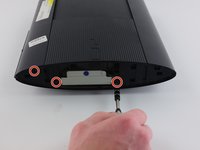
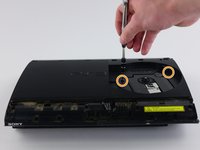
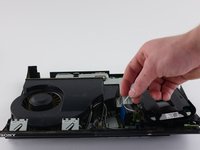
Locate the white flex ribbon cable that connects the power button to the motherboard. Pull this cable out from the motherboard end.
-
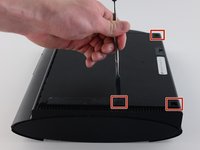
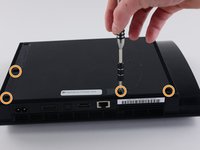
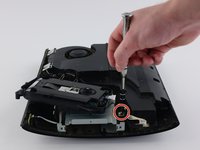
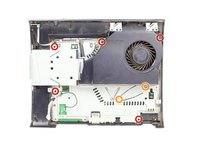
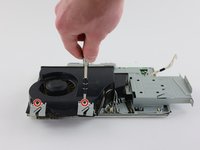
Remove the five black 8.3mm long screws with a Phillips #1 screwdriver.
-
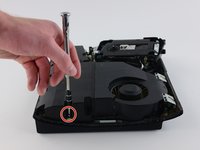
Remove the two silver 12.8mm long screws with a Phillips #1 screwdriver.
-
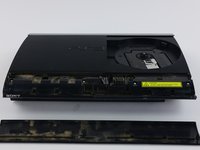
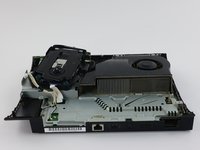
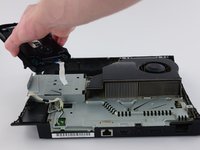
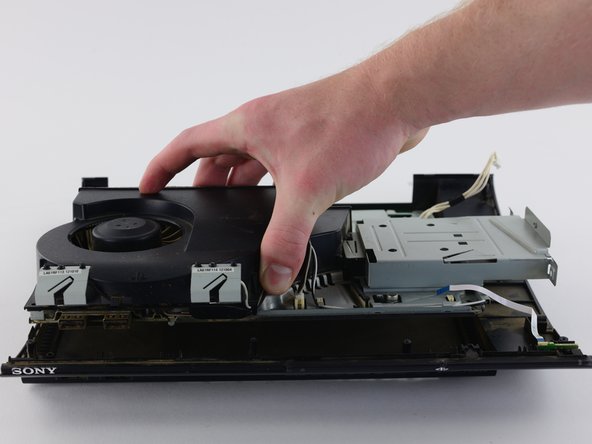
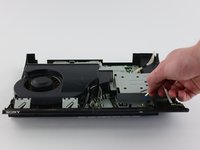
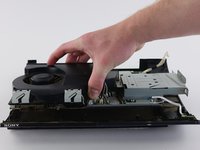
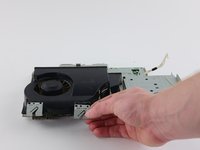
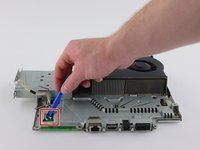
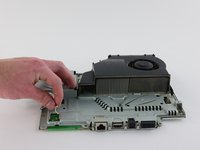
Remove the device from the bottom shell casing.
-


To reassemble your device, follow these instructions in reverse order.
To reassemble your device, follow these instructions in reverse order.
다른 14명이 해당 안내서를 완성하였습니다.
팀

Cal Poly, Team 34-13, Maness Spring 2016 Cal Poly, Team 34-13, Maness Spring 2016 회원
CPSU-MANESS-S16S34G13
4 회원들
안내서 24개를 작성함
댓글 4개
Hola que tal,abri la ps3 pero solamente tenia 1 cable la angena de wifi,sera que es asi? Por que en las imagenes que nos muestra son dos negro y blanco yo solamente tengo el negro.se podria hacer algo?
A mi me pasa lo mismo tengo una ps3 Super Slim con un solo cable y solamente tiene un solo conector que es el de BT
Joss1995 -
Excelente trabajo!! muy bien explicado ! eternamente agradecido
I would remove the disk drive before removing the PSU. Moving it over risks damaging the ribbon cables. Other than that, good guide.