
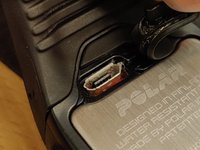
Polar M400 Watch micro-USB connector Replacement

Your Polar M400 won’t charge anymore? The micro-USB connector has corroded? You don’t want to pay a whopping 20€ (+ shipping) for a new connector from Polar? Not afraid of soldering and heat guns? If so, you have come to the right place!
필요한 것
부품
도구


더보기...
-
-
Follow the screen replacement tutorial to dismantle the watch.
-
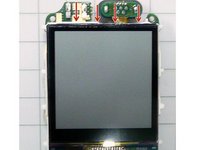
Carefully lift the screen from the board.
-
Disconnect the USB's flex PCB from the main board. Save the red rubber seal of the USB connector for later.
-
-
-
Use a tool like a helping hand to hold the USB connector part.
-
Using a heat gun, blow hot air underneath the PCB.
-
Once the solder is melting give the connector a good tap in order to make the PCB fall loose.
-
-
-
-
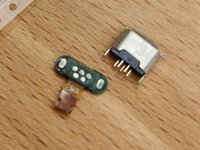
Place the new USB connector on a flat surface with its pins pointing upwards.
-
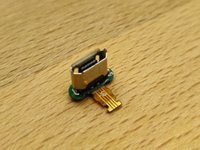
Place the PCB on top on the pins, the exposed copper traces on the flex PCB facing the flat surface.
-
Using an iron, solder the PCB by heating all the pads at the same time (as much as possible) and apply pressure so that the pins of the USB connector come through.
-
-
-
Connect the flex PCB back to the main board.
-
Reassemble the watch stopping before screwing the lid back.
-
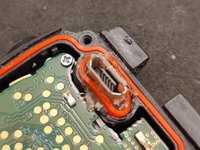
Add hot glue to the base of the USB connector filling the watch case's cavity. Be careful not to put hot glue inside the connector.
-
While the glue is still hot, put the red rubber seal back on top.
-
Screw the lid back.
-


To reassemble your device, follow these instructions in reverse order.
To reassemble your device, follow these instructions in reverse order.
다른 6명이 해당 안내서를 완성하였습니다.

댓글 10개
Sehr gute Beschreibung,
aber ich finde keine USB-Buchse für die M400 zu kaufen
Wo gibt's die Teile?
Danke schön. Für den Konnektor allein habe ich auf Aliexpress gekauft : https://www.aliexpress.com/item/32960430...
https://www.aliexpress.com/item/33036830...
Number : 3
From where do I order usb connector?