주요 콘텐츠로 건너뛰기
수리 커뮤니티 가입 - 계정 만들기

Polaroid PTAB7XC Screen Replacement

필요한 것

  1. Polaroid PTAB7XC Screen Replacement, Screen: 1 단계, 이미지 2개 중 1개 Polaroid PTAB7XC Screen Replacement, Screen: 1 단계, 이미지 2개 중 2개
    • Remove the two 7 mm screws on the top of the device using a J00 Phillips screwdriver and by turning the screws counterclockwise.

    • If the screw heads have corroded or been stripped, it may be necessary to use a larger screwdriver head, such as the J0.

    댓글 쓰기

  2. Polaroid PTAB7XC Screen Replacement: 2 단계, 이미지 3개 중 1개 Polaroid PTAB7XC Screen Replacement: 2 단계, 이미지 3개 중 2개 Polaroid PTAB7XC Screen Replacement: 2 단계, 이미지 3개 중 3개
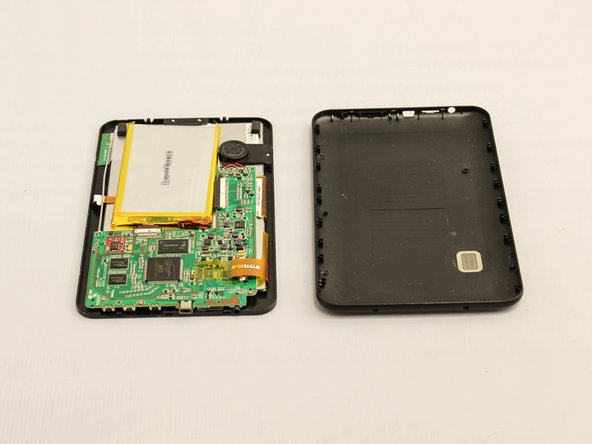
    • Pry the seam between the screen and the case on all four sides with a large plastic opening tool until the plastic case comes off.

    • Lift the device off of the case and flip over the device so that it sits screen side down.

    • The device is now free from the plastic casing.

    • The power and/or volume buttons may fall out at this point. There is no problem with this; however, be sure to remember to reinstall them when reassembling the device.

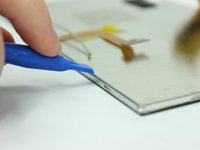
    댓글 쓰기

  3. Polaroid PTAB7XC Screen Replacement: 3 단계, 이미지 2개 중 1개 Polaroid PTAB7XC Screen Replacement: 3 단계, 이미지 2개 중 2개
    이 단계에 사용된 도구:
    Plastic Cards
    $2.99
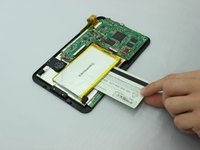
    • Wedge a plastic card beneath the battery unit.

    • Wiggle the card side to side and up and down gently until the glue sealing the battery to the device is broken.

    • Do not rupture the battery; it poses a serious safety hazard.

    • There is a plastic bag around the battery; if torn or stretched, there is no safety hazard.

    댓글 쓰기

  4. Polaroid PTAB7XC Screen Replacement: 4 단계, 이미지 3개 중 1개 Polaroid PTAB7XC Screen Replacement: 4 단계, 이미지 3개 중 2개 Polaroid PTAB7XC Screen Replacement: 4 단계, 이미지 3개 중 3개
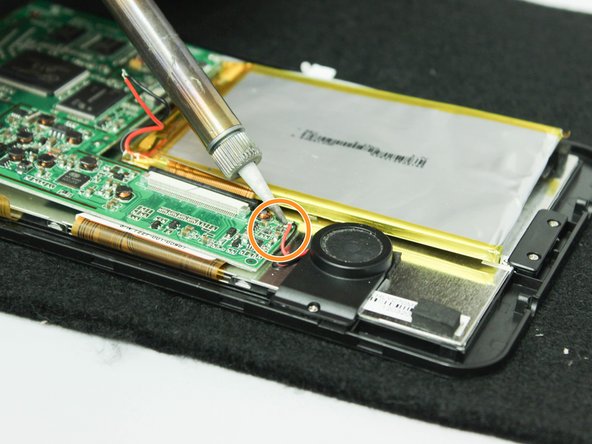
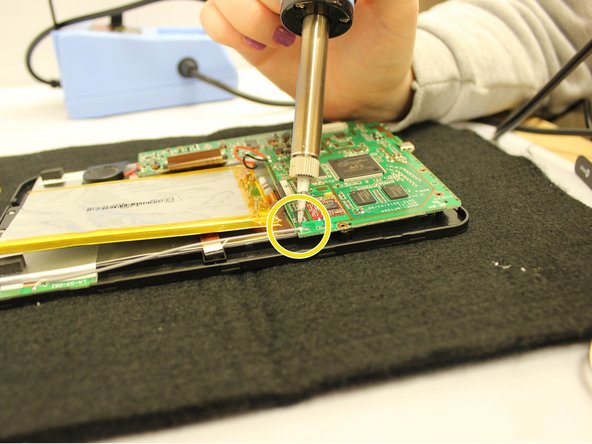
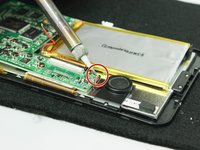
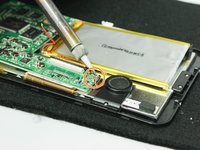
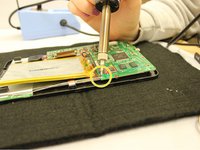
    • Desolder the following components from the motherboard.

    • Desolder from the motherboard the red wire that connects to the speaker unit.

    • Desolder from the motherboard the black wire that connects to the speaker unit.

    • Desolder from the motherboard the gray wire that runs along the edge of the device.

    • The motherboard will now be detached from any wires connecting to the device except for those attached to the battery.

    댓글 쓰기

  5. Polaroid PTAB7XC Screen Replacement: 5 단계, 이미지 3개 중 1개 Polaroid PTAB7XC Screen Replacement: 5 단계, 이미지 3개 중 2개 Polaroid PTAB7XC Screen Replacement: 5 단계, 이미지 3개 중 3개
    이 단계에 사용된 도구:
    Tweezers
    $4.99
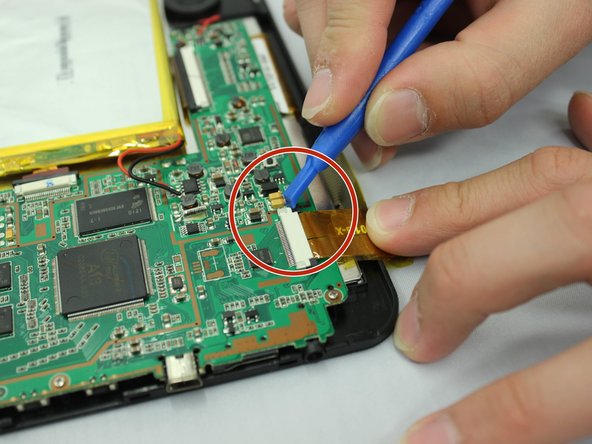
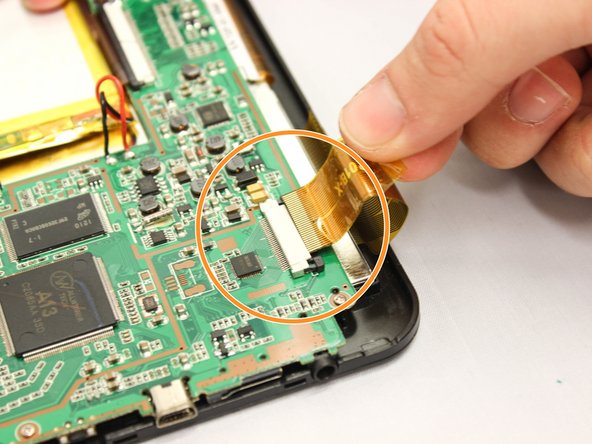
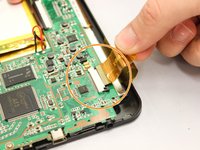
    • Use tweezers to unstick the medium width yellow ribbon cable from the motherboard.

    • Use a small opening tool to slide the two small black holding clips off of the white connector to which the medium width yellow ribbon cable is attached.

    • Use your fingers to gently pull the medium width yellow ribbon cable out of the white connector.

    • Repeat the last two actions to disconnect the narrower yellow ribbon cable and the wider yellow ribbon cable from the motherboard.

    • The motherboard and battery will now be detached from any ribbon cables connecting to the device.

    댓글 쓰기

  6. Polaroid PTAB7XC Screen Replacement: 6 단계, 이미지 3개 중 1개 Polaroid PTAB7XC Screen Replacement: 6 단계, 이미지 3개 중 2개 Polaroid PTAB7XC Screen Replacement: 6 단계, 이미지 3개 중 3개
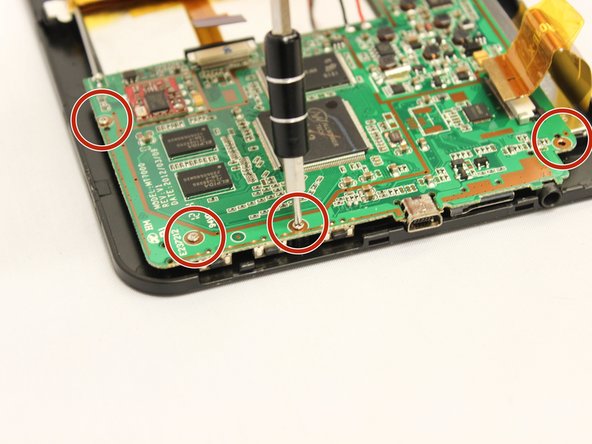
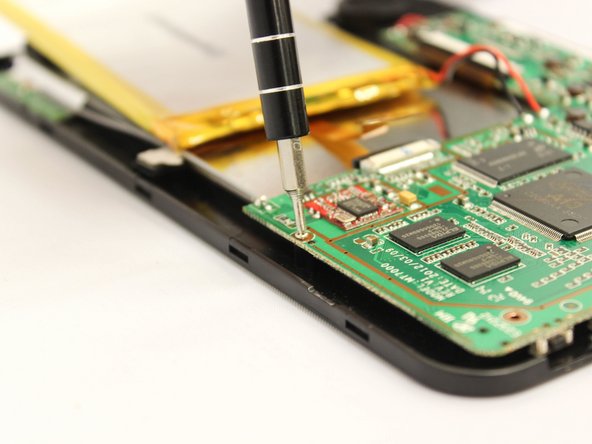
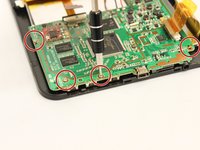
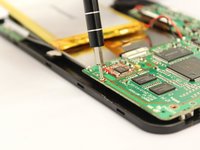
    • Use the PH000 screwdriver remove the four 5 mm screws along the bottom edge of the motherboard, turning them counterclockwise.

    댓글 쓰기

  7. Polaroid PTAB7XC Screen Replacement: 7 단계, 이미지 1개 중 1개
    • Lift the motherboard and battery out of the device using your hands.

    • The back of the display and the speaker unit will now be visible and accessible

    댓글 쓰기

  8. Polaroid PTAB7XC Screen Replacement: 8 단계, 이미지 1개 중 1개
    • Remove the 5mm screw that holds the speaker unit on to the display unit using a J000 screwdriver, turning the screws counterclockwise.

    댓글 쓰기

  9. Polaroid PTAB7XC Screen Replacement: 9 단계, 이미지 1개 중 1개
    • Using thumb and forefinger, remove the speaker unit from the device

    댓글 쓰기

  10. Polaroid PTAB7XC Screen Replacement: 10 단계, 이미지 1개 중 1개
    • Using a J000 Philips head screwdriver, remove the two 5mm screws that hold the display unit down at the bottom of the device, turning the screws counterclockwise.

    댓글 쓰기

  11. Polaroid PTAB7XC Screen Replacement: 11 단계, 이미지 1개 중 1개
    • Lift the small black display protector that was between the screws and the display unit using your forefinger and thumb.

    댓글 쓰기

  12. Polaroid PTAB7XC Screen Replacement: 12 단계, 이미지 1개 중 1개
    • Using both hands, lift up the device.

    • Using your fingers, push upward from below on the screen until the screen and display unit pop out of the black plastic frame.

    • The screen and display unit should now be separated from the plastic casing.

    • Set the screen and display unit screen-side down.

    댓글 쓰기

  13. Polaroid PTAB7XC Screen Replacement: 13 단계, 이미지 2개 중 1개 Polaroid PTAB7XC Screen Replacement: 13 단계, 이미지 2개 중 2개
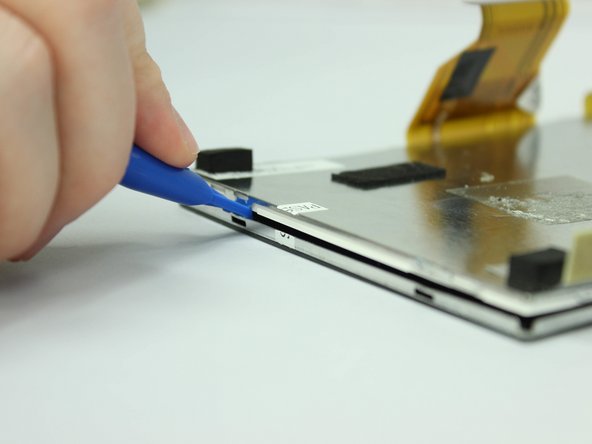
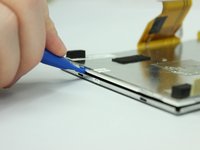
    • Wedge the large plastic opening tool into one of the notches on the edge of the screen and display unit.

    • Pry until a small tab pops out of the notch.

    • Repeat on every notch around the edge of the screen and display unit.

    댓글 쓰기

  14. Polaroid PTAB7XC Screen Replacement: 14 단계, 이미지 1개 중 1개
    • Using your fingers, lift the display unit off of the screen.

    • The screen is now replaceable.

    댓글 쓰기

결론

To reassemble your device, follow these instructions in reverse order.

취소: 해당 안내서를 완성하지 않았습니다.

다른 한 분이 해당 안내서를 완성하였습니다.

작성자

5다른 기여자 명과 함께

Meg Lybbert

회원 가입일: 10/08/15

649 평판

안내서 5개를 작성함

0가이드 댓글

댓글 쓰기

조회 통계:

지난 24시간: 1

지난 7일: 5

지난 30일: 29

전체 시간: 758