주요 콘텐츠로 건너뛰기
수리 커뮤니티 가입 - 계정 만들기

Protocol Dronium III AP Light Bulb Replacement

필요한 것

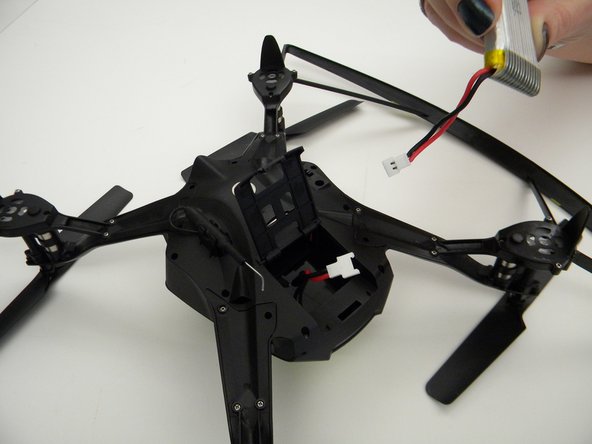
    1. Protocol Dronium III AP Light Bulb Replacement, Drone Battery Pack: 1 단계, 이미지 2개 중 1개 Protocol Dronium III AP Light Bulb Replacement, Drone Battery Pack: 1 단계, 이미지 2개 중 2개
      • Ensure the drone is powered off.

      • Press in and lift battery compartment cover.

      • A soft pry tool may be used for easier access.

      댓글 쓰기

    2. Protocol Dronium III AP Light Bulb Replacement: 2 단계, 이미지 1개 중 1개
      • Remove battery pack from body of drone.

      댓글 쓰기

    3. Protocol Dronium III AP Light Bulb Replacement: 3 단계, 이미지 2개 중 1개 Protocol Dronium III AP Light Bulb Replacement: 3 단계, 이미지 2개 중 2개
      • Disconnect white connectors between the battery pack and drone.

      댓글 쓰기

    1. Protocol Dronium III AP Light Bulb Replacement, L.E.D. Bulb(s): 4 단계, 이미지 1개 중 1개
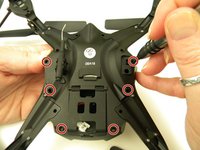
      • Remove the eight (8) 5mm Philips screws attaching the motor arms to the body using a Philips J00 screwdriver.

      댓글 쓰기

    2. Protocol Dronium III AP Light Bulb Replacement: 5 단계, 이미지 2개 중 1개 Protocol Dronium III AP Light Bulb Replacement: 5 단계, 이미지 2개 중 2개
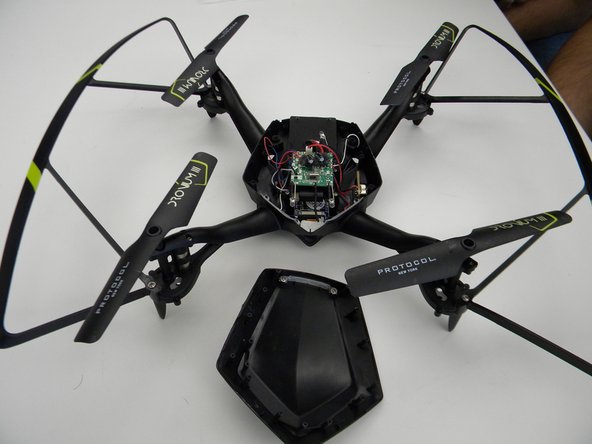
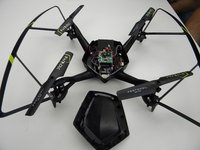
      • Remove the six (6) 5mm Philips screws attaching the Body Cover to the Body of the drone using a Philips J00 screwdriver.

      • Remove the Body Cover.

      댓글 쓰기

    3. Protocol Dronium III AP Light Bulb Replacement: 6 단계, 이미지 2개 중 1개 Protocol Dronium III AP Light Bulb Replacement: 6 단계, 이미지 2개 중 2개
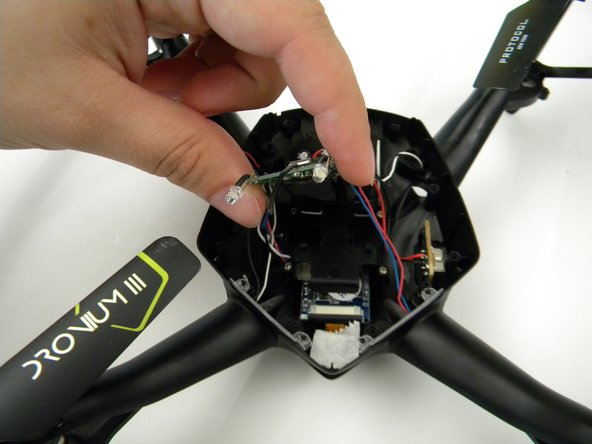
      • Remove the two (2) 5mm Philips screws attaching the Motherboard to the body of the drone using a Philips J00 screwdriver.

      • Lift the Motherboard off the mounting position.

      • Do not pull hard on the Motherboard as solder connections are fragile.

      댓글 쓰기

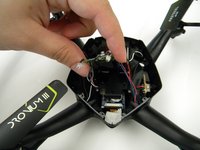
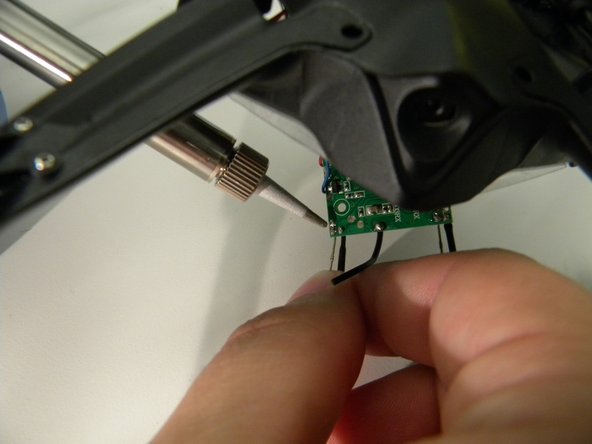
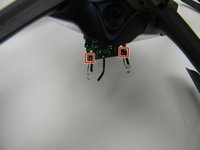
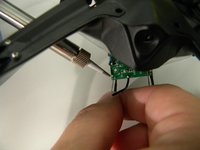
    4. Protocol Dronium III AP Light Bulb Replacement: 7 단계, 이미지 2개 중 1개 Protocol Dronium III AP Light Bulb Replacement: 7 단계, 이미지 2개 중 2개
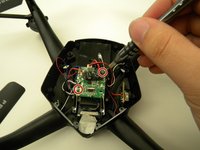
      • This step contains a tool that can present a potential burn hazard.

      • Prepare and warm up a soldering iron.

      • Position Motherboard so that the L.E.D. bulb solder joints are accessible.

      • Use the soldering iron to melt the solder joints.

      • For more detailed instructions on how to solder, visit out How to Solder and Desolder Connections guide.

      • Remove the L.E.D. bulb from the Motherboard

      댓글 쓰기

결론

To reassemble your device, follow these instructions in reverse order.

취소: 해당 안내서를 완성하지 않았습니다.

작성자

4다른 기여자 명과 함께

Steven Mooers

회원 가입일: 10/18/17

401 평판

안내서 4개를 작성함

UW Tacoma, Team S1-G1, Rose Fall 2017 UW Tacoma, Team S1-G1, Rose Fall 2017 회원

UWT-ROSE-F17S1G1

4 회원들

안내서 4개를 작성함

0가이드 댓글

댓글 쓰기

조회 통계:

지난 24시간: 2

지난 7일: 5

지난 30일: 21

전체 시간: 430