소개
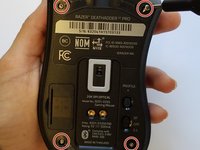
Use this guide to replace the battery in a Razer DeathAdder V2 Pro. The battery is a very important part of this device as it provides power capacity. Since the Razer DeathAdder V2 is a wireless mouse, it operates with a battery that needs to be charged. However, a frequent use of the mouse and repeated charges will decrease the performance of the battery which will need to be replaced.
No complicated skills or tools are needed to follow this guide.
If you need any other help or more tips on your device go to our troubleshooting guide page.
필요한 것
-
-
Remove the four 1.2 mm screws from each corner of the mouse using a T6 Torx screwdriver.
-
-
-
-
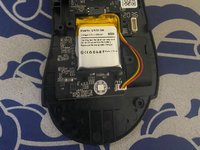
Detach the white connector with red wires gently from the side that connects the side buttons to the PCB.
-
-
-
Make sure the PCB is disconnected as shown before pulling apart the two halves of the mouse.
-
-
-
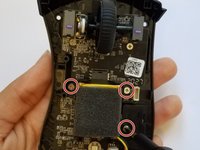
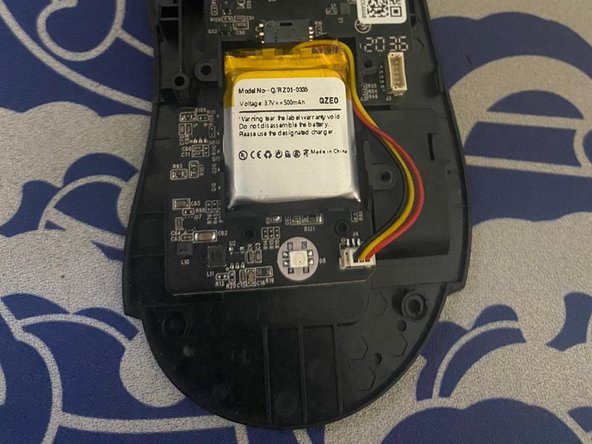
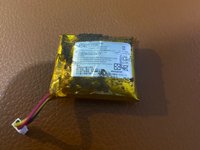
Remove the three 1 mm screws that hold the battery to the circuit board using a Phillips #1 screwdriver.
-
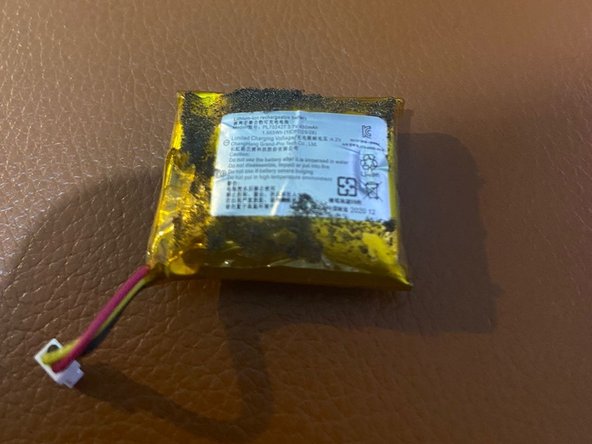
Remove the battery from the mouse.
-


To reassemble your device, follow these instructions in reverse order.
다른 5명이 해당 안내서를 완성하였습니다.
팀

University of Memphis, Team 3-4, Lane Fall 2022 University of Memphis, Team 3-4, Lane Fall 2022 회원
UM-LANE-F22S3G4
4 회원들
안내서 3개를 작성함
9가이드 댓글
What Voltage and mAh is the battery?
Nicoolodion - 답글 공유
In case someone is in the same boat as me:
The original was a 3.7v 450mah battery.
I put in a 1500mah, 3.7v LOSONCOER battery, but also saw a 450 variant on AliExpress. The only problem with the losoncoer is that wasn't the same connector as the original, the losoncoer one was slimmer, so it was a bit odd and only worked with a lot of tinkering, but the guide is perfect!