주요 콘텐츠로 건너뛰기
수리 커뮤니티 가입 - 계정 만들기

Rienok S1 Mini Motherboard Replacement

필요한 것

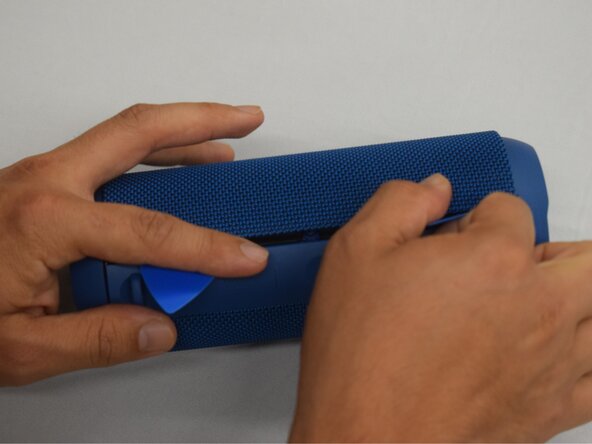
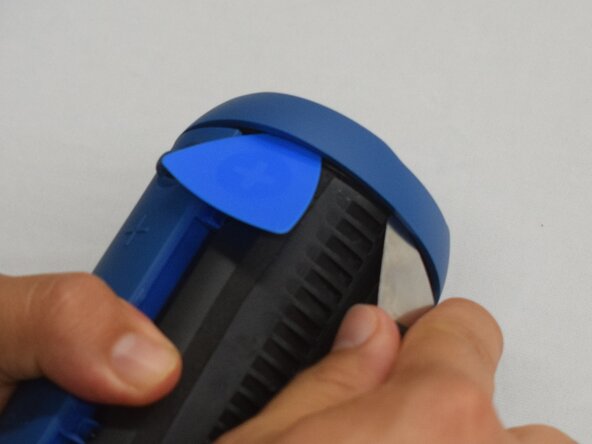
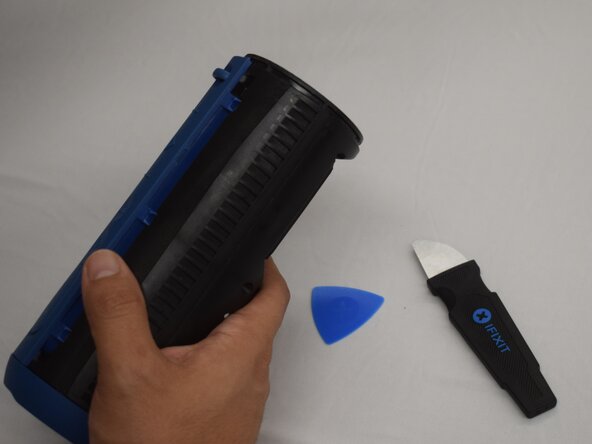
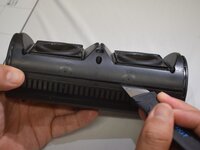
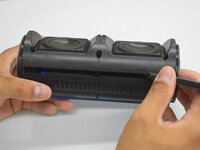
  1. Rienok S1 Mini Motherboard Replacement, Grille: 1 단계, 이미지 2개 중 1개 Rienok S1 Mini Motherboard Replacement, Grille: 1 단계, 이미지 2개 중 2개
    • Start with the buttons panel up and facing you.

    • Wedge in one iFixit opening pick, and apply outward pressure to pop out one side of the grille.

    • Using a second pick, slide from the first pick towards the opposite end until one whole side is popped out.

  2. Rienok S1 Mini Motherboard Replacement: 2 단계, 이미지 1개 중 1개
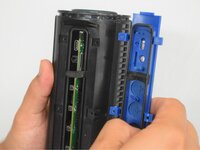
    • While holding the other side open so it doesn't snap closed, wedge in one opening pick into one corner of the closed side.

    • Apply outward pressure until that side also pops out.

    • Using a second opening pick, slide from the first one until both sides have popped out.

  3. Rienok S1 Mini Motherboard Replacement: 3 단계, 이미지 1개 중 1개
    • Pull outward on one end, while holding the other open.

    • Pull in the opposite direction on the top or bottom rings while slightly rotating the center until the whole grille is removed.

  4. Rienok S1 Mini Motherboard Replacement, Top and Bottom Rings: 4 단계, 이미지 2개 중 1개 Rienok S1 Mini Motherboard Replacement, Top and Bottom Rings: 4 단계, 이미지 2개 중 2개
    • Wedge an iFixit opening pick into the space between the ring and the housing.

    • Insert a Jimmy into the gap created.

    • Apply an out-and-upward pressure with the Jimmy to disconnect the plastic clips surrounding the ring.

    • Work the Jimmy around the ring, disconnecting the clips along the way until they are all disconnected.

    • It may help to insert additional opening picks as you go to keep the previous clips from reconnecting.

  5. Rienok S1 Mini Motherboard Replacement: 5 단계, 이미지 2개 중 1개 Rienok S1 Mini Motherboard Replacement: 5 단계, 이미지 2개 중 2개
    • After removing the first ring, turn the device to the other side.

    • Repeat the previous step to remove the second ring.

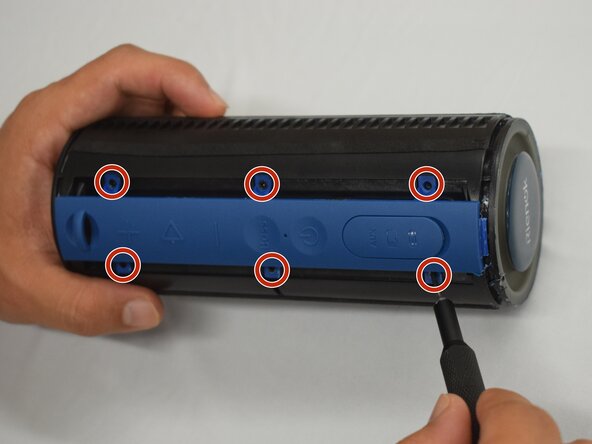
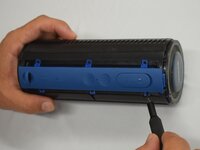
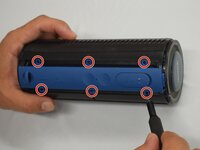
  6. Rienok S1 Mini Motherboard Replacement, Buttons Panel: 6 단계, 이미지 2개 중 1개 Rienok S1 Mini Motherboard Replacement, Buttons Panel: 6 단계, 이미지 2개 중 2개
    • Remove the six 8 mm black screws using a Phillips #000 screwdriver.

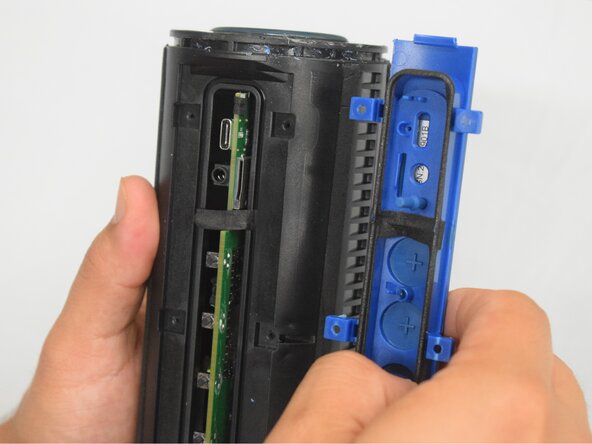
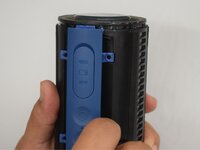
  7. Rienok S1 Mini Motherboard Replacement: 7 단계, 이미지 2개 중 1개 Rienok S1 Mini Motherboard Replacement: 7 단계, 이미지 2개 중 2개
    • With the screws removed, grasp the buttons panel and pull it off.

  8. Rienok S1 Mini Motherboard Replacement, Case: 8 단계, 이미지 3개 중 1개 Rienok S1 Mini Motherboard Replacement, Case: 8 단계, 이미지 3개 중 2개 Rienok S1 Mini Motherboard Replacement, Case: 8 단계, 이미지 3개 중 3개
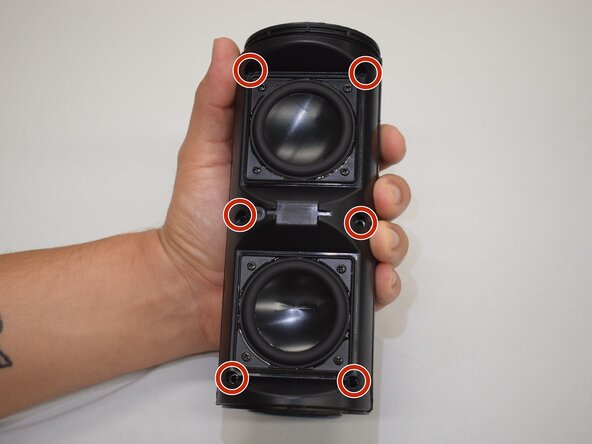
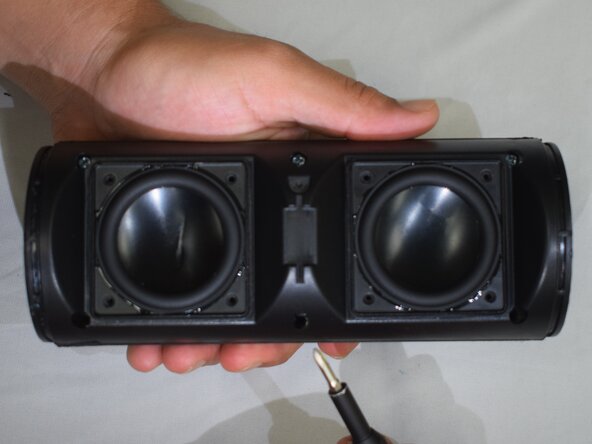
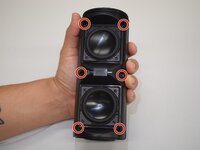
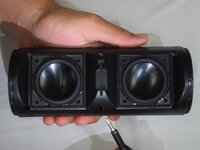
    • Hold the device with the speakers facing up.

    • Remove the six 10 mm silver screws connecting the two halves of the case with a Phillips #1 screwdriver.

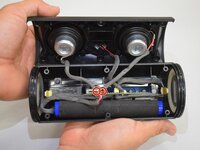
  9. Rienok S1 Mini Motherboard Replacement: 9 단계, 이미지 3개 중 1개 Rienok S1 Mini Motherboard Replacement: 9 단계, 이미지 3개 중 2개 Rienok S1 Mini Motherboard Replacement: 9 단계, 이미지 3개 중 3개
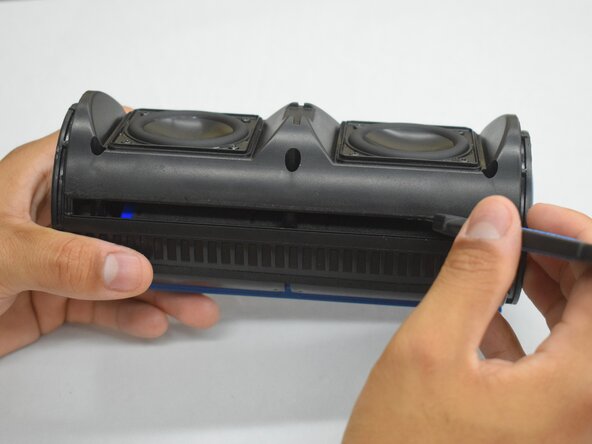
    • Insert a Jimmy into the seam between both halves.

    • Lightly twist the Jimmy until a small gap appears.

    • Work the Jimmy across the length creating and widening the gap as you go across.

    • With the gap across the whole length, grasp both halves and lightly pull apart.

    • DO NOT yank apart; the two halves are still connected by a few cords.

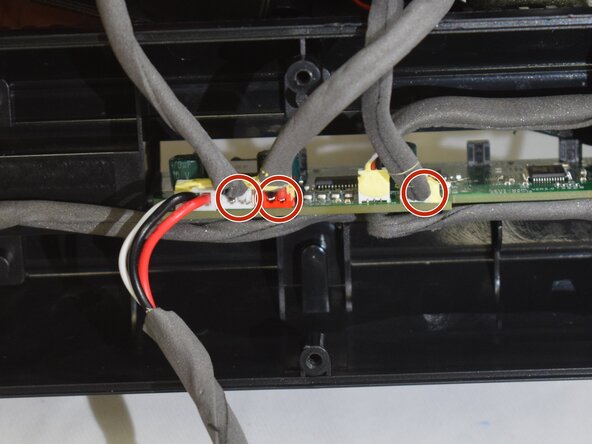
  10. Rienok S1 Mini Motherboard Replacement: 10 단계, 이미지 2개 중 1개 Rienok S1 Mini Motherboard Replacement: 10 단계, 이미지 2개 중 2개
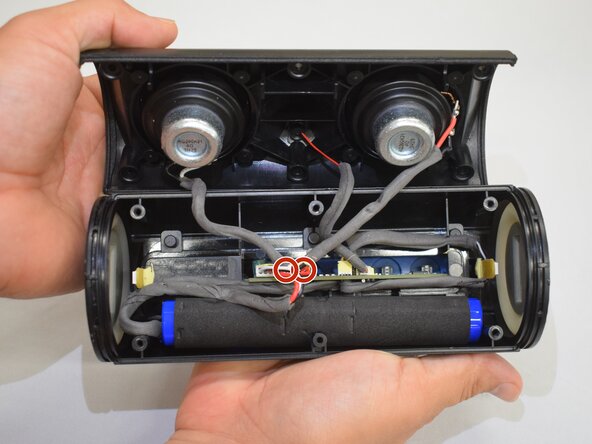
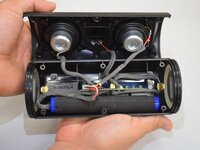
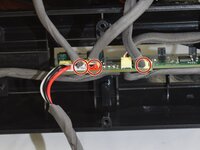
    • Remove the foam glue from the plugs.

    • Grip the plugs with your fingernails, and gently pull each plug until all three are disconnected.

    • If replacing the case, pull on the battery and motherboard, and they will come right out.

  11. Rienok S1 Mini Motherboard Replacement, Motherboard: 11 단계, 이미지 1개 중 1개
    • Remove foam glue and pull out the plug connecting the battery to the motherboard.

  12. Rienok S1 Mini Motherboard Replacement: 12 단계, 이미지 1개 중 1개
    • Remove speaker wires from ports by removing the foam glue and pulling out.

  13. Rienok S1 Mini Motherboard Replacement: 13 단계, 이미지 1개 중 1개
    • Remove the rubber cushion that protects the motherboard from being removed.

    • This was glued on; it is able to be put back on again. If removed multiple times, it might have to be lightly glued back on.

  14. Rienok S1 Mini Motherboard Replacement: 14 단계, 이미지 1개 중 1개
    • Gently pull out the motherboard to remove it from the speaker.

결론

To reassemble your device, follow these instructions in reverse order.

작성자

3다른 기여자 명과 함께

PeterS

회원 가입일: 02/20/25

205 평판

안내서 2개를 작성함

CSU Los Angeles, Team 7-1, Kershman Spring 2025 CSU Los Angeles, Team 7-1, Kershman Spring 2025 회원

CSULA-KERSHMAN-S25S7G1

5 회원들

안내서 9개를 작성함

0가이드 댓글

댓글 쓰기

조회 통계:

지난 24시간: 0

지난 7일: 2

지난 30일: 24

전체 시간: 311