소개
Refer to the device's troubleshooting page before replacing the micro USB port. If your Micro USB connection is not working properly, check the cord before replacing the port. Other reason's to replace the Micro USB include phone does not charge with a new charger or the Micro USB port malfunctions.
필요한 것
-
-
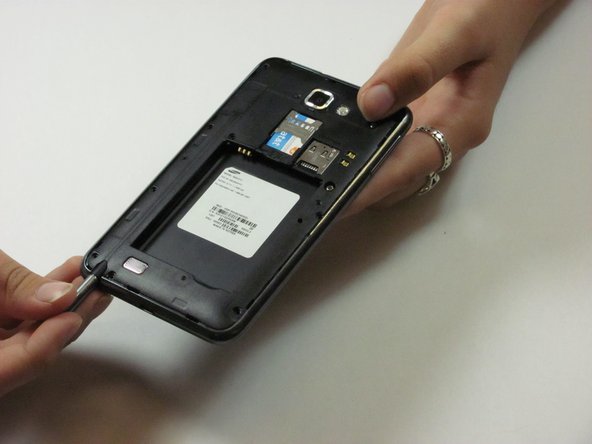
Make sure the screen is face-down and the camera is opposite you.
-
Insert the flat end of a spudger into the phone's top right rectangular slot.
-
Use the spudger as a lever to pry open the back of the phone.
 FixBot에 문의하기
-
-
-
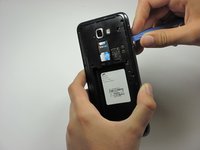
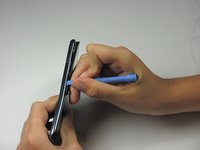
With the spudger still inserted, carefully slide the spudger down the side of the phone.
-
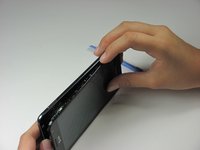
Gently peel off the back cover with your hand.
-
-
-
Place the spudger in the battery's bottom right slot.
-
Gently pry to remove the battery.
-
-
-
Remove the nine 3mm screws on the perimeter of the phone with a Phillips #00 screwdriver.
-
-
-
-
Pry all the way around the sides with a plastic pry tool and gently pop off the midframe.
-
If the cover does not come off easily, continue to pry along the phone's perimeter.
-
Separate the midframe from the phone. The midframe should now pull off easily.
-
-
-
Turn the phone so the screen is on the table and the USB port is facing you.
-
Disconnect the orange ribbon near the bottom of the device using a spudger.
-
-
-
Remove the three 3mm screws on the bottom of the device with a Phillips #00 screwdriver.
-
-
-
Remove the black rectangular bracket imprinted with a "7" where you just removed the screws. The piece should pop off easily.
-
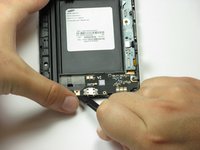
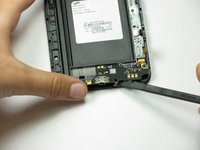
Disconnect the antenna (white wire) with a spudger by prying the metal part gently off.
-
-
-
Slide spudger under the USB port and gently drag it left and right to remove the port from the phone.
-
Adhesive keeps the USB port from moving, so it might not pull up right away.
-


To reassemble your device, follow these instructions in reverse order.
다른 20명이 해당 안내서를 완성하였습니다.
팀

Cal Poly, Team 3-45, Amido Spring 2013 Cal Poly, Team 3-45, Amido Spring 2013 회원
CPSU-AMIDO-S13S3G45
4 회원들
안내서 14개를 작성함