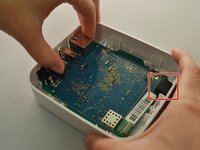
주요 콘텐츠로 건너뛰기

Samsung SmartThings Hub Power Port Replacement

필요한 것

  1. Samsung SmartThings Hub Power Port  Replacement, Power Port: 1 단계, 이미지 1/1
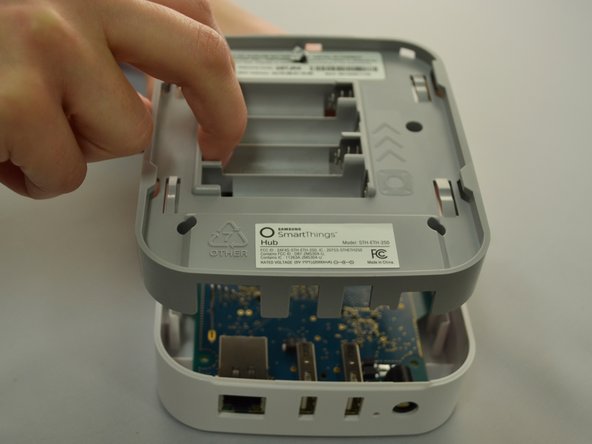
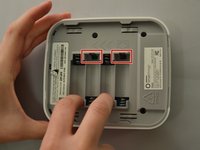
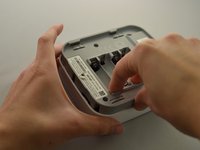
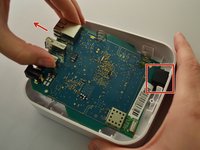
    • To open your device, gently slide the grey bottom cover in the direction of the arrow as shown.

  2. Samsung SmartThings Hub Power Port  Replacement: 2 단계, 이미지 1/3 Samsung SmartThings Hub Power Port  Replacement: 2 단계, 이미지 2/3 Samsung SmartThings Hub Power Port  Replacement: 2 단계, 이미지 3/3
    • Make sure the batteries are removed before attempting disassembly.

    • Using your Phillips #1 screwdriver, remove the four visible 12.5mm screws.

    • Next, either peel up the longer of the two stickers or punch a hole with the tip of your screwdriver to access the fifth 12.5mm screw.

  3. Samsung SmartThings Hub Power Port  Replacement: 3 단계, 이미지 1/3 Samsung SmartThings Hub Power Port  Replacement: 3 단계, 이미지 2/3 Samsung SmartThings Hub Power Port  Replacement: 3 단계, 이미지 3/3
    • Once all five screws are removed, split the casing apart by applying gentle upwards pressure against the positive terminals in the battery compartment.

  4. Samsung SmartThings Hub Power Port  Replacement: 4 단계, 이미지 1/2 Samsung SmartThings Hub Power Port  Replacement: 4 단계, 이미지 2/2
    • To remove the motherboard, grip the USB port and the Ethernet port. Lift up, then slide towards the front of the device to release the motherboard from the black retaining clip shown on the right.

  5. Samsung SmartThings Hub Power Port  Replacement: 5 단계, 이미지 1/3 Samsung SmartThings Hub Power Port  Replacement: 5 단계, 이미지 2/3 Samsung SmartThings Hub Power Port  Replacement: 5 단계, 이미지 3/3
    • Place the motherboard on a clean, flat surface.

    • Preheat your soldering iron. The power port has three points of connection to the motherboard (pictured below). Using your soldering iron, apply heat to each solder joint in turn while pulling the power port away from the board.

    • Soldering irons can reach temperatures of over 500 degrees. Watch your fingers!

    • For more information on soldering refer to How to Solder and Desolder Connections

  6. Samsung SmartThings Hub Power Port  Replacement: 6 단계, 이미지 1/2 Samsung SmartThings Hub Power Port  Replacement: 6 단계, 이미지 2/2
    • Using tweezers, remove the desoldered power port from the motherboard.

결론

To reassemble your device, follow these instructions in reverse order.

다른 5명이 해당 안내서를 완성하였습니다.

Erin

회원 가입일: 09/28/17

485 평판

안내서 4개 작성하였습니다

댓글 0개

댓글 쓰기

조회 통계:

24 시간 전: 3

7일 전: 6

30일 전: 11

전체 시간: 1,233