
Sony Cyber-shot DSC-H300 Flash Replacement
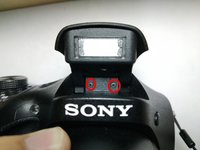
This is a step by step guide showing exactly how to replace the flash on the camera. The flash is located on the top of the camera and can be accessed by by pressing the eject button on the front of the camera near the lens. If the flash isn't extending when taking photos please check out our troubleshooting guide.


-
-
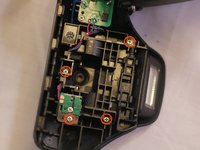
Remove the two 6mm Phillips #00 screws.
-
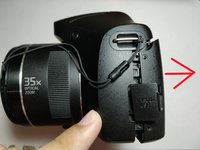
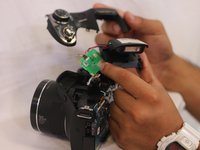
Remove the two 3mm Phillips #00 screws.
-
-
-
-
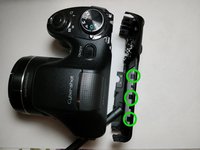
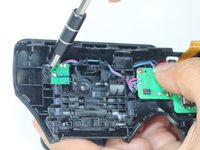
Remove the six 6mm Phillips #00 screws from the upper case of the camera.
-
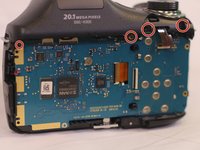
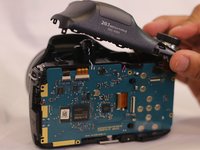
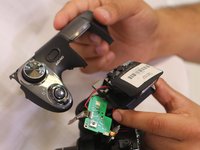
Remove the upper case.
-


To reassemble your device, follow these instructions in reverse order.
To reassemble your device, follow these instructions in reverse order.
다른 한 분이 해당 안내서를 완성하였습니다.
팀

USF Tampa, Team S1-G6, Nance Spring 2018 USF Tampa, Team S1-G6, Nance Spring 2018 회원
USFT-NANCE-S18S1G6
3 회원들
안내서 10개를 작성함