소개
This guide will teach you how to replace your motherboard in your Sony device.
필요한 것
-
-
-
Use a Phillips #00 screwdriver to remove the four (4) screws on the back of the device.
-
If the screws strips or is previously stripped, refer to the stripped screw repair guide.
 FixBot에 문의하기
-
-
-
Battery is the rectangular and silver object in the center of device.
-
Remove battery with finger by prying at the rear.
-
If unable to remove battery, pry out using spudger.
-
-
-
-
-
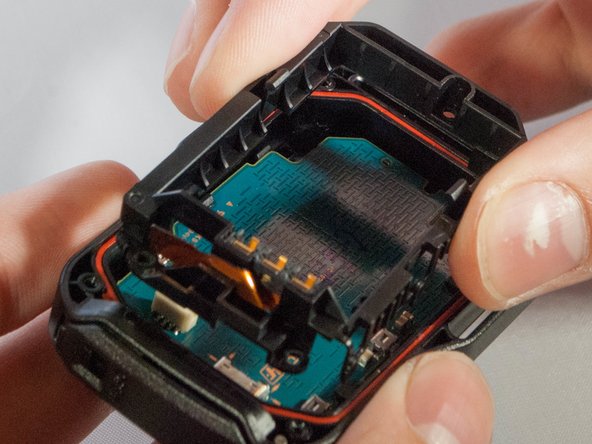
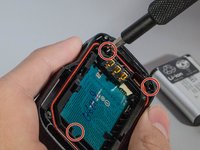
Unscrew the 3 (three) screws holding the bracket in place.
-
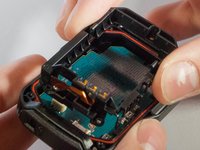
Then remove the bracket by prying one end up.
-
-
-
이 단계에 사용된 도구:Tweezers$4.99
-
With tweezers, unplug the ribbon cable from the white connector.
-
-
-
Remove motherboard from the device by pulling upward gently, with fingers or tweezers.
-
-
-
Gently push out on these two clips holding the LCD to the motherboard
-
Once you have the first two off, ever so carefully, push the LCD towards the remaining two clips.
-
-
-
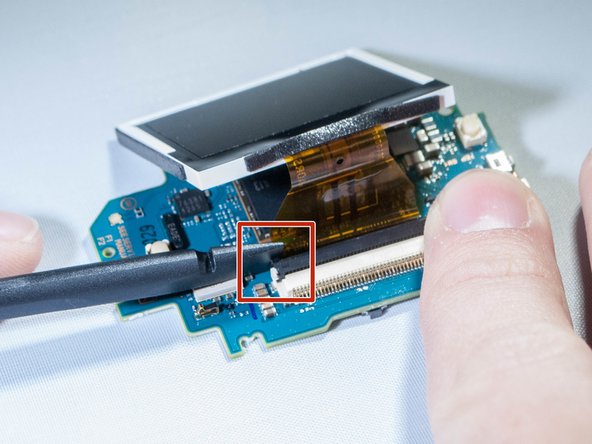
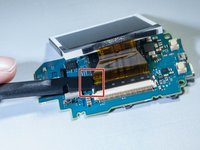
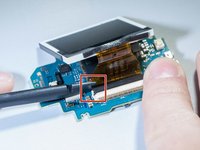
Undo the ribbon cable attached between the motherboard and screen by prying up black tab which holds the cable, using spudger. (See pictures)
-
-





To reassemble your device, follow these instructions in reverse order.
다른 한 분이 해당 안내서를 완성하였습니다.

팀

Eastern Washington University, Team S2-G2, Crane Fall 2017 Eastern Washington University, Team S2-G2, Crane Fall 2017 회원
EWU-CRANE-F17S2G2
3 회원들
안내서 6개를 작성함
1가이드 댓글
Hello
Thank you for your tutorial.
My question is about the rubber cap of the push button
Can it be changed? Spare part ?
Regards
