주요 콘텐츠로 건너뛰기
수리 커뮤니티 가입 - 계정 만들기

SuperSonic Matrix Mid SC-999 Rear Facing Camera Replacement

필요한 것

    1. SuperSonic Matrix Mid SC-999 Rear Facing Camera Replacement, Back Cover: 1 단계, 이미지 1개 중 1개
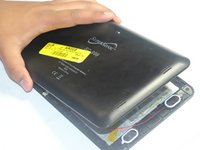
      • Wedge the plastic opening tool between the back cover of the device and the front panel.

      • You will hear a snapping sound as the cover is separated from the body of the device.

      댓글 쓰기

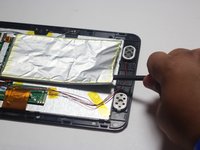
    2. SuperSonic Matrix Mid SC-999 Rear Facing Camera Replacement: 2 단계, 이미지 1개 중 1개
      • Slide the opening tool along the seam between the front panel and the back cover to un-clip the remaining connections around the device.

      • Again, you will hear a snapping sound as the cover is separated from the body of the device.

      댓글 쓰기

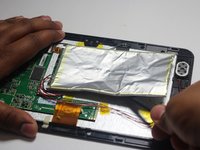
    3. SuperSonic Matrix Mid SC-999 Rear Facing Camera Replacement: 3 단계, 이미지 2개 중 1개 SuperSonic Matrix Mid SC-999 Rear Facing Camera Replacement: 3 단계, 이미지 2개 중 2개
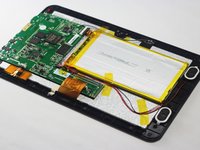
      • Lift the back cover from the body of the device to expose the internal components.

      댓글 쓰기

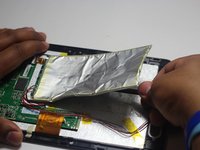
    1. SuperSonic Matrix Mid SC-999 Rear Facing Camera Replacement, Battery: 4 단계, 이미지 3개 중 1개 SuperSonic Matrix Mid SC-999 Rear Facing Camera Replacement, Battery: 4 단계, 이미지 3개 중 2개 SuperSonic Matrix Mid SC-999 Rear Facing Camera Replacement, Battery: 4 단계, 이미지 3개 중 3개
      • Remove the Battery

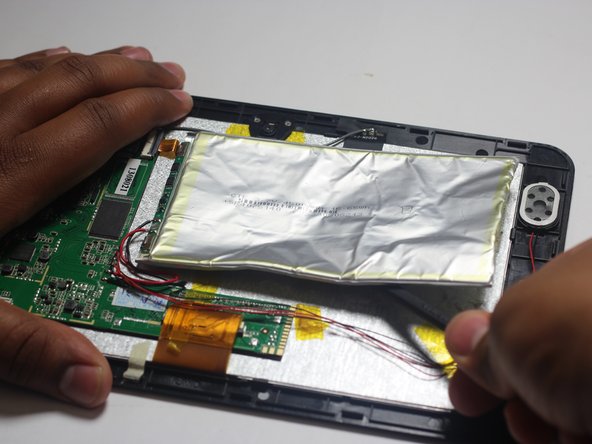
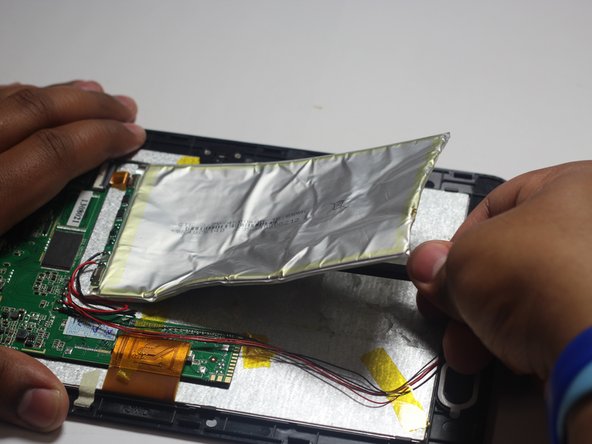
      • The battery is secured to the back panel with tape and glue.

      • Peel back the tape around the battery and discard it.

      • Tear through the adhesive holding the battery by using the spudger tool.

      댓글 쓰기

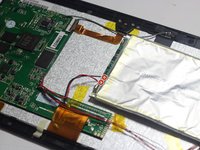
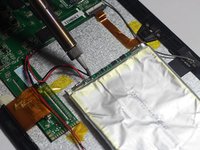
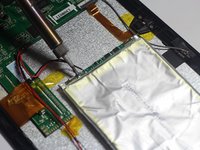
    2. SuperSonic Matrix Mid SC-999 Rear Facing Camera Replacement: 5 단계, 이미지 3개 중 1개 SuperSonic Matrix Mid SC-999 Rear Facing Camera Replacement: 5 단계, 이미지 3개 중 2개 SuperSonic Matrix Mid SC-999 Rear Facing Camera Replacement: 5 단계, 이미지 3개 중 3개
      • Desolder the 2 Battery Wires

      • The Battery has two wires connected to the motherboard (one black and one red).

      • If you're unfamiliar with soldering or desoldering check out this guide.

      • Be sure to wear protective eye wear. The soldering iron will become extremely hot and a potential danger, so make sure you are aware of your surroundings.

      댓글 쓰기

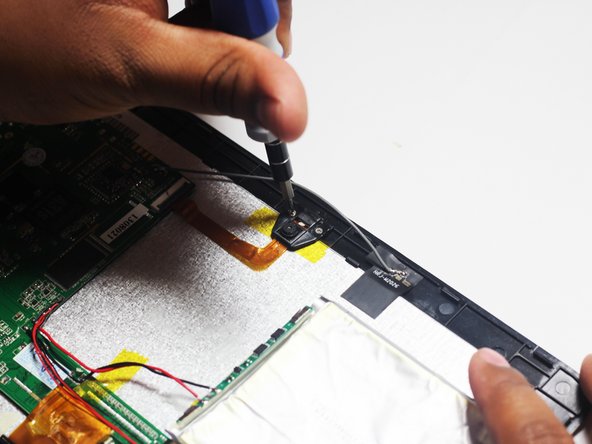
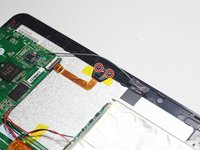
    1. SuperSonic Matrix Mid SC-999 Rear Facing Camera Replacement, Rear Facing Camera: 6 단계, 이미지 2개 중 1개 SuperSonic Matrix Mid SC-999 Rear Facing Camera Replacement, Rear Facing Camera: 6 단계, 이미지 2개 중 2개
      • Remove the two Phillips #00 screws attaching the housing of the camera to the device.

      댓글 쓰기

    2. SuperSonic Matrix Mid SC-999 Rear Facing Camera Replacement: 7 단계, 이미지 1개 중 1개
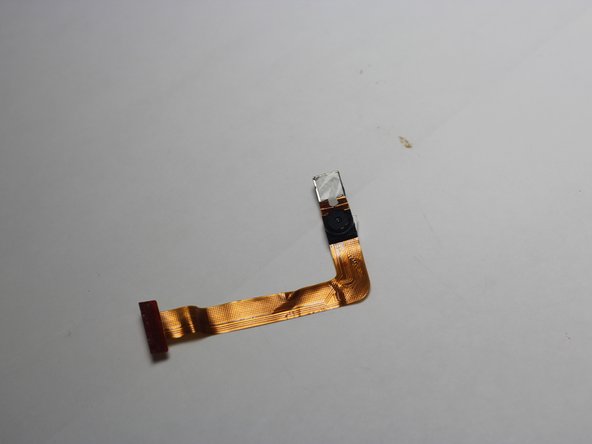
      • With the screws removed you should easily be able to remove the camera unit.

      댓글 쓰기

    3. SuperSonic Matrix Mid SC-999 Rear Facing Camera Replacement: 8 단계, 이미지 2개 중 1개 SuperSonic Matrix Mid SC-999 Rear Facing Camera Replacement: 8 단계, 이미지 2개 중 2개
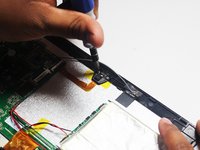
      • Follow the camera unit back to the motherboard.

      • Use the spudger tool to remove the camera.

      댓글 쓰기

결론

To reassemble your device, follow these instructions in reverse order.

취소: 해당 안내서를 완성하지 않았습니다.

다른 한 분이 해당 안내서를 완성하였습니다.

작성자

3다른 기여자 명과 함께

Harris Dagha

회원 가입일: 03/26/15

866 평판

안내서 7개를 작성함

Dr Shaverz boyz Dr Shaverz boyz 회원

Community

3 회원들

안내서 14개를 작성함

0가이드 댓글

댓글 쓰기

조회 통계:

지난 24시간: 0

지난 7일: 1

지난 30일: 18

전체 시간: 459