
Toshiba Dynabook T552-58G Screen Replacement
Fix your computer’s screen with ease by following this guide.
If your screen is busted, malfunctioning, or just needs to be replaced, this guide will assist you through the process. For best results, all steps should be followed.


-
이 단계에 사용된 도구:Tweezers$4.99
-
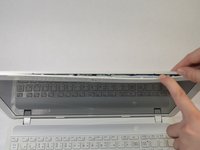
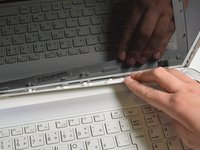
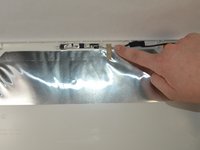
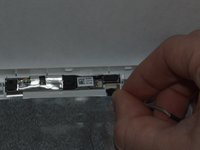
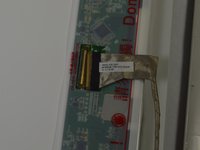
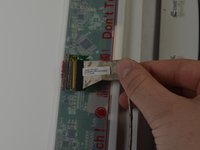
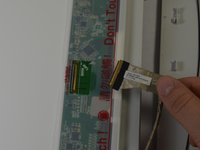
Peel screw covers off with pointed tweezers. There are four of them.
-
-


To reassemble your device, follow these instructions in reverse order.
To reassemble your device, follow these instructions in reverse order.
다른 한 분이 해당 안내서를 완성하였습니다.
팀

Appalachian State University, Team S1-G3, Menagarishvili Spring 2019 Appalachian State University, Team S1-G3, Menagarishvili Spring 2019 회원
APSU-MENAGARISHVILI-S19S1G3
3 회원들
안내서 18개를 작성함