
Toshiba Satellite P75-A7100 Motherboard Replacement
25 - 35 분
조정
더 많은 이미지가 필요함
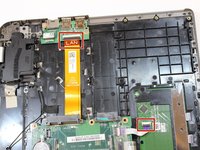
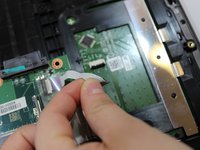
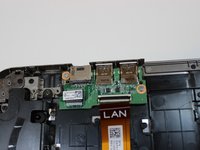
In this guide, we will show you how to replace your computer's motherboard. It is important to replace your motherboard when your computer does not fully re-boot at all.


거의 끝나갑니다!
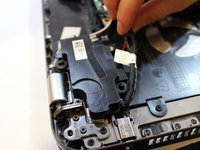
To reassemble your device, follow these instructions in reverse order.
결론
To reassemble your device, follow these instructions in reverse order.
다른 3명이 해당 안내서를 완성하였습니다.
팀

Eastern Washington University, Team S1-G5, Ramos Winter 2018 Eastern Washington University, Team S1-G5, Ramos Winter 2018 회원
EWU-RAMOS-W18S1G5
4 회원들
안내서 5개를 작성함