
Toshiba TECRA R940 Back Panel Replacement
There are several access panels that make up the entire back panel of the Toshiba Tecra R940-S9421. You will learn how to replace all of them.
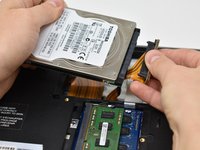
Completing this guide will also show you how to access all of the internal components of the laptop.


-
-
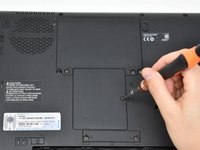
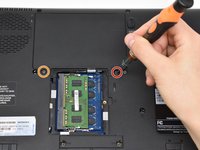
Unscrew the single screw on the RAM access panel using a Phillips #0 screwdriver.
-
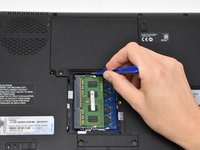
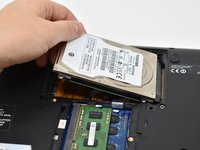
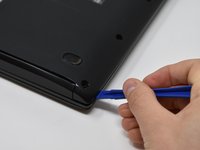
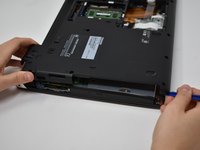
Use a plastic opening tool to pry off the access panel.
-
-


To reassemble your device, follow these instructions in reverse order.
To reassemble your device, follow these instructions in reverse order.
다른 한 분이 해당 안내서를 완성하였습니다.
팀

Central Washington University, Team S1-G5, Pengilly Fall 2018 Central Washington University, Team S1-G5, Pengilly Fall 2018 회원
CWU-PENGILLY-F18S1G5
3 회원들
안내서 21개를 작성함