
Toshiba TECRA R940 Optical Drive Replacement
예상시간 없음
조정
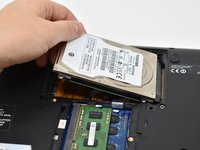
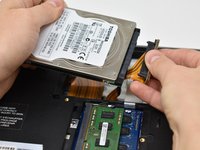
The optical drive is a relatively simple replacement. It must also be removed to access the keyboard.


-
-
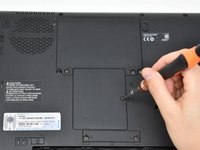
Unscrew the single screw on the RAM access panel using a Phillips #0 screwdriver.
-
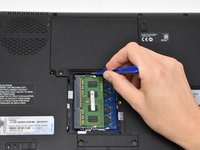
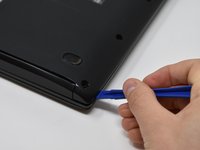
Use a plastic opening tool to pry off the access panel.
-
-
-
-
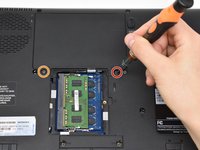
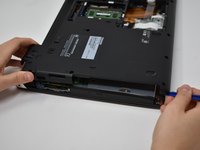
Remove two 2.5 mm screws from the side of the optical drive using a Phillips #0 screwdriver.
-


거의 끝나갑니다!
To reassemble your device, follow these instructions in reverse order.
결론
To reassemble your device, follow these instructions in reverse order.
팀

Central Washington University, Team S1-G5, Pengilly Fall 2018 Central Washington University, Team S1-G5, Pengilly Fall 2018 회원
CWU-PENGILLY-F18S1G5
3 회원들
안내서 21개를 작성함