주요 콘텐츠로 건너뛰기
수리 커뮤니티 가입 - 계정 만들기

Triace A310 Chain Replacement

필요한 것

    1. Triace A310 Chain Replacement, Tire: 1 단계, 이미지 1개 중 1개
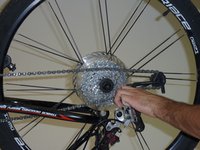
      • Begin loosening the tire by turning the quick release handle.

      댓글 쓰기

    2. Triace A310 Chain Replacement: 2 단계, 이미지 2개 중 1개 Triace A310 Chain Replacement: 2 단계, 이미지 2개 중 2개
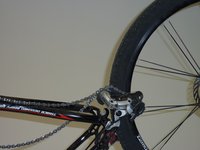
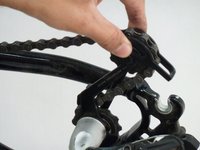
      • Gripping the rear derailleur, pull the arm back, away from the front of the bike.

      • Notice how the derailleur becomes almost vertical in the second picture when compared to the first.

      댓글 쓰기

    3. Triace A310 Chain Replacement: 3 단계, 이미지 2개 중 1개 Triace A310 Chain Replacement: 3 단계, 이미지 2개 중 2개
      • There should be enough slack, in the chain, at this point to remove the tire from the bike.

      • Note: You may need to wiggle the tire and chain around in order to create enough slack.

      • Remove the tire from the bike.

      댓글 쓰기

    1. Triace A310 Chain Replacement, Chain: 4 단계, 이미지 3개 중 1개 Triace A310 Chain Replacement, Chain: 4 단계, 이미지 3개 중 2개 Triace A310 Chain Replacement, Chain: 4 단계, 이미지 3개 중 3개
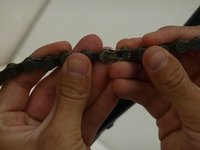
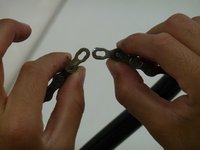
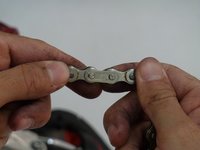
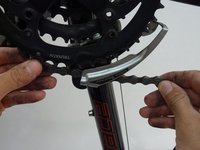
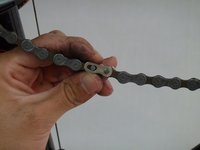
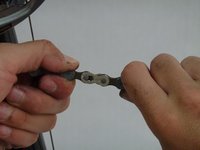
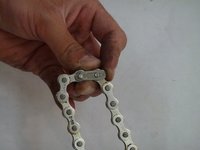
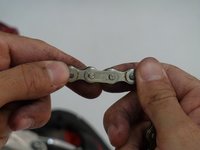
      • Locate the master link along the chain.

      • Note: If the master link matches the one pictured in this step continue with the instructions, if not skip to the next step.

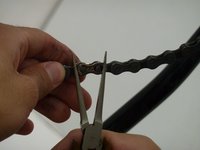
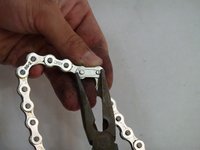
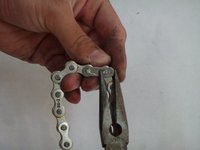
      • With pliers squeeze the two pins together so that the chain comes apart.

      댓글 쓰기

    2. Triace A310 Chain Replacement: 5 단계, 이미지 3개 중 1개 Triace A310 Chain Replacement: 5 단계, 이미지 3개 중 2개 Triace A310 Chain Replacement: 5 단계, 이미지 3개 중 3개
      • Note: This step is only for chains with a master link clip.

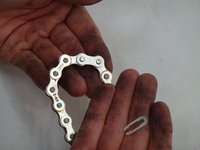
      • With a plier press the two pins together and remove the clip.

      • Once the clip is removed the chain should easily come apart.

      댓글 쓰기

    3. Triace A310 Chain Replacement: 6 단계, 이미지 1개 중 1개
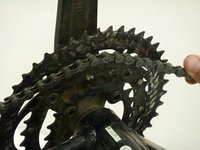
      • Once the chain is separated, remove it from the bike by pulling one end.

      댓글 쓰기

    4. Triace A310 Chain Replacement: 7 단계, 이미지 3개 중 1개 Triace A310 Chain Replacement: 7 단계, 이미지 3개 중 2개 Triace A310 Chain Replacement: 7 단계, 이미지 3개 중 3개
      • With the new chain, place it on the current gear that your bike is in.

      • Note: If you don't know which gear your bike is in place the chain on one of the middle gears.

      • Thread one end of the chain through the derailleur from top to bottom so it is in the shape of a 'S'.

      • Next place the chain on the back gears, making sure that it is threaded through the guide.

      댓글 쓰기

    5. Triace A310 Chain Replacement: 8 단계, 이미지 3개 중 1개 Triace A310 Chain Replacement: 8 단계, 이미지 3개 중 2개 Triace A310 Chain Replacement: 8 단계, 이미지 3개 중 3개
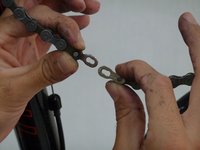
      • To reassemble the chain bring both ends of the chain together so that the pins on each one lineup.

      • Grip the chain on both sides of the master link and pull.

      댓글 쓰기

    6. Triace A310 Chain Replacement: 9 단계, 이미지 3개 중 1개 Triace A310 Chain Replacement: 9 단계, 이미지 3개 중 2개 Triace A310 Chain Replacement: 9 단계, 이미지 3개 중 3개
      • If your chain does have a master link clip replace the link around the two pins.

      • Use a plier to slide the clip back into place.

      댓글 쓰기

결론

Once your chain is back together, you are ready to once again, hit the trails.

취소: 해당 안내서를 완성하지 않았습니다.

다른 한 분이 해당 안내서를 완성하였습니다.

작성자

3다른 기여자 명과 함께

Jacob Rickman

회원 가입일: 01/26/14

159 평판

안내서 1개를 작성함

Cal Poly, Team 1-37, Maness Winter 2014 Cal Poly, Team 1-37, Maness Winter 2014 회원

CPSU-MANESS-W14S1G37

4 회원들

안내서 34개를 작성함

0가이드 댓글

댓글 쓰기

조회 통계:

지난 24시간: 0

지난 7일: 5

지난 30일: 29

전체 시간: 1,181