
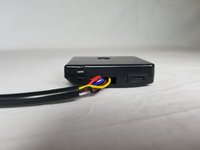
Vornado Duo Circuit Board Replacement
In this replacement guide, step by step instructions will show how to replace the circuit board located inside of the Vornado Duo.
필요한 것
부품
도구


더보기...
-
-
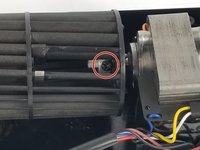
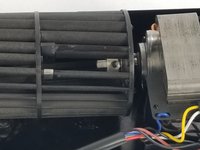
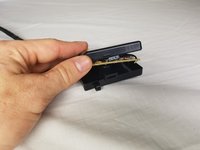
Start off by using a Philips #2 screwdriver to remove all 8 10mm exterior screws on the rear of the device.
-
-


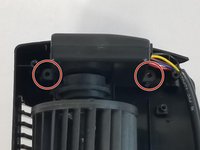


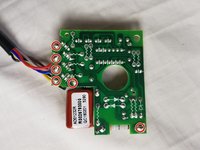
To reassemble your device, follow these instructions in reverse order.
To reassemble your device, follow these instructions in reverse order.
다른 2명이 해당 안내서를 완성하였습니다.
팀

USF Tampa, Team S1-G1, Nance Fall 2017 USF Tampa, Team S1-G1, Nance Fall 2017 회원
USFT-NANCE-F17S1G1
3 회원들
안내서 4개를 작성함