주요 콘텐츠로 건너뛰기
Wahl Chrome Pro Power Switch Replacement

Wahl Chrome Pro Power Switch Replacement

Holly Dunn

Holly Dunn4 다른 기여자

최종 수정일 July 15, 2024

10 분
쉬움
액션 샷

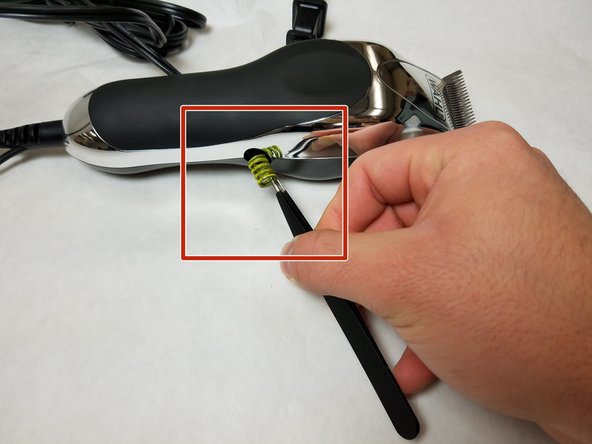
The power switch connects the device motor to the power cord. If the power switch becomes broken or worn, the device may not function properly.

필요한 것

도구

더보기...

iFixit은 귀하가 이 링크를 통해 구매할 때 커미션을 받습니다.
  1. Wahl Chrome Pro Power Switch Replacement, Case: 1 단계, 이미지 1개 중 1개
    • Remove the two 5.0 mm JIS #1 screws to loosen the cutting blades.

    • Make sure your device is not connected to power before you begin.

  2. Wahl Chrome Pro Power Switch Replacement: 2 단계, 이미지 1개 중 1개
    • Lift the bottom blade straight up from the device body to remove it.

  3. Wahl Chrome Pro Power Switch Replacement: 3 단계, 이미지 1개 중 1개
    • Remove the three 9.0 mm JIS #1 screws attaching the base of the blade assembly to the body.

  4. Wahl Chrome Pro Power Switch Replacement: 4 단계, 이미지 1개 중 1개
    • Lift the base of blade assembly straight up off of the body.

  5. Wahl Chrome Pro Power Switch Replacement: 5 단계, 이미지 1개 중 1개
    • Remove the two 12.0 mm JIS #1 screws on the back of the device body.

  6. Wahl Chrome Pro Power Switch Replacement: 6 단계, 이미지 1개 중 1개
    • Remove the 13.0 mm Phillips #2 screw on the side of the device body.

    • This screw is located on the opposite side of the body from the switch.

  7. Wahl Chrome Pro Power Switch Replacement: 7 단계, 이미지 1개 중 1개
    이 단계에 사용된 도구:
    Tweezers
    $4.99
    • Remove the spring on the side of the body using tweezers.

  8. Wahl Chrome Pro Power Switch Replacement: 8 단계, 이미지 1개 중 1개
    • Pry the body case off of the device using a spudger.

  9. Wahl Chrome Pro Power Switch Replacement, Power Switch: 9 단계, 이미지 1개 중 1개
    • Remove one 7.5 mm JIS #1 screw connecting the power cord to the switch base.

  10. Wahl Chrome Pro Power Switch Replacement: 10 단계, 이미지 1개 중 1개
    • Remove one 7.5 mm JIS #1 screw connecting the wire to the switch base.

  11. Wahl Chrome Pro Power Switch Replacement: 11 단계, 이미지 1개 중 1개
    • Remove the switch from device by lifting straight up from the device body.

결론

To reassemble your device, follow these instructions in reverse order.

작성자

4다른 기여자 명과 함께

Holly Dunn

회원 가입일: 11/09/17

104 평판

안내서 1개를 작성함

IUPUI, Team S7-G3, Baechle Fall 2017 IUPUI, Team S7-G3, Baechle Fall 2017 회원

IUPUI-BAECHLE-F17S7G3

3 회원들

안내서 8개를 작성함

댓글 0개

댓글 쓰기

조회 통계:

지난 24시간: 0

지난 7일: 2

지난 30일: 6

전체 시간: 573