소개
Use this guide to replace the control board in your Whirlpool Refrigerator.
The control board processes the inputs for the dispenser assembly and other related assemblies. If your refrigerator is not dispensing properly, or if the dispenser buttons on your refrigerator aren't working, then your control board might be broken.
This guide will work for most Whirlpool refrigerators. This guide is written with a model WRS315SDHW refrigerator. If you have a different model, you may encounter some minor disassembly differences, but the overall repair process will be the same.
Note: Some photos show the doors removed for clarity purposes. Removing them is not required and will not change the procedure.
필요한 것
-
-
-
-
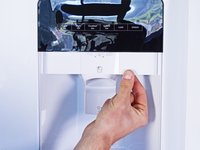
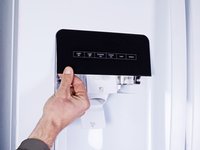
Remove the screw(s) securing the two dispenser panels.
-
-
-
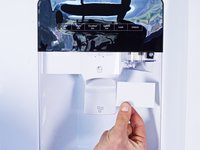
Pull the dispenser panels straight down to separate them from the chassis.
-
Remove the dispenser panels.
-
-
-
-
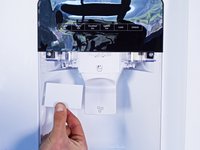
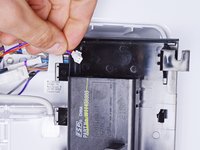
Tilt the bottom of the control board away from the chassis to release its clips.
-
Pull straight down to separate the control board enough to access its connectors.
-
-
-
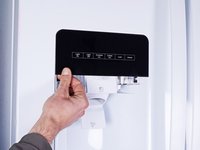
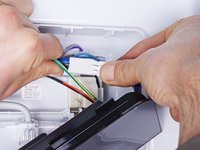
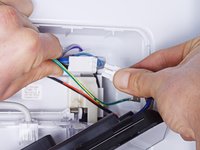
Disconnect the connectors attached to the control board.
-
-


To reassemble your device, follow these instructions in reverse order.
Take your e-waste to an R2 or e-Stewards certified recycler.
Repair didn’t go as planned? Ask our Answers community for help.
다른 한 분이 해당 안내서를 완성하였습니다.
