
Why! NH57ADS Motherboard Replacement


-
-
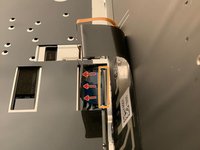
Remove the two screws holding the battery in place.
-
Slip your finger into the finger hole provided at the top of the battery and lift to remove it.
-
-
-
Remove the five Phillips screws securing the bottom to the case.
-
Slide the cover up slightly to release the catches holding it in place. This is the view on the right. The mark on the cover should now line up with the second mark on the case of the computer.
-
-
-
This is the view on the left before and after sliding the cover. The mark on the cover should now line up with the second mark on the case of the computer.
-
Lift the bottom cover to remove it.
-
-
-
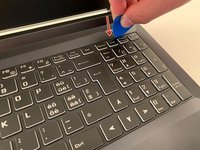
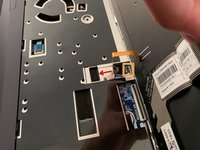
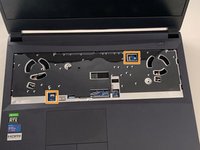
Remove the two Phillips screws with the keypad symbol next to them.
-
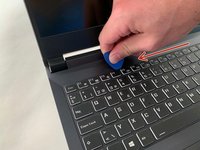
Insert an opening pick into the upper slot of the keyboard and slide it to the end.
-
-
-
-
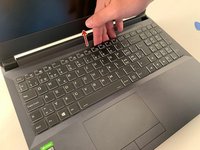
Carefully lift the keyboard.
-
Flip up the retaining latch on the black keyboard cable and slide it out of the connector.
-
Repeat with the orange backlight cable.
-
-
-
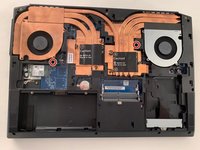
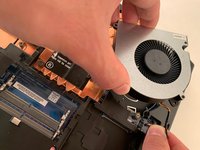
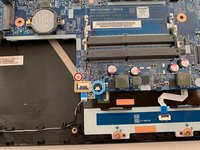
Remove the two Phillips screws securing the left hand fan.
-
Remove the six Phillips heatsink retaining screws .
-
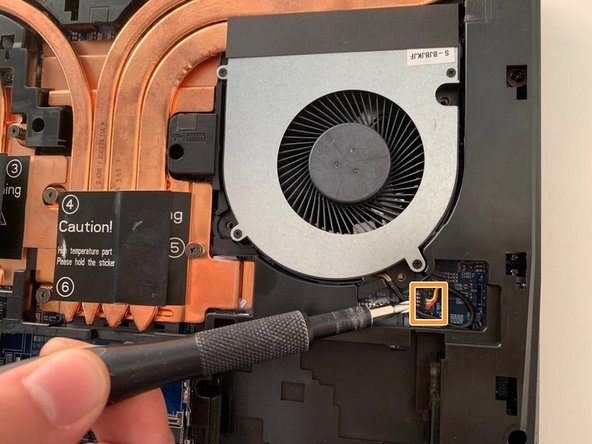
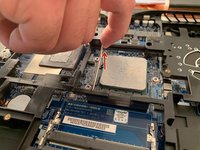
Carefully unplug the fan's power connector.
-
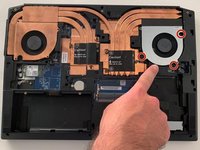
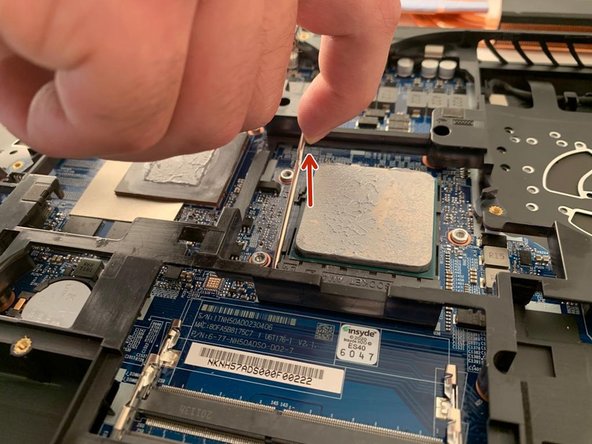
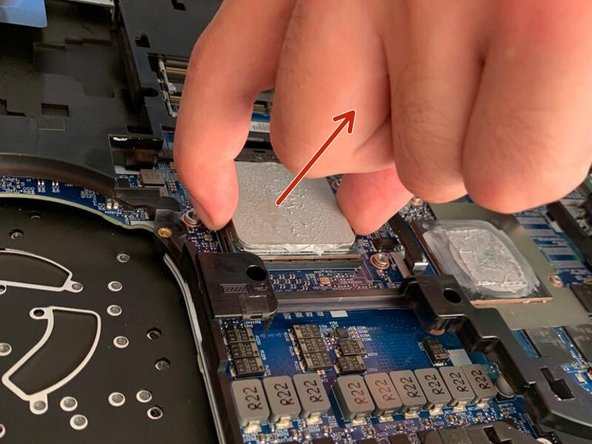
Using the two black tabs as handles, lift and remove the heatsink.
-
-
-
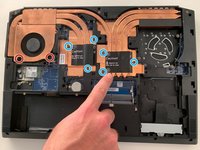
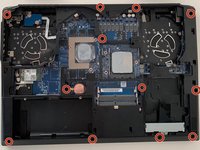
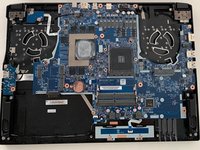
Remove the 12 Phillips screws securing the bottom case.
-
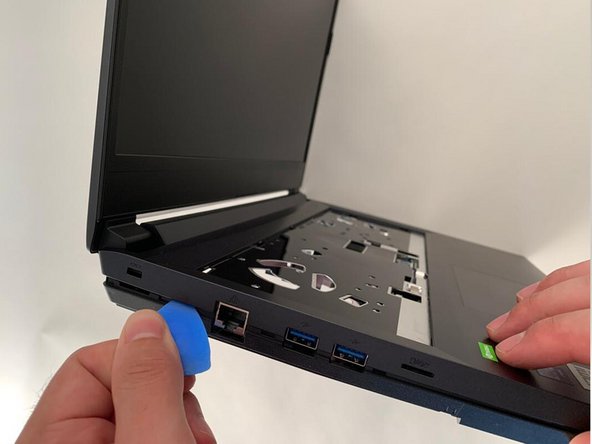
Using an opening pick, detach the lower case.
-
-
-
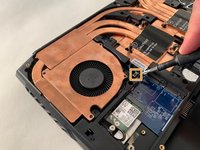
Lift the retaining latches and remove the two ribbon cables located under the keyboard.
-
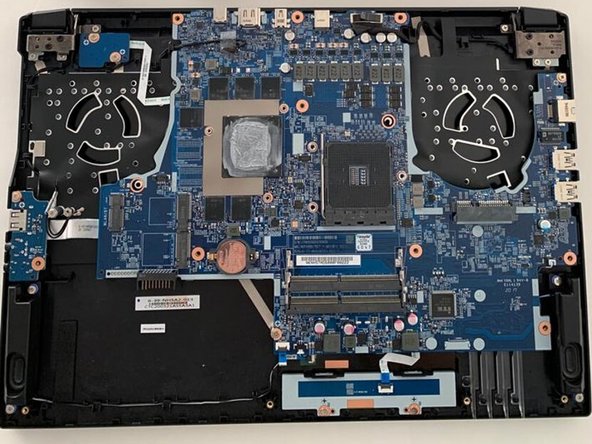
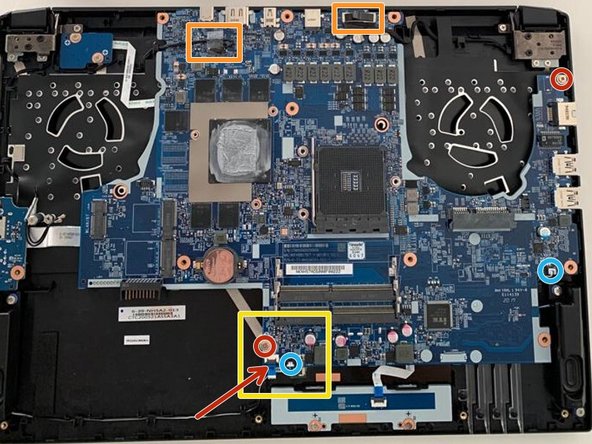
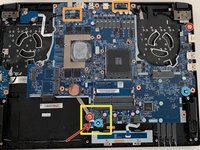
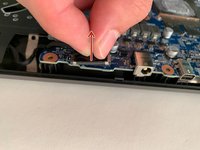
Remove the two remaining Phillips screws securing the motherboard.
-
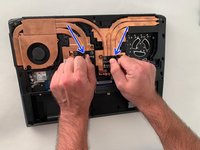
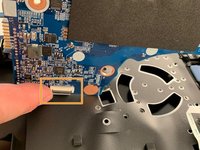
Carefully unplug the two speaker cables using fingernails of fine tip tweezers. Do not pull on the delicate wires, as they can break easily.
-
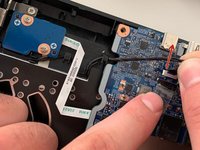
Flip up the retaining latch on the ZIF connector between the speaker connector and the mounting screw. Remove the flex cable from the connector.
-
-
-
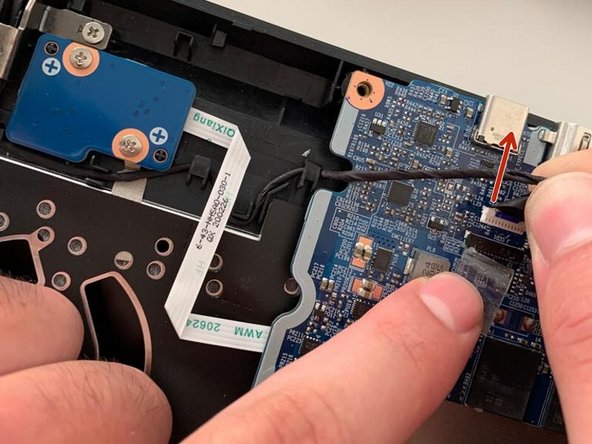
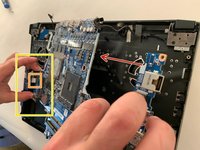
Unplug the LCD cable by grasping the tab and pulling it straight up. Unplug the other display cable by pulling it in the direction of the arrow. Press it out by the connector, not the cable.
-
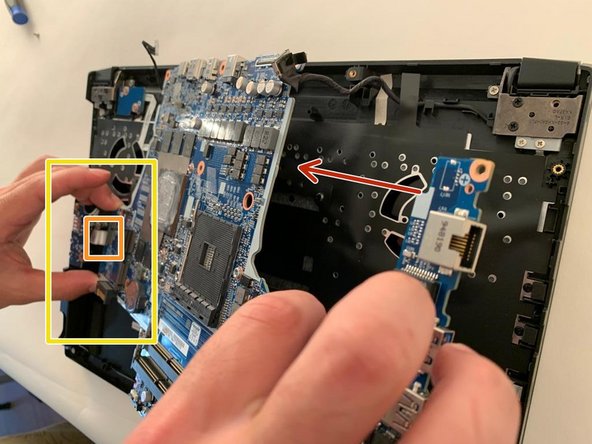
Carefully lift the motherboard to access the remaining cable attached to the bottom side of the board.
-


To reassemble your device, follow the instructions in reverse order.
To reassemble your device, follow the instructions in reverse order.
다음 번역가들에게 특별히 감사 드립니다:
100%

Jerry Wheeler님은 저희가 세상을 수리하는데 동참하신 분입니다! 기여하시겠습니까?
번역 시작하기 ›