
iRobot Roomba 891 Drive Wheels Replacement
10 - 30 분
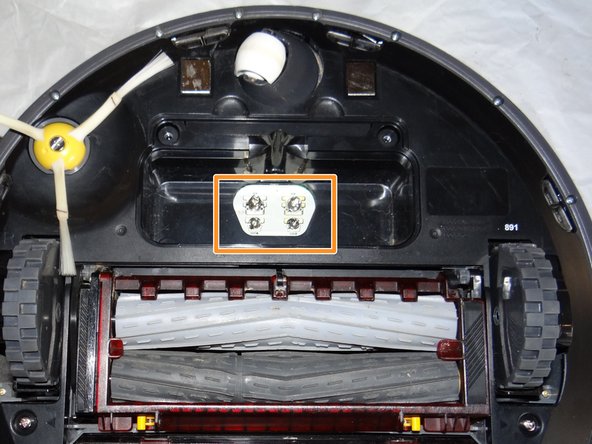
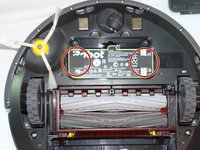
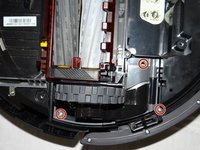
조정
액션 샷
더 나은 이미지가 필요함
누락된 단계
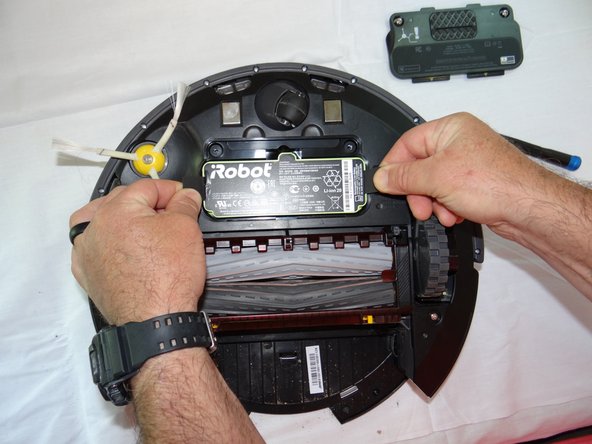
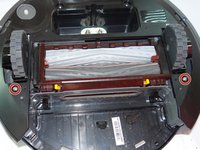
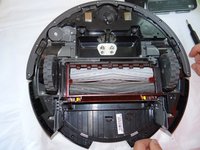
This guide will help you replace the drive wheels on your roomba. This guide highlights the ease of repairability of the roomba and the modular design of this model. The wheels are side specific and sold in pairs. Modules can be purchased at the links included.
필요한 것
부품
도구


더보기...
iFixit은 귀하가 이 링크를 통해 구매할 때 커미션을 받습니다.


거의 끝나갑니다!
To reassemble your device, follow these instructions in reverse order.
결론
To reassemble your device, follow these instructions in reverse order.
팀

South Arkansas Community College, Team S1-G1, Mitchell Summer 2019 South Arkansas Community College, Team S1-G1, Mitchell Summer 2019 회원
SACC-MITCHELL-SU19S1G1
2 회원들
안내서 5개를 작성함
댓글 한 개
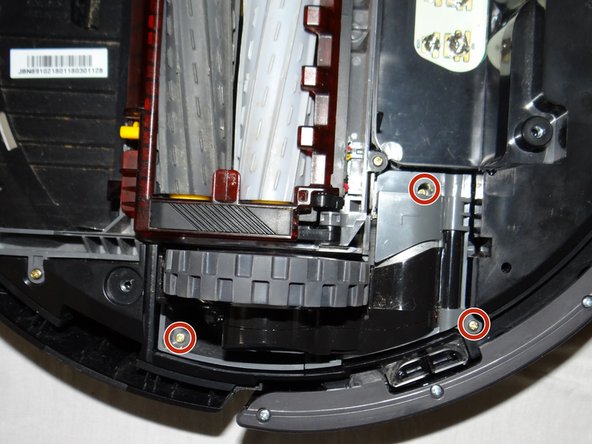
justin i added the word captive to the steps where the screws stayed in place