
jp.ik Leap T304 LCD Replacement Replacement
10 분
조정
커뮤니티-기여 안내서
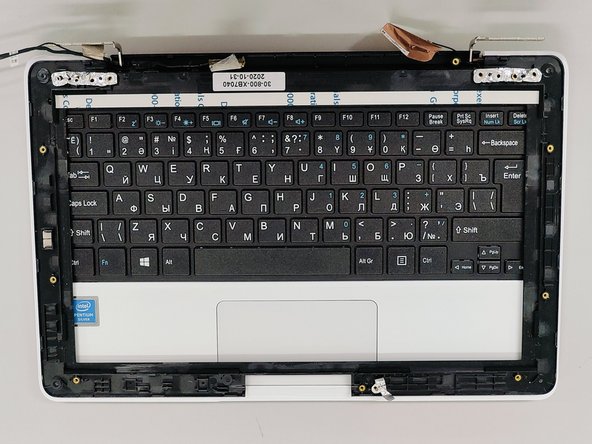
You must first follow the instructions on how to open the device before proceeding with these instructions.
Pay attention to the precautions mentioned in the guide.
필요한 것
도구


더보기...
iFixit은 귀하가 이 링크를 통해 구매할 때 커미션을 받습니다.
-
-
First make sure the notebook is turned off and check if you have the necessary tools.
-
-


거의 끝나갑니다!
To reassemble your device, follow these instructions in reverse order.
결론
To reassemble your device, follow these instructions in reverse order.
다른 한 분이 해당 안내서를 완성하였습니다.
다음 번역가들에게 특별히 감사 드립니다:
pt en
100%
Miguel Santos님은 저희가 세상을 수리하는데 동참하신 분입니다! 기여하시겠습니까?
번역 시작하기 ›
