주요 콘텐츠로 건너뛰기

why! N240JU Replacing the LCD screen

알림: 귀하는 지금 열람하신 선행 작업 안내서를 편집하고 계십니다. 변경된 사항들은 이 선행 작업 단계를 사용하는 안내서에 영향을 미칩니다.

프랑스어
영어
2 단계
why! N240JU Remplacement de l'écran LCD: 0 단계, 이미지 3개 중 1개 why! N240JU Remplacement de l'écran LCD: 0 단계, 이미지 3개 중 2개 why! N240JU Remplacement de l'écran LCD: 0 단계, 이미지 3개 중 3개
  • Décollez la bande adhésive du second connecteur.

  • Puis déconnectez le second connecteur.

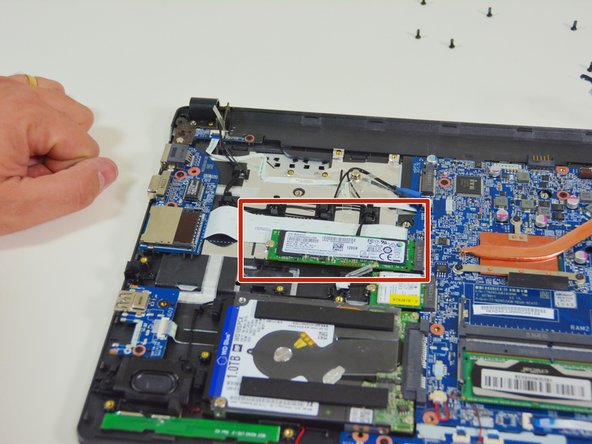
  • Repérez ensuite le disque SSD M.2.

Peel off the tape from the second connector.

Then disconnect the second connector.

Locate the SSD M.2 drive.

귀하의 기여는 오픈 소스 Createive Commons 라이선스 하에 허가되었습니다.