소개
If the battery in your Dragon Touch Y88X Plus tablet is having power issues, use this guide to replace it. This repair requires a soldering iron to remove the connectors of the battery. You may also want to use adhesive tape to further secure the battery after replacement. If you need any additional help with the process of soldering, you can refer to the How To Solder and Desolder Connections guide.
필요한 것
-
-
Remove the back case using a plastic opening tool or spudger.
-
Start at the corners and work your way around the perimeter of the tablet.
 FixBot에 문의하기
-
-
-
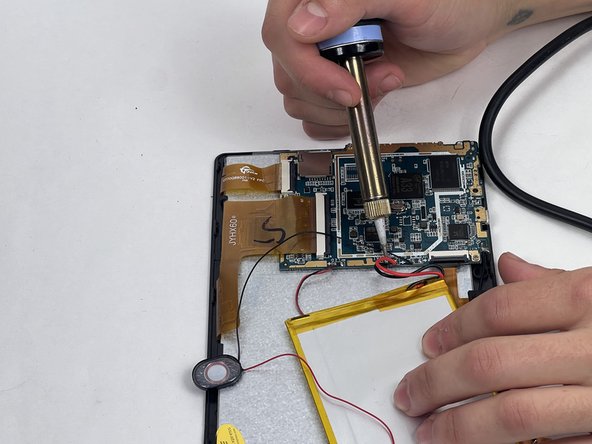
Identify the tablet's battery. It is usually a flat, rectangular component connected to the motherboard.
-
Carefully peel the old battery from the adhesive using your iFixit pry tool.
-
-
-
-
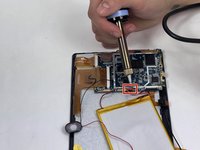
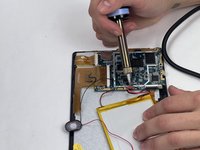
Use a soldering iron to disconnect each connector individually from the motherboard.
-


To reassemble your device, follow these instructions in reverse order.
다른 2명이 해당 안내서를 완성하였습니다.

팀

UMass Dartmouth, Team 1-4, Petersen Fall 2023 UMass Dartmouth, Team 1-4, Petersen Fall 2023 회원
UMASSD-PETERSEN-F23S1G4
4 회원들
안내서 4개를 작성함