이 번역은 원본 안내서의 최신 업데이트를 반영하지 않을 수 있습니다. 번역 업데이트를 돕거나 아니면 원본 안내서 보기를 참조하세요.
소개
이 수리 안내서는 iFixit 직원이 작성했으며 Google의 지지를 받지 않았습니다. 여기에서 수리 안내서에 대해 자세히 알아보세요.
이 안내서를 따라서 Google Pixel 7a에서 깨졌거나 오작동하는 스크린을 분리 또는 교체하세요.
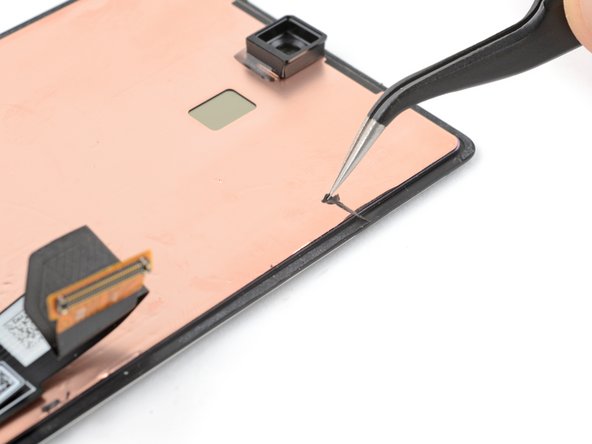
디스플레이의 지문 인식기를 보정하려면 이 안내서를 참조하세요. 정품 Google 교체용 스크린에는 지문 인식기가 이미 부착되어 있습니다. 교체용 스크린에 지문 인식기가 사전 설치되어 있지 않은 경우 원래 지문 인식기를 새 스크린으로 옮긴 후 다시 보정해야 기능을 유지할 수 있습니다.
이 수리를 완료하려면 교체용 스크린 접착제가 필요합니다.
참고: 수리를 하면 휴대폰의 방수 기능이 손상될 수 있습니다. 수리 후 방수 기능을 유지하는 것은 접착제를 얼마나 잘 다시 바르느냐에 달렸습니다.
필요한 것
-
-
-
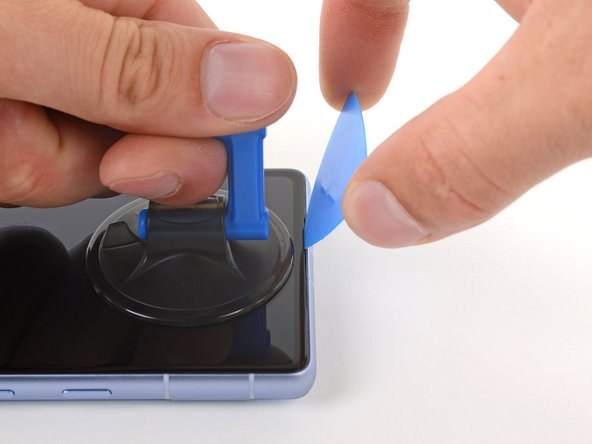
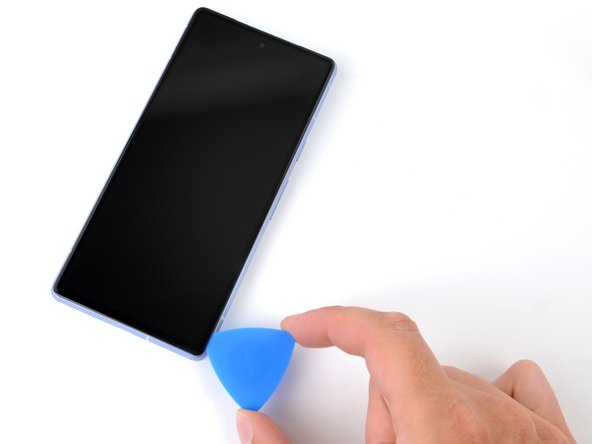
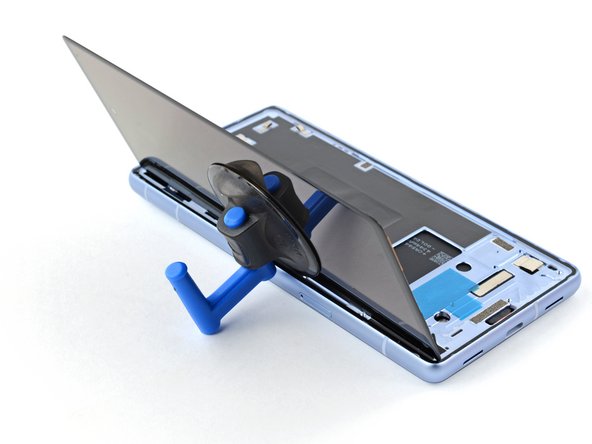
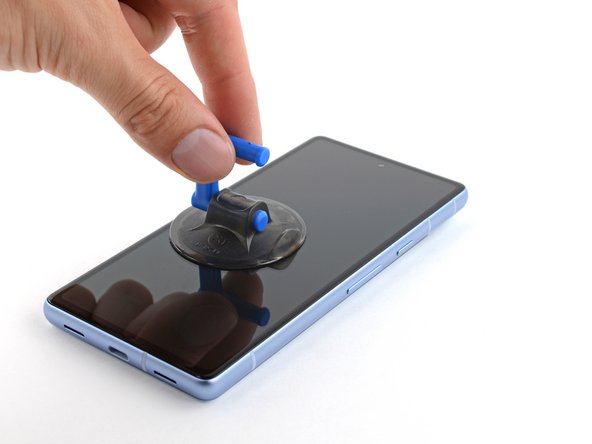
스크린 상단 가장자리 중앙에 흡입 핸들을 대세요.
-
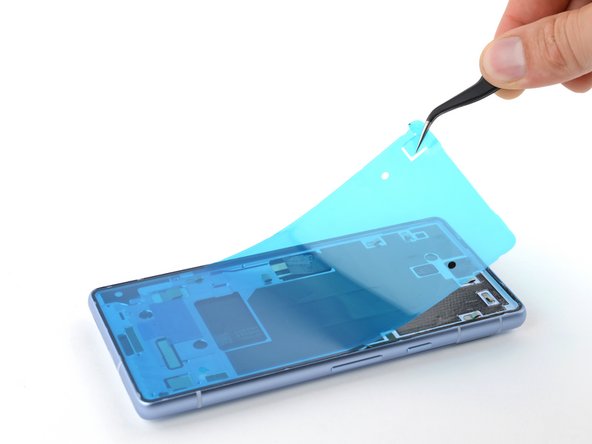
강하고 일정한 힘으로 흡입 손잡이를 위로 당기세요.
-
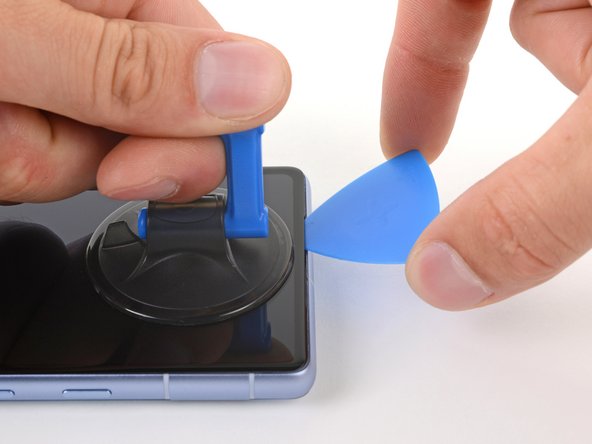
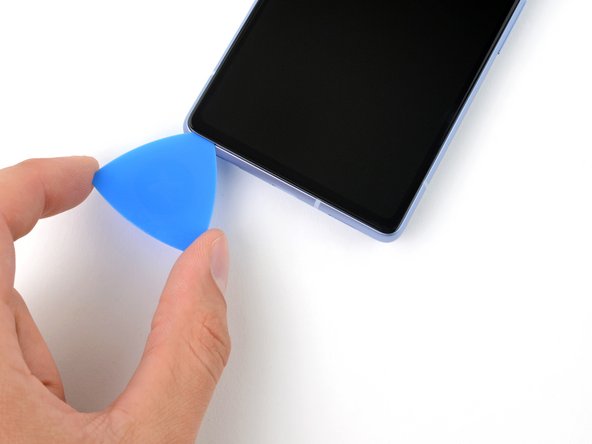
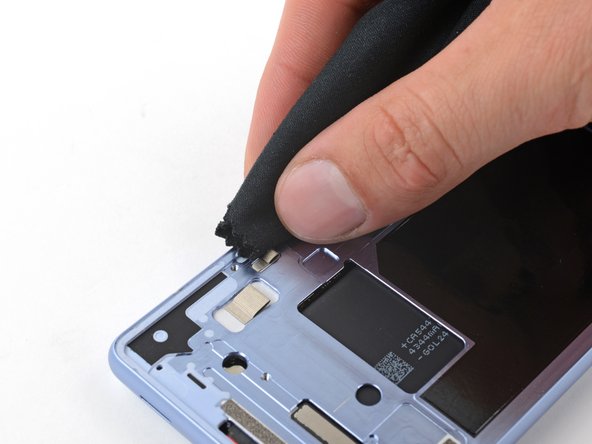
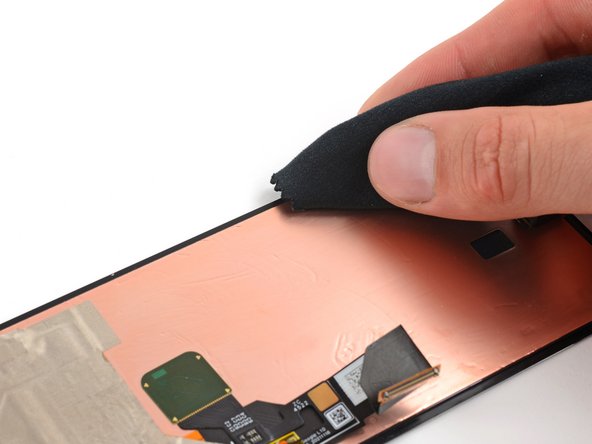
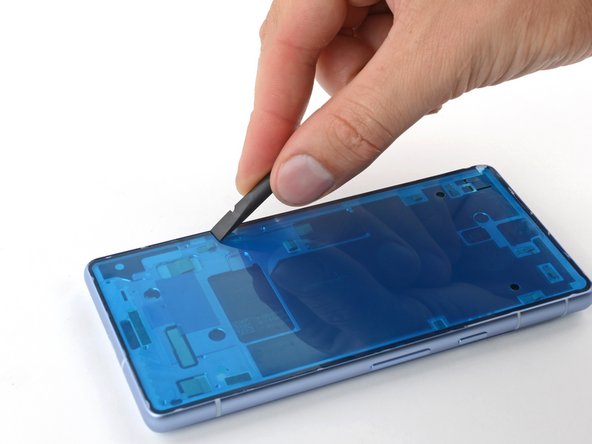
여는 픽의 끝을 이어피스 스피커 컷아웃의 왼쪽에 끼우세요.
-
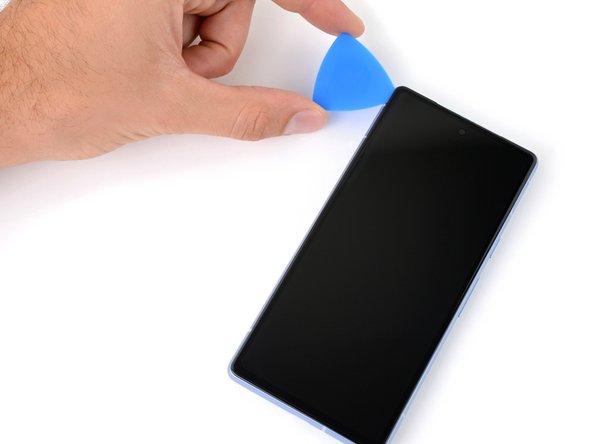
픽을 컷아웃에 단단히 누르고 유리 밑으로 밀 수 있을 때까지 스크린에 수평으로 내리세요.
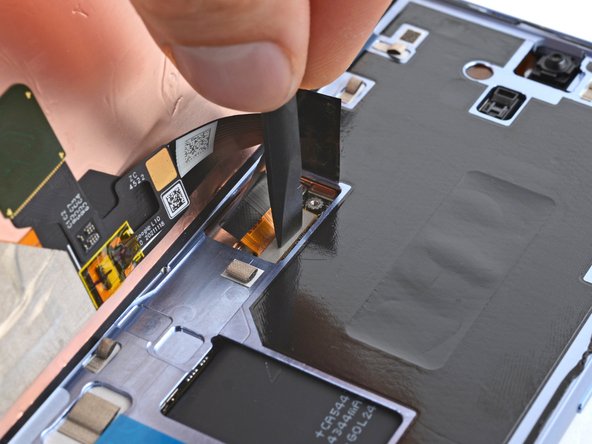
-
-
-
-
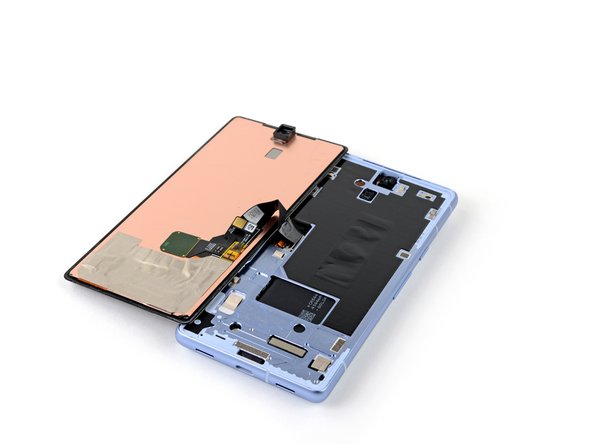
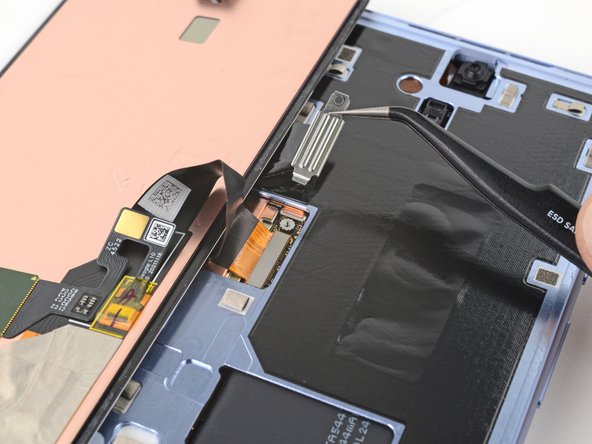
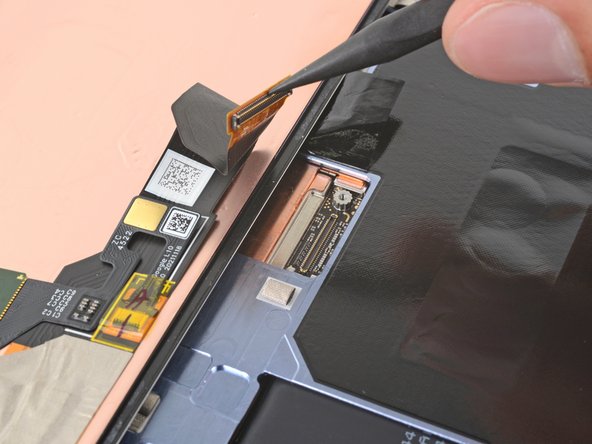
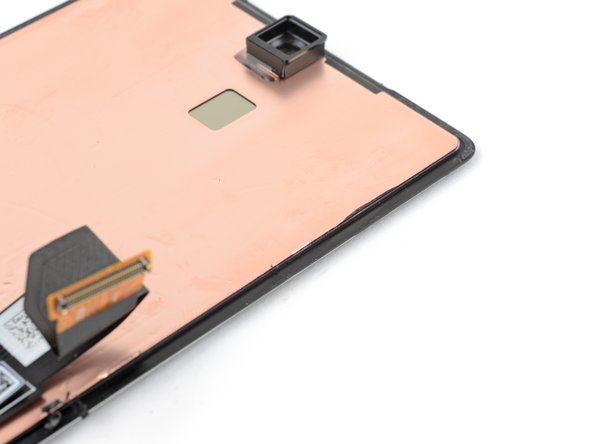
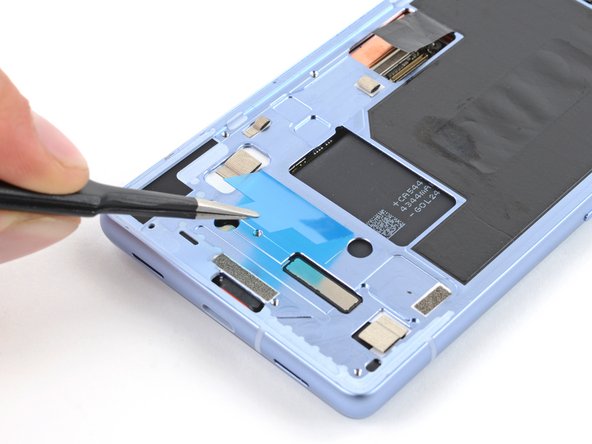
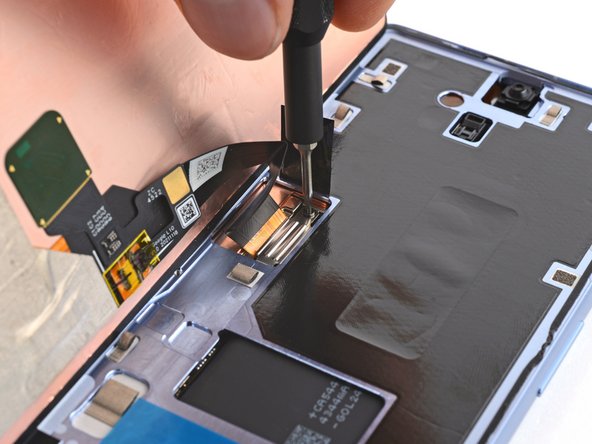
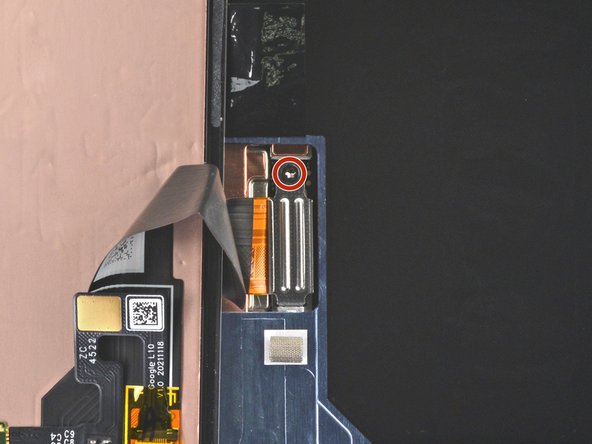
T3 Torx 드라이버를 사용하여 스크린 커넥터 커버를 고정하는 2mm 3IP Torx Plus 나사 하나를 풀어주세요.
-
커버를 분리하세요.
-


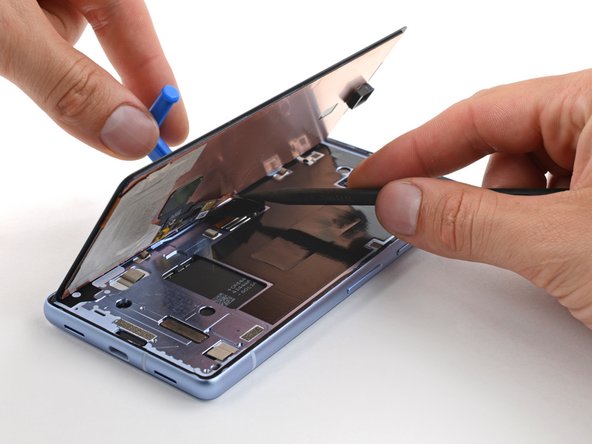

기기를 재조립하려면, 이 지침들을 역순으로 따르세요.
디스플레이의 지문 인식기를 보정하려면 Google의 Pixel 업데이트 및 소프트웨어 복구 도구를 사용하세요.
전자 폐기물을 R2 또는 e-Stewards 인증 재활용 센터로 가져가세요.
기본적으로 제공되는 Pixel 진단 도구로 진단 테스트를 실행하려면 여기를 클릭하세요.
수리가 계획대로 진행되지 않았습니까? 자사의 기본 문제 해결 페이지를 이용하거나 자사의 답변 커뮤니티에 도움을 요청하세요.
기기를 재조립하려면, 이 지침들을 역순으로 따르세요.
디스플레이의 지문 인식기를 보정하려면 Google의 Pixel 업데이트 및 소프트웨어 복구 도구를 사용하세요.
전자 폐기물을 R2 또는 e-Stewards 인증 재활용 센터로 가져가세요.
기본적으로 제공되는 Pixel 진단 도구로 진단 테스트를 실행하려면 여기를 클릭하세요.
수리가 계획대로 진행되지 않았습니까? 자사의 기본 문제 해결 페이지를 이용하거나 자사의 답변 커뮤니티에 도움을 요청하세요.
다른 25명이 해당 안내서를 완성하였습니다.
다음 번역가들에게 특별히 감사 드립니다:
86%

Christian Kim님은 저희가 세상을 수리하는데 동참하신 분입니다! 기여하시겠습니까?
번역 시작하기 ›


댓글 17개
This guide worked well for me and I was able to replace my screen despite it being severely cracked - expect a lot of screen breakage and glass pieces if that's the case! I set everything in a tray to minimize glass fragments going all over.
Once the screen was installed, the wrapper for the iFixit provided screen has a label that says "UDFPS calibration required" with a QR code.
This takes you to a Google site that tells you how to set up fingerprints on your phone. I don't think that link is helpful.
I needed to go to https://pixelrepair.withgoogle.com/udfps where Google has a tool that allows easy updating of the fingerprint sensor software on your phone, which is a requirement after a new screen is installed. Open that site on a computer (PC or Mac, no ChromeOS, no tablets) and follow the instructions, which include connecting your phone via USB cable.
I had trouble with the calibration step. I ended up having to install the Google USB driver. I downloaded it here and followed this guide, using the Windows 10 instructions for Windows 11
The guide worked very well. Although it was very hard to remove the old display (I have two left hands, all thumbs), I was able to exchange it. Thank you very much!
Just replaced my phone 7a screen using the available kit. It was next to impossible to get the old screen off using the heat and pry tools. Would definitely recommend getting their jimmy tool. I ended up shattering the old screen on purpose using a punch tool and peeling the glass off the digitizer and frame. This was easiest for me without ordering another tool. Would NOT recommend doing it this way! The other deviation from these instructions is that the screen replacement version sent to me (10/2023) had the screen adhesive already applied to the screen. Made it much easier to install since there was no human error applying the screen adhesive to the phone frame first then lining up the screen. Definitely an improvement! Overall, took me way too long to complete, closer to 2+ hours due to the issues getting the old screen off. But certainly manageable by any DIYer. Would definitely buy from iFixIt again in the future if needed.
You just described my experience exactly. Busting the old screen was awful but it worked. Without better tools, I can't imagine getting that screen off there!
Jeff -