소개
This repair guide was authored by the iFixit staff and hasn’t been endorsed by Google. Learn more about our repair guides here.
Use this guide to replace a dead or worn-out battery in your Google Pixel Watch 2.
Lithium-ion batteries have a limited lifespan. If your watch doesn't hold a charge or dies unexpectedly, it might be time to replace the battery.
If your battery is swollen, take appropriate precautions.
You'll need replacement adhesive glue to seal your watch during reassembly.
필요한 것
-
-
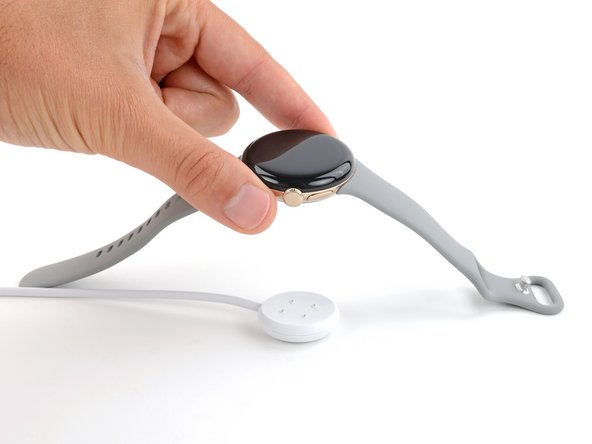
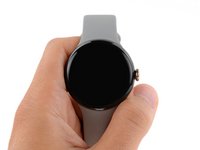
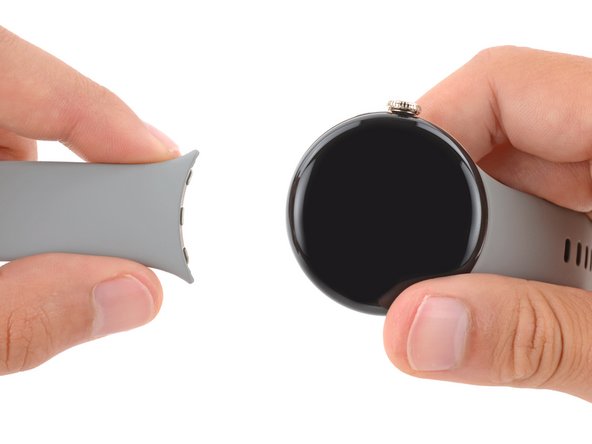
Remove both watch bands by pressing the release button and sliding the band out of its groove.
-
-
-
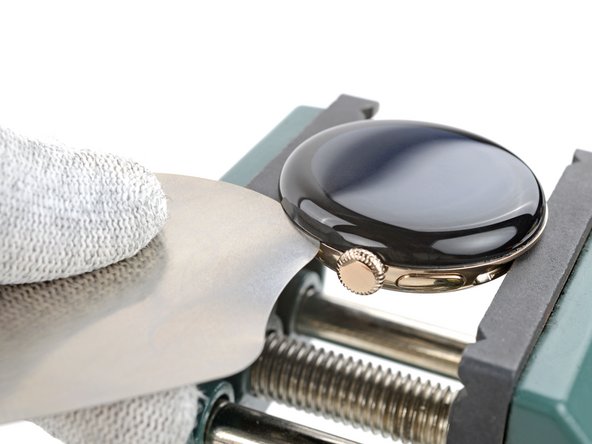
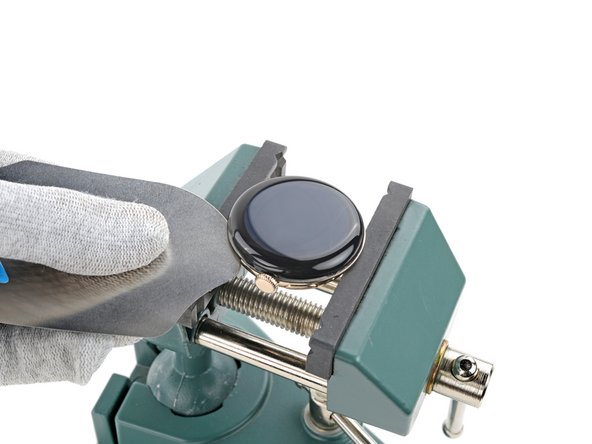
Secure your watch with a small vise so the jaws go into the watch band grooves on the frame.
-
-
-
Use a hair dryer or heat gun to heat the right edge of screen around the watch crown until it's slightly too hot to touch.
-
-
-
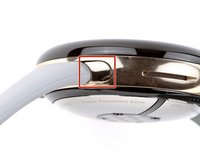
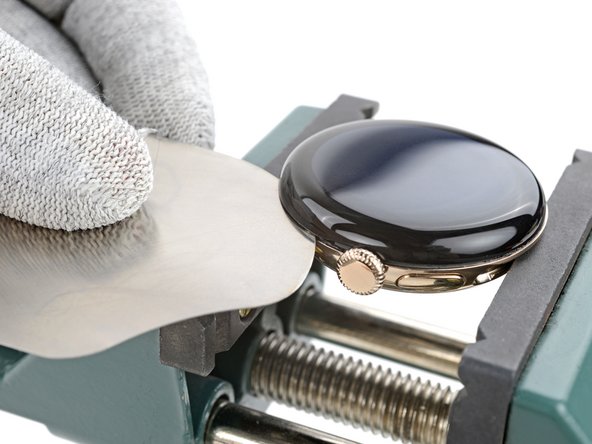
Insert the tip of an iFlex between the screen and frame just below the watch crown (opposite the side button).
-
Rotate the iFlex so its longer edge is between the screen and frame.
-
-
-
Hold the iFlex at a slight upward angle and slide it clockwise around the perimeter of the watch to separate the adhesive. Stop when you reach the side button.
-
-
-
-
Consider placing your watch on something soft like a clean cloth to help stabilize it and prevent damage.
-
Attach and remove the watch bands as needed to get a better grip or stabilize your watch.
-
-
이 단계에 사용된 도구:E6000 Adhesive Glue$2.99
-
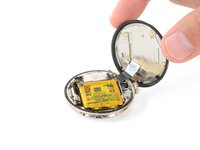
Swing open the screen and put it in an upright position next to the watch crown.
-
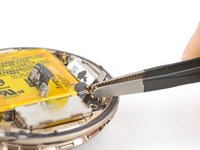
Use a spudger and tweezers to remove all the old screen adhesive from the frame and screen. Then, clean up any adhesive residue with high‑concentration (>90%) isopropyl alcohol and a cotton swab.
-
You'll need to seal your phone with strong adhesive glue. Apply the glue to the perimeter of the frame and firmly press the screen into place.
-
-
이 단계에 사용된 도구:FixMat$31.41
-
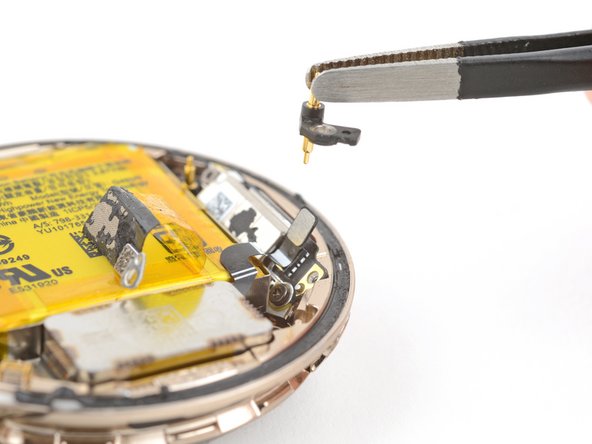
Use a 1IP Torx Plus screwdriver to remove the 2 mm‑long screw securing the vibration motor press connector cover.
-
-
-
Use a pair of blunt nose tweezers to grip the vibration motor press connector cover.
-
Gently peel up the tape until the vibration motor cable is uncovered.
-
-
-
Use the point of a spudger to pry up and disconnect the vibration motor press connector.
-
-
-
Use a 1IP Torx Plus screwdriver to remove the two screws securing the vibration motor:
-
One 2 mm‑long screw
-
One 3 mm‑long screw, also securing a grounding bracket
-
-
-
Use blunt nose tweezers to lift the grounding bracket out of its recess and remove it.
-
-
-
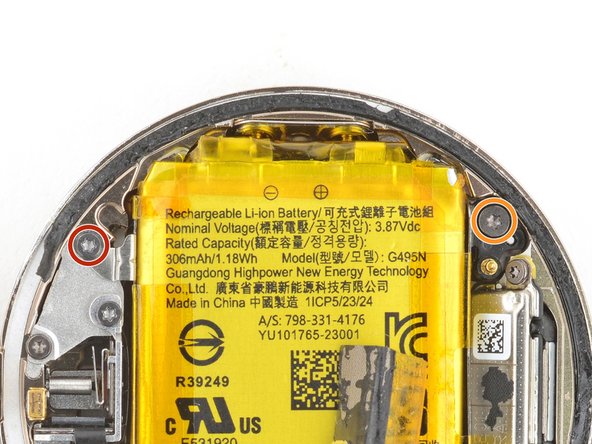
Use a 1IP Torx Plus screwdriver to remove the two screws securing the battery:
-
One 2 mm‑long screw
-
One 3 mm‑long screw, also securing a grounding bracket
-
-
-
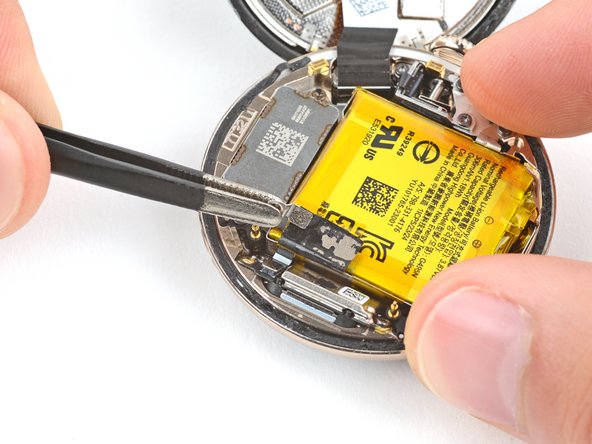
Use blunt nose tweezers to lift the grounding bracket out of its recess and remove it.
-
-
-
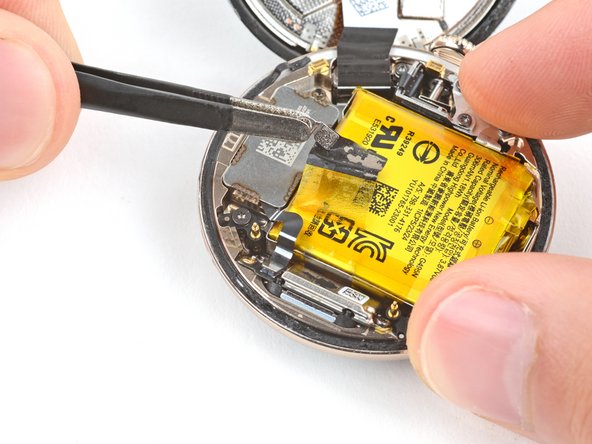
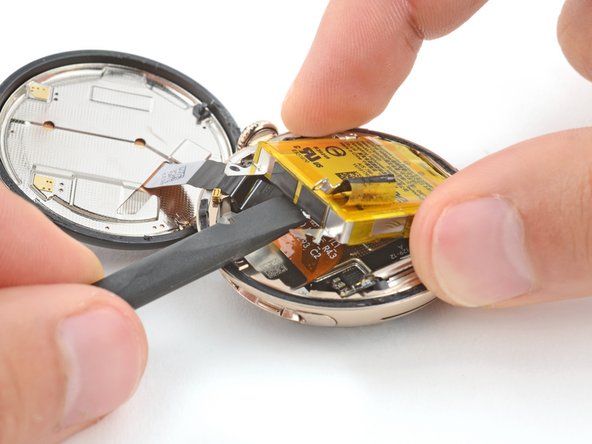
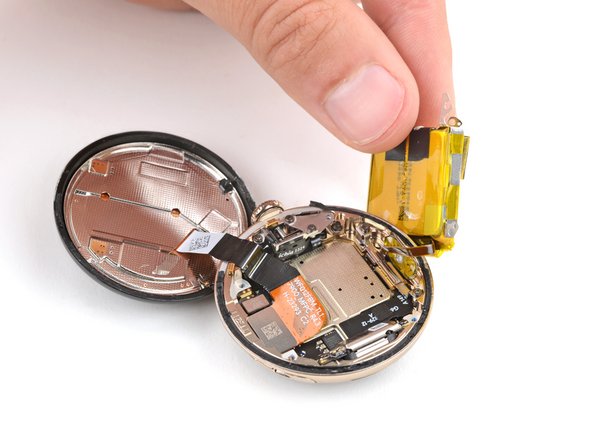
Insert the flat end of a spudger under the top edge of the battery.
-
Pry the battery up to separate the adhesive.
-
-
-
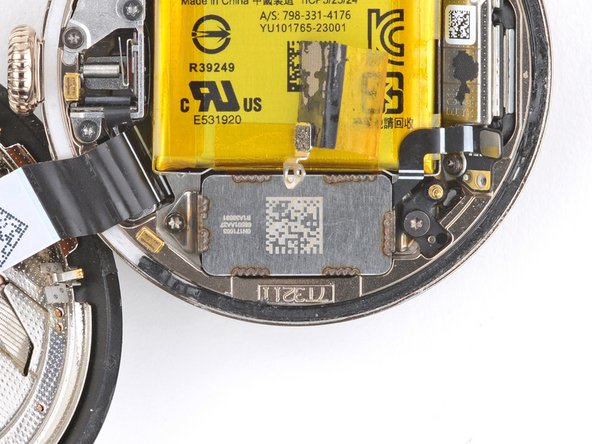
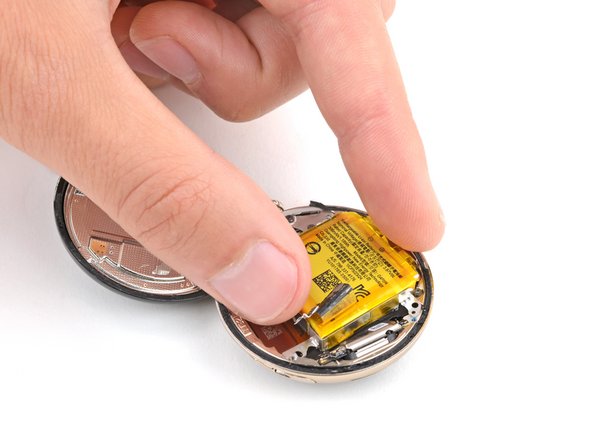
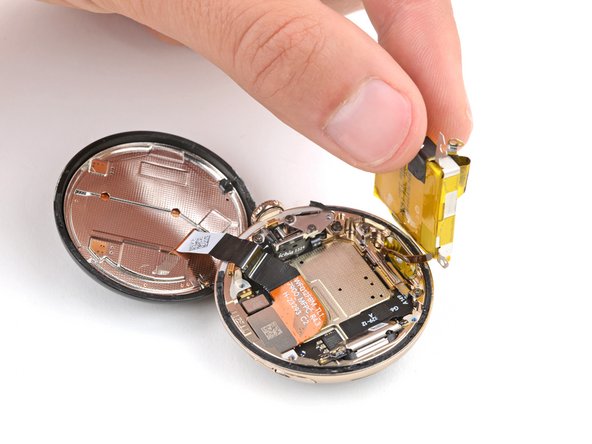
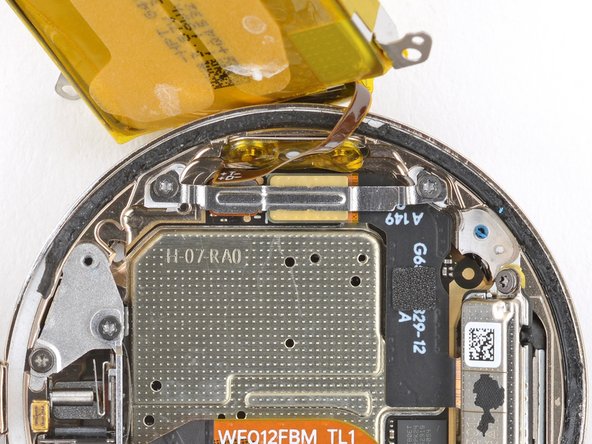
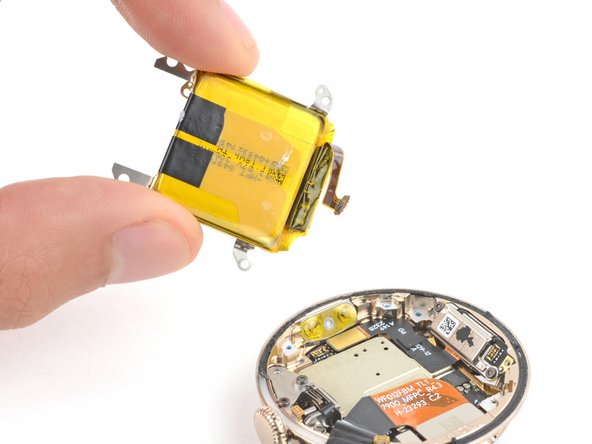
Lift the battery out of its recess and set it next to your watch so you can access the battery connector.
-
-
-
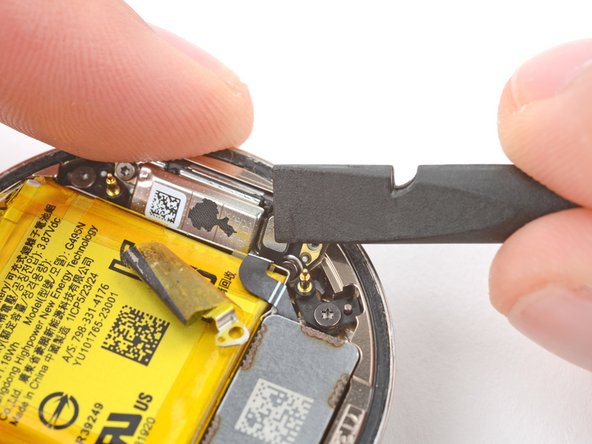
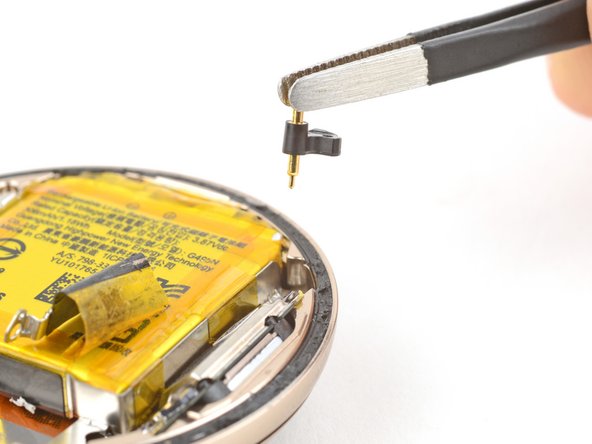
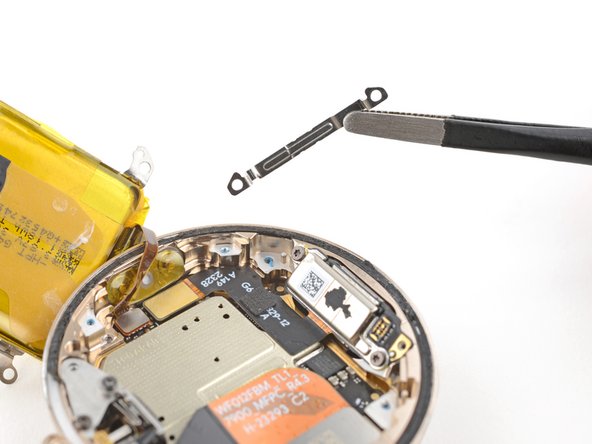
Use a 1IP Torx Plus screwdriver to remove the two 2 mm‑long screws securing the battery connector bracket.
-
-
-
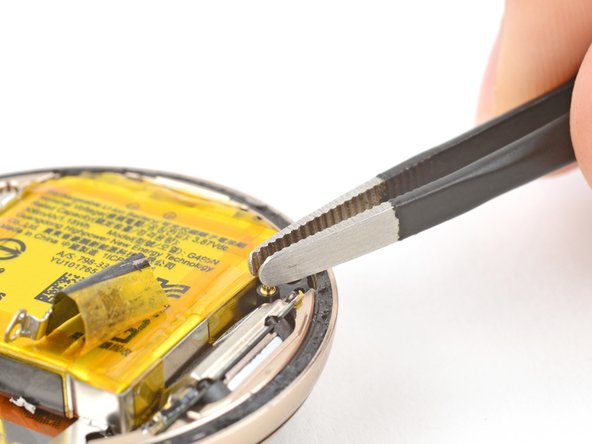
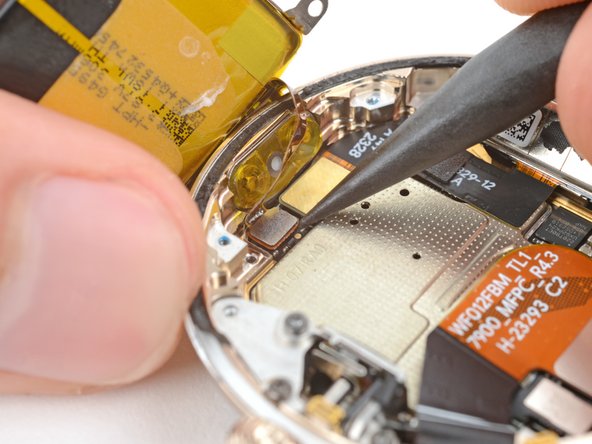
Use the point of a spudger to pry up and disconnect the battery press connector.
-


To reassemble your device, follow these instructions in reverse order.
For optimal performance, calibrate your newly installed battery after completing this guide.
Take your e-waste to an R2 or e-Stewards certified recycler.
Repair didn’t go as planned? Try some basic troubleshooting, or ask our Answers community for help.

